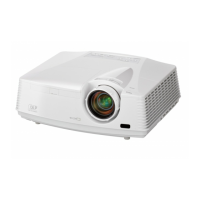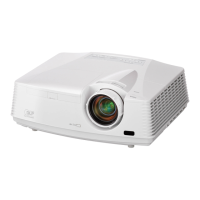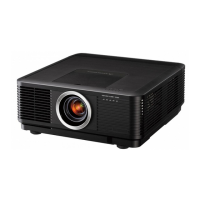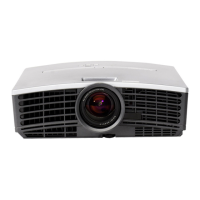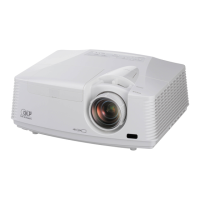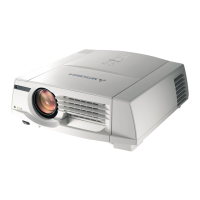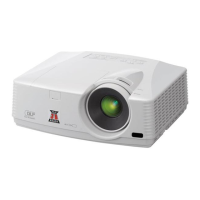
Do you have a question about the Mitsubishi Electric XD550U and is the answer not in the manual?
| Contrast Ratio | 2000:1 |
|---|---|
| Display Type | DLP |
| Zoom Ratio | 1.2x |
| Resolution | 1024 x 768 (XGA) |
| Lamp Life | 5000 hours (Low) |
| Input Ports | HDMI, VGA |
| Projection Size | 30-300 inches |
Precautions for projector placement to ensure safety and optimal operation.
Specific instructions for safely removing the projector lamp unit.
Identifies and describes the buttons and indicators on the projector's control panel.
Details the various input and output terminals available on the projector.
Instructions for inserting and replacing batteries in the remote control.
Specifies the effective distance and angles for remote control operation.
Provides dimensional data for image size based on screen distance for specific models.
Provides dimensional data for image size based on screen distance for the WD570U model.
Details requirements and procedures for mounting the projector to a ceiling.
Guidance on setting up the projector for rear projection.
Illustrates how to connect analog AV devices like VCRs and DVD players.
Explains connection for DVD players or HDTV decoders using component video.
Describes how to connect video equipment via HDMI for digital video and audio input.
Details connecting computers using Mini D-SUB or for analog/monitor connections.
Steps for connecting power, removing the lens cap, and initial setup.
Guidance on tilting the projector and using keystone correction for optimal image alignment.
Step-by-step instructions for turning the projector on and initial adjustments.
Procedures for turning the projector off, including instant shutdown and cool-down.
How to adjust speaker volume and activate/deactivate audio/video muting.
How to change the projected image's aspect ratio (e.g., 4:3, 16:9).
Requirements and steps for enjoying 3D content with compatible glasses.
Adjusts image quality settings like brightness, contrast, color temperature, and aspect ratio.
Controls color, sharpness, and tint for video signals.
Manages signal input types, synchronization, and image positioning.
Configures audio input selection and volume levels.
Options related to projector installation, lamp mode, and standby settings.
Various settings including password lock, video signal format, and splash screen.
Manages network connectivity, IP settings, and wireless configuration.
Displays lamp time, input signal status, resolution, and frequency information.
How to modify image brightness and contrast using menu settings.
Fine-tuning color density and tint for projected images.
Controls the sharpness of the projected image for clarity.
Modifies the white balance and color tone of the projected image.
User-defined image adjustments, including gamma curve and brightness modulation.
Advanced color adjustments for specific tones and overall color vibrancy.
Troubleshooting and menu-based adjustments for computer video signals.
Methods for aligning image position and applying a progressive filter for noise reduction.
Enables or disables network communication certification using a password.
How to set a custom name for the projector on the network.
Procedures for setting and changing the network password.
Manages IP address, subnet mask, and gateway settings for network connection.
Settings for automatic IP address assignment via DHCP.
Manually configuring subnet mask and default gateway for network.
Finalizing network configuration settings.
Configuring wireless LAN connection, including SSID, channel, and encryption.
Settings for AMX control and resetting network configurations.
How to restart the projector's network functions.
Projects computer images directly from a USB connection without driver installation.
Projects computer images via wired or wireless LAN, enabling remote desktop.
Procedures for installing and removing the LAN Display software.
Controls projection aspects like play, stop, freeze, and split screen via the interface.
Installs a driver for projecting virtual extended screens, required for some LAN Display features.
Projects JPEG and PtG files from USB memory without a computer.
Installs software to convert PPT files into PtG format for PC Less Presentation.
Converts PowerPoint presentations into PtG files for projector display.
Selects PC Less Presentation input source and accesses the Presentation to Go screen.
Configures AutoRun, Interval, Repeat, and Sorting for presentations.
Navigates and displays PtG and JPEG files from USB storage.
Utilizes AutoRun for single file playback and slideshow for multiple files.
Sets custom images for startup screens or when the video is muted.
Temporarily stops motion or magnifies parts of the projected image.
Activates, deactivates, sets, and changes the projector's password lock.
Overview of software for remote supervision and control via LAN network.
Details PJLink ™ compatibility and requirements for projector control.
Lists commands for controlling the projector using the PJLink ™ protocol.
Step-by-step guide for replacing the projector lamp when placed on a table.
Procedures for replacing the lamp on a projector mounted to the ceiling.
How to reset the lamp timer after replacement for accurate tracking.
Information on when to replace the lamp and related indicator signals.
Solutions for common problems like power failure or no display.
Addresses issues like shaking, displacement, distortion, darkness, and blurriness of projected images.
Solutions for wavy images, incorrect tint, obscured or flickering projections.
Covers issues like warm exhaust, no audio, menu unresponsiveness, and remote control problems.
Troubleshooting for non-functional buttons and unusual operational sounds.
Specific checks required if the projector fails after lamp replacement.
Describes the normal operating states indicated by the POWER and STATUS lights.
Explains abnormal indicator patterns and provides troubleshooting steps.
Details the projector model, display technology, and color capabilities.
Covers lens, lamp, picture size, PC/video compatibility, speaker, and input terminals.
Detailed pin assignments for COMPUTER IN, MONITOR OUT, and HDMI IN connectors.
Lists included accessories, physical dimensions, and replacement parts.
Lists supported RGB signal modes, resolutions, and frequencies for computer input.

