D
derrick58Sep 8, 2025
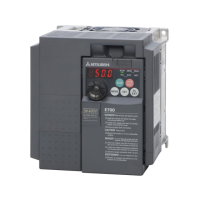
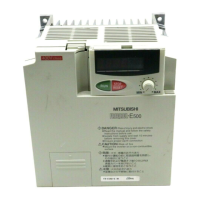
How to stabilize machine movement with Mitsubishi Electric FR-E820-0008 Inverter?
- Jjillian42Sep 8, 2025
Unstable machine movement when using a Mitsubishi Electric Inverter can stem from a couple of issues. First, the speed control gain might not be suitable for the machine; try adjusting Pr.820 and Pr.821. Second, the response might be slow due to the inverter's acceleration/deceleration time setting; setting the optimum acceleration/deceleration time may help.