Chapter 4 Fuel and exhaust systems
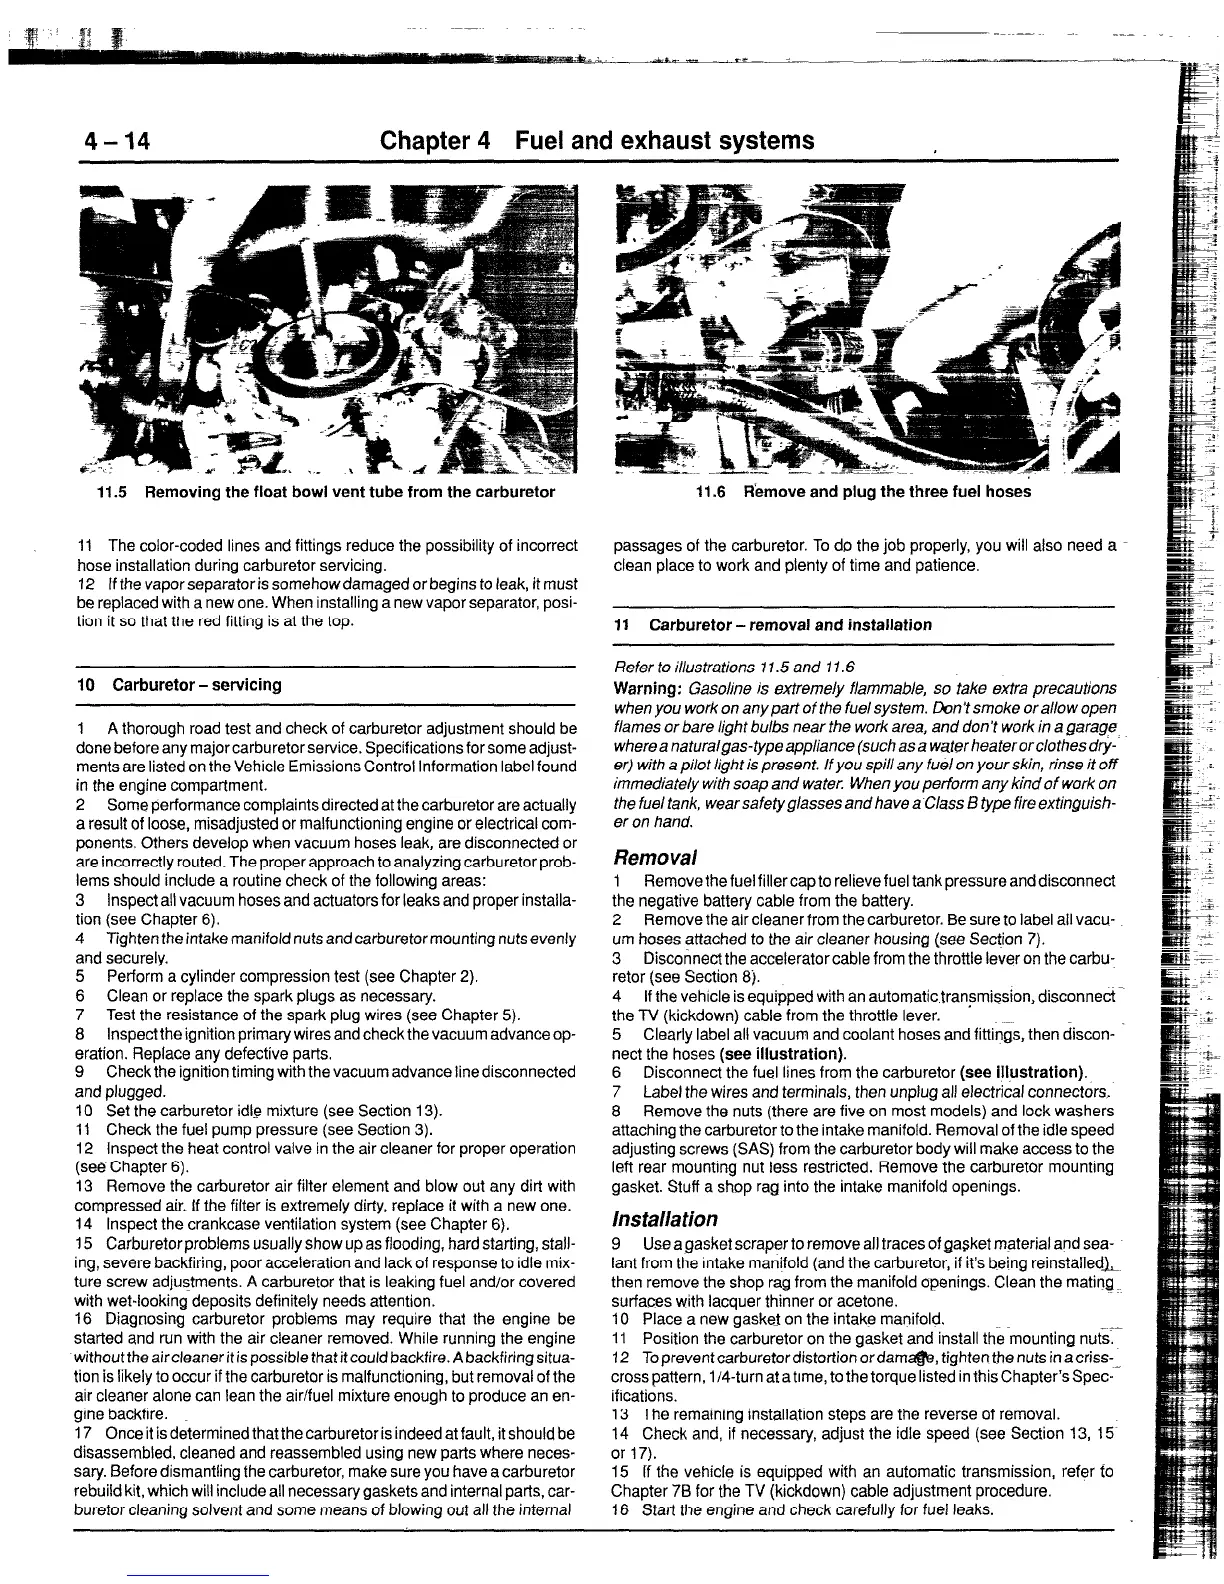
11.5 Removing the float bowl vent tube from the carburetor
11 The color-coded lines and fittings reduce the possibility of incorrect
hose installation during carburetor servicing.
12 If the vapor separator is somehow damaged or begins to teak, it must
be replaced with a new one. When installing a new vapor separator, posi-
tion it so that the red fitting is at the top.
10 Carburetor-servicing
1 A thorough road test and check of carburetor adjustment should be
done before any major carburetor service. Specifications for some adjust-
ments are listed on the Vehicle Emissions Control Information label found
in the engine compartment.
2 Some performance complaints directed at the carburetor are actually
a result of loose, misadjusted or malfunctioning engine or electrical com-
ponents Others develop when vacuum hoses leak, are disconnected or
are incorrectly routed. The proper approach to analyzing carburetor prob-
lems should include a routine check of the following areas:
3 inspect all vacuum hoses and actuators for leaks and proper installa-
tion (see Chapter 6).
4 Tighten the intake manifold nuts and carburetor mounting nuts evenly
and securely.
5 Perform a cylinder compression test (see Chapter 2).
6 Clean or replace the spark plugs as necessary.
7 Test the resistance of the spark plug wires (see Chapter 5).
8 Inspect the ignition primary wires and check the vacuum advance op-
eration. Replace any defective parts.
9 Check the ignition timing with the vacuum advance linedisconnected
and plugged.
10 Set the carburetor idle mixture (see Section 13).
11 Check the fuel pump pressure (see Section 3).
12 Inspect the heat control valve in the air cleaner for proper operation
(see Chapter 6).
13 Remove the carburetor air filter element and blow out any dirt with
compressed air. If the filter is extremely dirty, replace it with a new one.
14 Inspect the crankcase ventilation system (see Chapter 6).
15 Carburetor problems usually show up as flooding, hard starting, stall-
ing, severe backfiring, poor acceleration and lack of response to idle mix-
ture screw adjustments. A carburetor that is leaking fuel and/or covered
with wet-looking deposits definitely needs attention.
16 Diagnosing carburetor problems may require that the engine be
started and run with the air cleaner removed. While running the engine
without the air cleaner it is possible that it could backfire. A backfiring situa-
tion is likely to occur if the carburetor is malfunctioning, but removal of the
air cleaner alone can lean the air/fuel mixture enough to produce an en-
gine backfire.
17 Once it is determined that the carburetor is indeed at fault, it should be
disassembled, cleaned and reassembled using new parts where neces-
sary. Before dismantling the carburetor, make sure you have a carburetor
rebuild kit, which will include all necessary gaskets and internal parts, car-
buretor cleaning solvent and some means of blowing out all the internal
11.6 R’emove and plug the three fuel hoses
passages of the carburetor. To do the job properly, you will also need a
clean place to work and plenty of time and patience.
11 Carburetor - removal and installation
Refer to illustrations 11.5 and 11.6
Warning: Gasoline is extremely flammable, so take extra precautions
when you work on any part of the fuel system. Don’t smoke or allow open
flames or bare light bulbs near the work area, and don’t work in a garage
wherea naturalgas-typeappliance (suchasa water heaterorclothesdry-
er) with a pilot light is present. If you spill any fuel on your skin, rinse it off
immediately with soap and water. When you perform any kind of work on
the fuel tank, wear safety g/asses and have a Class B type fire exfinguish-
er on hand.
Removal
1 Remove the fuel filler cap to relieve fuel tank pressure and disconnect
the negative battery cable from the battery.
2 Remove the air cleaner from the carburetor. Be sure to label all vacu-
um hoses attached to the air cleaner housing (see Section 7).
3 Disconnect the accelerator cable from the throttle lever on the carbu-
retor (see Section 8).
4 If the vehicle is equipped with an automatic transmission, disconnect
the TV (kickdown) cable from the throttle lever.
5 Clearly label all vacuum and coolant hoses and fittings, then discon-
nect the hoses (see illustration).
6 Disconnect the fuel lines from the carburetor (see illustration).
7 Label the wires and terminals, then unplug all electrical connectors.
8 Remove the nuts (there are five on most models) and lock washers
attaching the carburetor to the intake manifold. Removal of the idle speed
adjusting screws (SAS) from the carburetor body will make access to the
left rear mounting nut less restricted. Remove the carburetor mounting
gasket. Stuff a shop rag into the intake manifold openings.
Ins talla tion
9 Use a gasket scraper to remove all traces of gasket material and sea-
lant from the Intake manifold (and the carburetor, if it’s being reinstalledJL
then remove the shop rag from the manifold openings. Clean the mating
surfaces with lacquer thinner or acetone.
10 Place a new gasket on the intake manifold.
11 Position the carburetor on the gasket and install the mounting nuts.
12 To prevent carburetor distortion ordame, tighten the nuts in acriss-
cross pattern, i/4-turn at a time, to the torque listed in this Chapter’sSpec-
ifrcations.
13 The remaining installation steps are the reverse of removal.
14 Check and, if necessary, adjust the idle speed (see Section 13, 15
or 17).
15 If the vehicle is equipped with an automatic transmission, refer to
Chapter 78 for the TV (kickdown) cable adjustment procedure.
16 Start the engine and check carefully for fuel leaks.
 Loading...


