P
m1
1-16 Chapter 1 Tune-up and routine maintenance
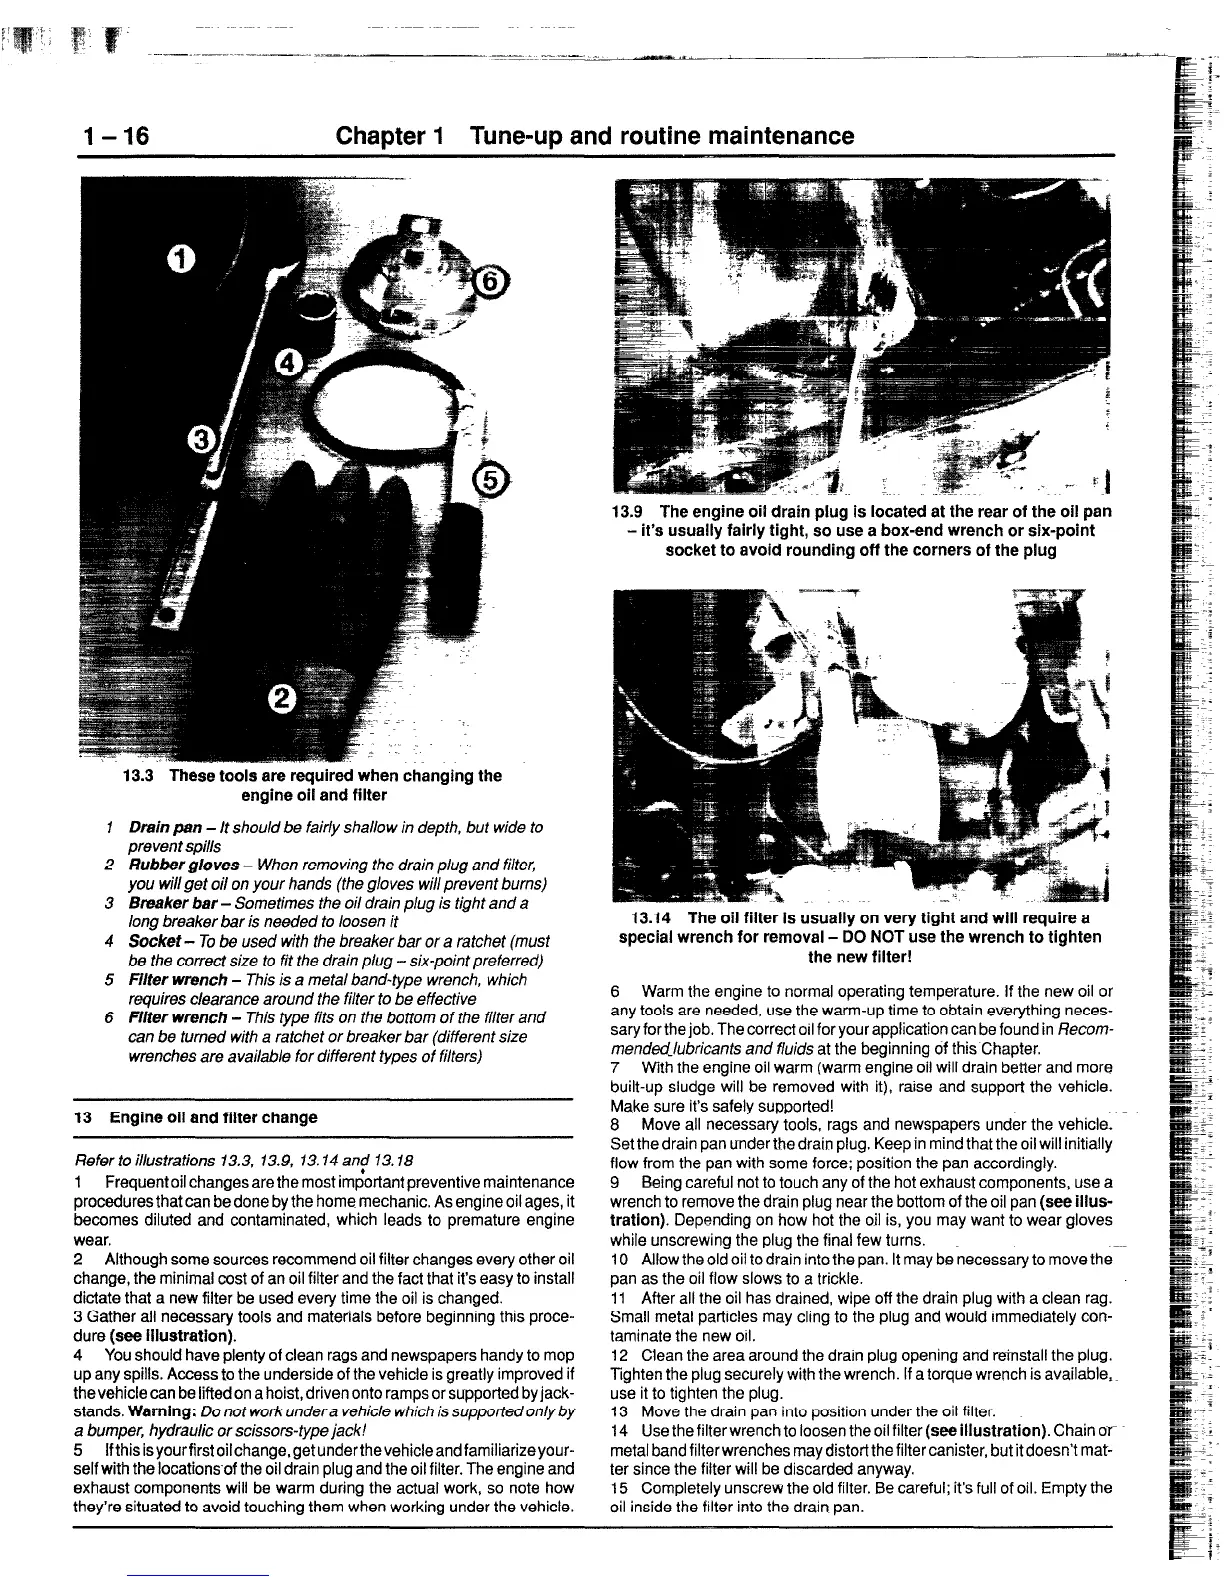
13.3 These tools are required when changing the
engine oil and filter
7
Drain
pan - /t should be fairly shallow in depth, but wide to
prevent spills
2
Rub&r
gloves - When removing the drain plug and filter,
you will get oil on your hands (the gloves will prevent burns)
3 Breaker bar
- Sometimes the oil drain plug is tight and a
long breaker bar is needed to loosen it
4
Socket
- To be used with the breaker bar or a ratchet (must
be the correct size to fit the drain plug - six-point preferred)
5 Filter wrench
- This is a metal band-type wrench, which
requires clearance around the filter to be effective
6 Fi/ter wrench
- This type fits on the bottom of the filter and
can be turned with a ratchet or breaker bar (different size
wrenches are available for different types of filters)
13 Engine oil and filter change
Refer to illustrations 13.3. 13.9, 13.14 and 13.18
1 Frequent oil changes are the most important preventive maintenance
procedures that can be done by the home mechanic. As engine oil ages, it
becomes diluted and contaminated, which leads to premature engine
wear.
2 Although some sources recommend oil filter changes every other oil
change, the minimal cost of an oil filter and the fact that its easy to install
dictate that a new filter be used every time the oil is changed.
3 Gather all necessary tools and materials before beginning this proce-
dure (see illustration).
4 You should have plenty of clean rags and newspapers handy to mop
up any spills. Access to the underside of the vehicle is greatly improved if
the vehicle can be lifted on a hoist, driven onto ramps or supported by jack-
stands. Warning: Do not work undera vehicle which is supported only by
a bumper, hydraulic or scissors-type jack!
5 Ifthisisyourfirstoilchange.getunderthevehicleandfamiliarizeyour-
selfwith the locationsof the oil drain plug and the oil filter. The engine and
exhaust components will be warm during the actual work, so note how
they’re situated to avoid touching them when working under the vehicle.
13.9 The engine oil drain plug is located at the rear of the oil pan
- it’s usually fairly tight, so use a box-end wrench or six-point
socket to avoid rounding off the corners of the plug
13.14 The oil filter is usually on very tight and will require a
special wrench for removal - DO NOT use the wrench to tighten
the new filter!
6 Warm the engine to normal operating temperature. If the new oil or
any tools are needed, use the warm-up time to obtain everything neces-
saryfor the job. The correct oil for your application can be found in Recom-
mended-lubricants and fluids at the beginning of this Chapter.
7 With the engine oil warm (warm engine oil will drain better and more
built-up sludge will be removed with it), raise and support the vehicle.
Make sure its safely supported!
8 Move all necessary tools, rags and newspapers under the vehicle.
Set the drain pan under the drain plug. Keep in mind that the oil will initially
flow from the pan with some force; position the pan accordingly.
9 Being careful not to touch any of the hot exhaust components, use a
wrench to remove the drain plug near the bottom of the oil pan (see illus-
tration). Depending on how hot the oil is, you may want to wear gloves
while unscrewing the plug the final few turns.
10 Allow the old oil to drain into the pan. It may be necessary to move the
pan as the oil flow slows to a trickle.
11 After all the oil has drained, wipe off the drain plug with a clean rag.
Small metal particles may cling to the plug and would immediately con-
taminate the new oil.
12 Clean the area around the drain plug opening and reinstall the plug.
Tighten the plug securely with the wrench. If a torque wrench is available,
use it to tighten the plug.
13 Move the drain pan into position under the oil filter.
14 Use the filterwrench to loosen the oil filter (see illustration). Chain or-
metal band filter wrenches may distort the filter canister, but it doesn’t
mat-
ter since the filter will be discarded anyway.
15 Completely unscrew the old filter. Be careful; it’s full of oil. Empty the
oil inside the filter into the drain pan.
 Loading...


