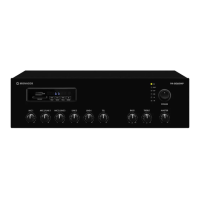
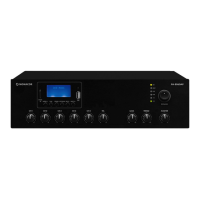
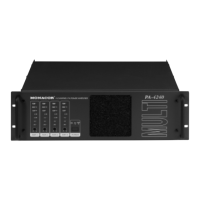
4 Operation
1)
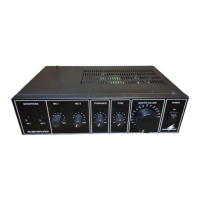
Before first-time operation, make sure that the
initial volume is not too high: Set the control
MASTER for the total volume approximately to
the position “9 o’clock”. Then switch on the
amplifier with the switch POWER. The green
power LED ON will light up.
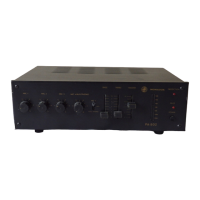
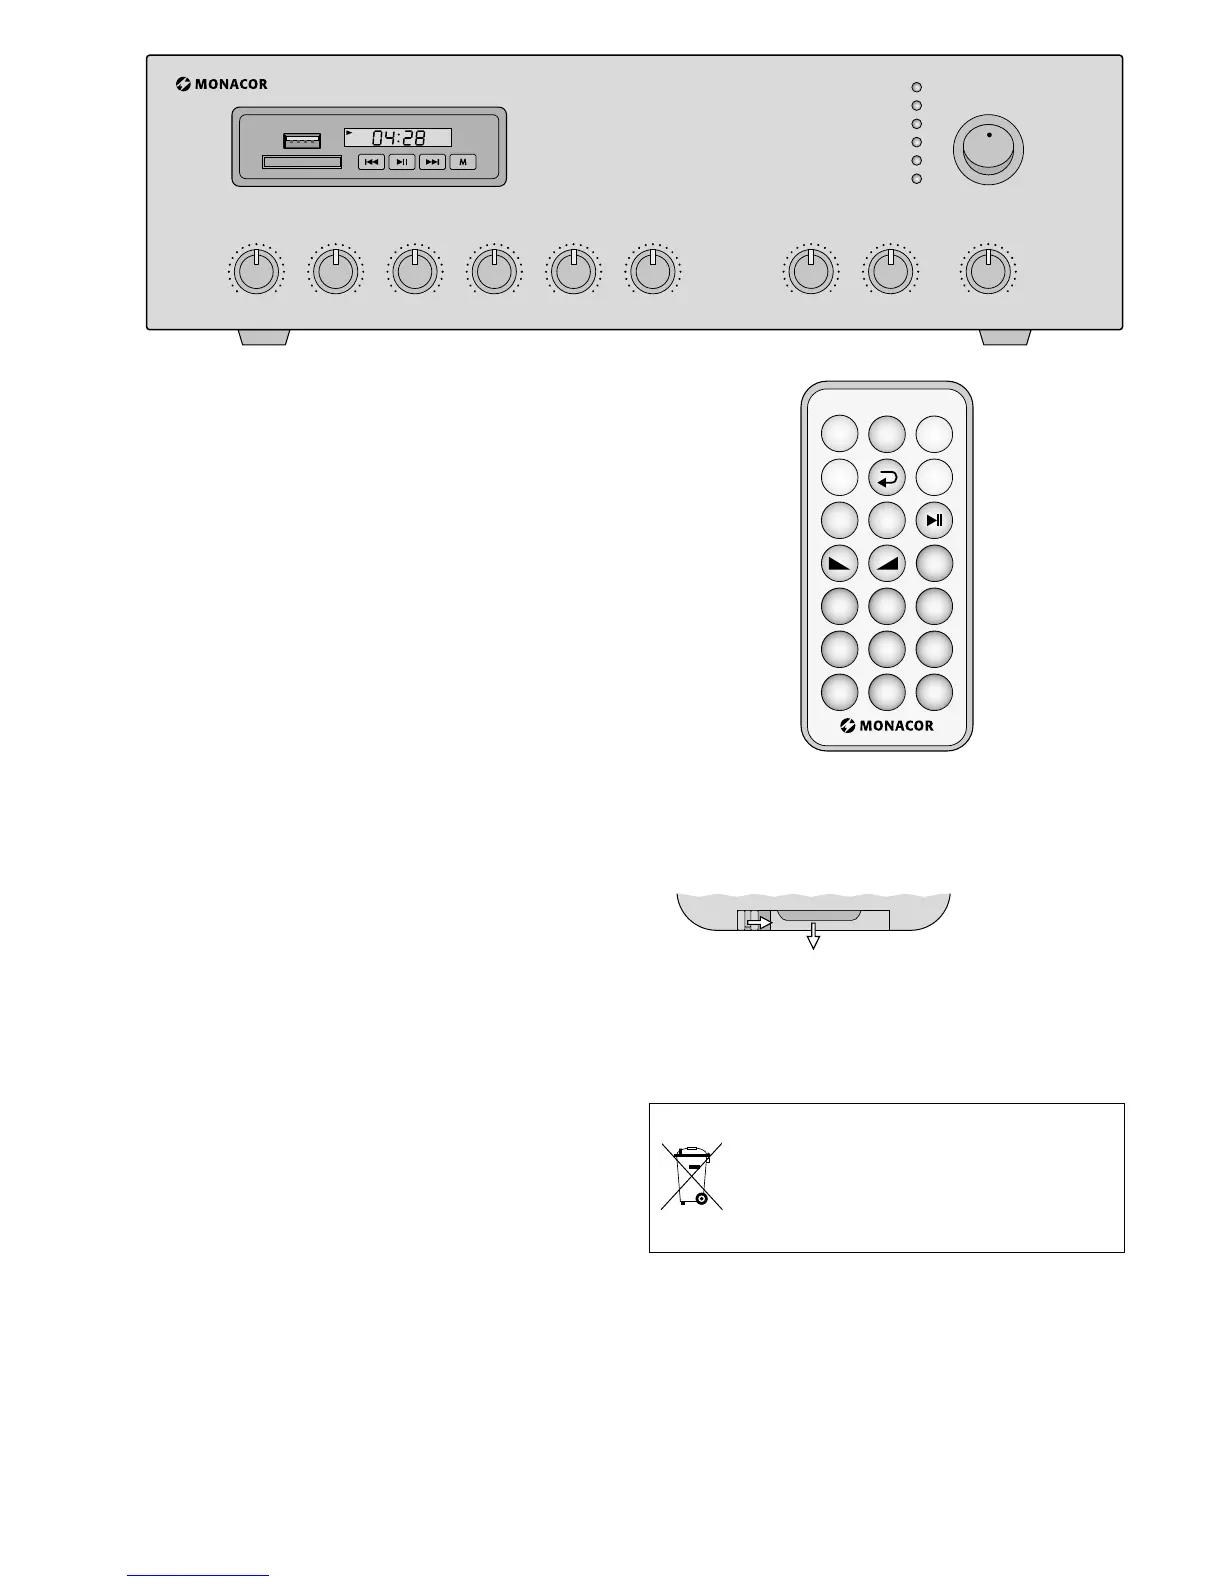
2)
Use the controls MIC…, LINE… and TEL to
mix the signal sources or to fade them in or
out. Set the controls of the inputs which are
not used to “0”.
3)
Adjust the total volume with the control MAS-
TER. The LEDs “-30, -10, 0dB, CLIP” will indi-
cate the output level. To prevent distortions,
only turn up the control MASTER to such a
level that the red LED “CLIP” will not light up.
4) Use the controls BASS and TREBLE to adjust
the sound.
5) If the LED “PROT” lights up, the amplifier is
overheated or overloaded or has a short circuit
at one of the speaker outputs. In this case,
switch off the amplifier and have the fault
eliminated.
4.1 Remote control
The remote control for the music module is sup-
plied with a battery. Before operating the remote
control for the first time, remove the protective
film from the battery holder. When pressing a
button on the remote control, always point the
remote control at the amplifier. Make sure that
there are no obstacles between the amplifier and
the remote control.
If the remote control is not used for a longer
period of time, remove the battery as a precau-
tion. It may leak and damage the remote control.
Replacing the battery
1)
Push the latch of the battery holder to the
right (first arrow in the figure below) and re-
move the holder (second arrow).
2)
Remove the old battery and insert the new
battery (3 V button cell, type CR 2025) into the
holder with the positive pole facing upwards.
3) Push the holder back into the remote control.
Never put discharged batteries in
the household waste. To protect the
environment, always take them to a
special waste disposal (e. g. collection
container at your retailer).
 Loading...