Unpacking
&OTVSFUIFSFJTQMFOUZPGDMFBOˍPPSBSFBBSPVOEXIFSFZPVBSFQSPQPTJOHUPVOQBDLUIFMPVETQFBLFST
Remove any lose components from the packaging (feet, bolts, plinths, grilles etc) and invert the carton. Lift
the carton up and remove the packaging end cap. Remove the tape from the bag(s)revealing the bottom of
the cabinet(s).
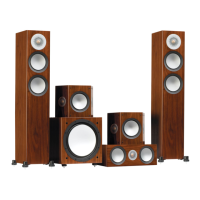
With the Gold 50 and Gold 100, stand the cabinets upright and remove the remaining packaging end cap and
bag(s). Place the cabinets on the stands and position them according to instructions on page 5.
8JUIUIF(PMEBOE(PMEˌUUIFQMJOUITBOEGFFUCFGPSFQSPDFFEJOHBOZGVSUIFS
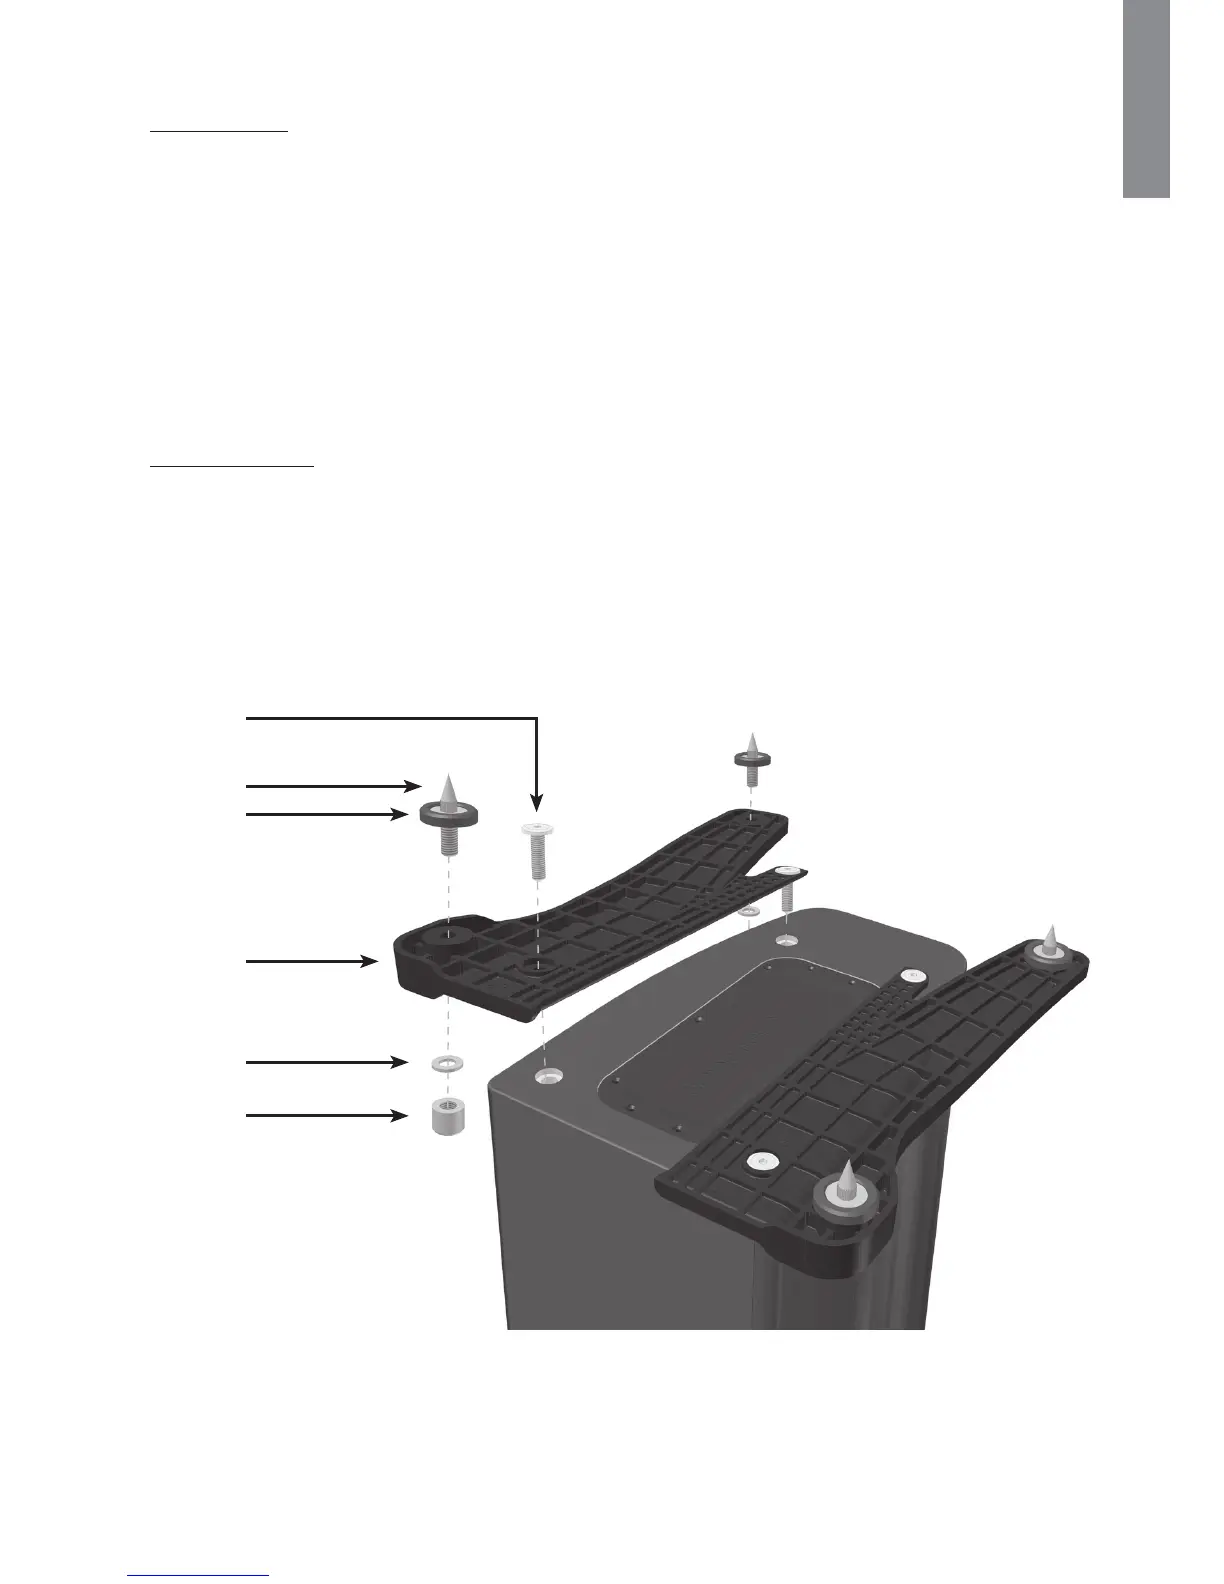
Plinth Fixing
(Gold 200 & 300 only)
Fit the plinths and spiked feet to the base of each speaker. Refer to page 4.
The plinths are provided for stability as well as improving the acoustic performance of the speakers. Due
UPUIFUBQFSFETIBQFPGUIFDBCJOFUTJUJTOPUSFDPNNFOEFEUPJOTUBMMUIFNXJUIPVUUIFQMJOUITˌUUFEBTUIF
speakers are likely to be unstable.
Plinth Bolt
Spike
Foot
Plinth
Lock Nut
Washer
Locking nut
ENGLISH
monitoraudio.com 3
 Loading...