12
© Monitor Audio 2005 RS Rev 5
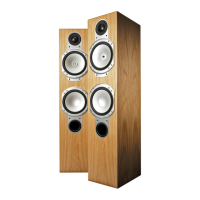
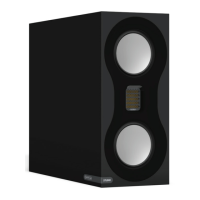
Plinth Fixing (Silver RS5,RS6 & RS8 only)
The Silver RS5, RS6 & RS8’s have been fitted with M10 threaded inserts in the
bottom of the cabinet. These will accept the enclosed cabinet specific plinths.
They can befittedusing the enclosed M10 bolts.
Before youfit the plinth ensure the floor area is clear of any hard/sharp objects.
To fit the plinth all you need to do is turn the cabinet over so that the bottom is
facing up. Then, place your plinth onto the cabinet ensuring that plinth is
orientated correctly and line up the bolt holes in the plinth with the inserts in
the cabinet. Then take your M10 bolts and secure the plinth to the cabinet.
Tighten them up gradually and ensure the plinth is fitted securely to the
cabinet. Fit the feet to the cabinet before turning the loudspeaker back over.
Please read the instructions below. The spikes are used to improve sound
quality and bass performance
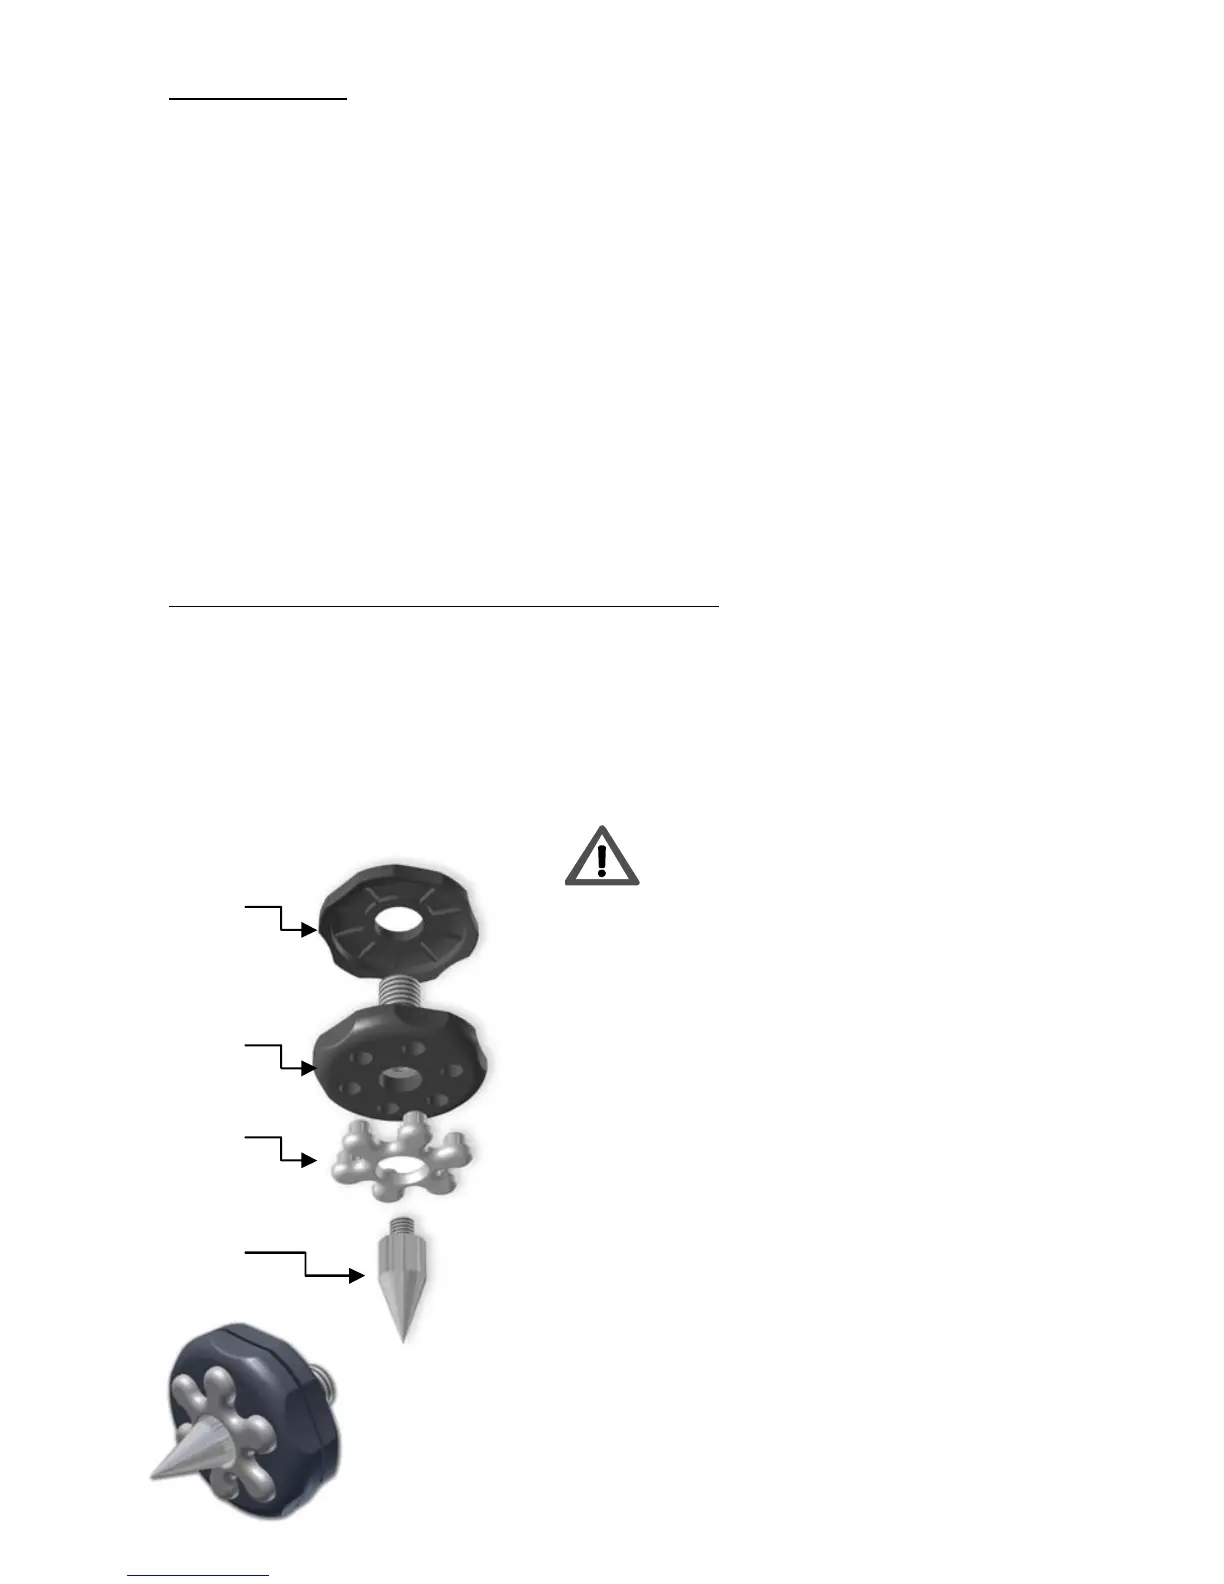
Spiked Foot Fixing For Carpeted Floors
(SilverRS5, RS6 & RS8 only)
The amazingly engineered composite Silver RS spiked footencorporates a spike
for use on carpeted floors and also, a soft polymer pad (for use on wooden or
tiled floors).
Please ensure there are no hidden
wires under the carpet that could
bedamagedby the spikes.
The foot comes fully assembled for use on
carpeted floors. All that is required is fixing
into the plinth. This is achieved by simply
screwing the feet fully into the 4-threaded
insert in the underside of the plinth. If your
carpet has a very thick pile, remove the soft
polymer pad from the foot to ensure the
spike goes right through the carpet into the
floor. With great care turn your cabinet the
right way up. Place the cabinet in your
desired location, and check that it is level
on all sides. If it is slightly off level,
unscrew the spike at the lowest point and
check again. Continue this process until
the cabinet is fully level. Use the locking
nut on the foot to fix the foot in place and to
stopany unwantedvibrations.
Locking Nut
Main Threaded