2
© Monitor Audio 2005 RS Rev 5
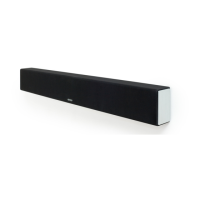
Introduction
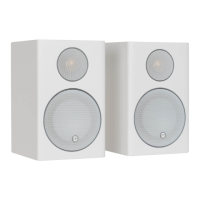
Thank you for purchasing Monitor Audio Silver RS loudspeakers, which have
been designed and constructed using quality systems and materials to provide
years of enjoyment, reliability andprideof ownership.
Our speakers are hand crafted from top to bottom using traditional
woodworking skills for our sumptuous cabinets, married with the state of the
art technologyof our renowneddrive units.
Music is and should be a natural enhancement of life. It stimulates the
imagination, changes your mood, helps you relax, and provides endless hours
of entertainment.
At Monitor Audio we pride ourselves in attempting to make the listening
experience as close as possible to the original ‘music’ production, or as we say
at Monitor Audioour aimis to makethemusic experience “As close as itgets”.
Please read through this manual to familiarize yourself with any safety advice
and how best to set up your speakers to achieve the very best listening
experience.
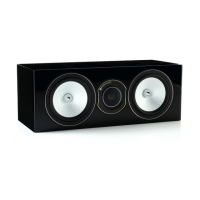
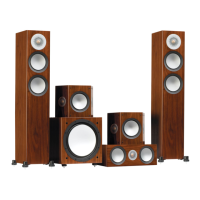
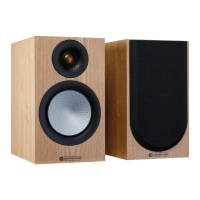
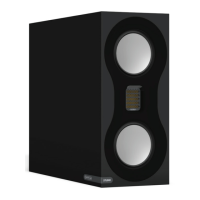
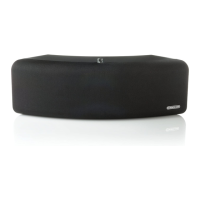
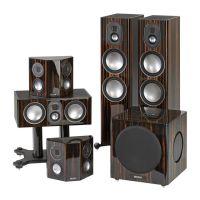
Your Silver RS loudspeakers come complete with grilles (all products), plinths
and spikes (RS5, RS6 and RS8 only). In with the RS LCR, you will find four self
adhesive rubber pads thatcan be placed on the bottom of the cabinet to protect
it against scratches and also to prevent vibrations moving it. There are also
foam port bungs with each speaker. Suggestions on use can be found below.
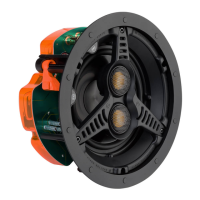
The RS FX comeswith a wall fixing kit includingall of the partsto secure them to
a wall.
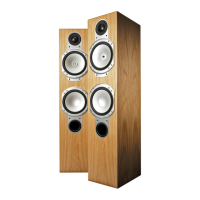
The RS1, RS5 and RS LCRare rear portedcabinet designs. Because of this
design, werecommend that when fixing theloudspeakers toa wall that the port
bungs areused. This may alsoapply when they arepositionedvery close toa
rear/sidewall.
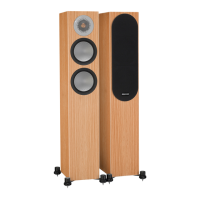
The RS6 and RS8 are both designed using two port tubes (per loudspeaker).
One is on the front of the cabinet; the other is on the rear. These ports should
not need to be blocked if you are using your loudspeaker in a room greater than
about 9m
2
. However, if you cannot implement the ideal speaker positioning,
then experiment using the port bungs. First start by fitting them in the rear
port, then the front, and then both to see which configuration is best suited to
your personal tastesand roomconstraints.
The portbungs areanother way of fine-tuning the loudspeaker to fit in sonically
in yourhomeenvironment.
WARNING: Care must be taken not to insert the port bungs too far into the port
as this may result in thefoam bungbeinglost insidethe cabinet.