Installation
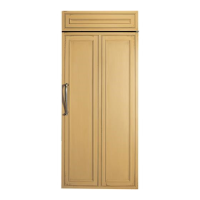
42" Built-In Refrigerator
• Bucket
• Level
• Appliance Hand Truck
• Tubing cutter
• 7/16" open-end wrench
• #2 Phillips screwdriver
• Stubby Phillips
screwdriver
• Drill and appropriate
bits
• 7/16" socket with 3"
extension for rachet
• Safety glasses
• Special plastic fastener
adhesive strips
• 1/4" panel foam spacers
• 1/4-1/4 union with nuts
For proper installation, this unit must be placed
on a level surface of hard material that is at the
same height as the rest of the flooring. This surface
should be strong enough to support a fully loaded
refrigerator.
CAUTION: Protect the
finish of the flooring. Cut a
large section of the
cardboard carton, lay on
the floor in the area where
you are working.
Monogram refrigerators offer many installation options.
The finished and rough-in dimensions are determined by
the type of installation being made. See Cutout Dimensions
on page 6 or 10 and “Side Panel or Filler Options” on
page 14.
• Water filter
WR97X0214 (optional
but recommended)
• Custom panel for fresh
food and freezer
compartments
• Side panels (see page 14)
• Hardware for side
panel installation
Side panels are normally set into place and fastened to
adjacent cabinetry. See “Side Panel or Filler Options”
on page 14.
With cardboard protective pad in position, use a
handtruck to roll refrigerator into the front of the
location cut-out.
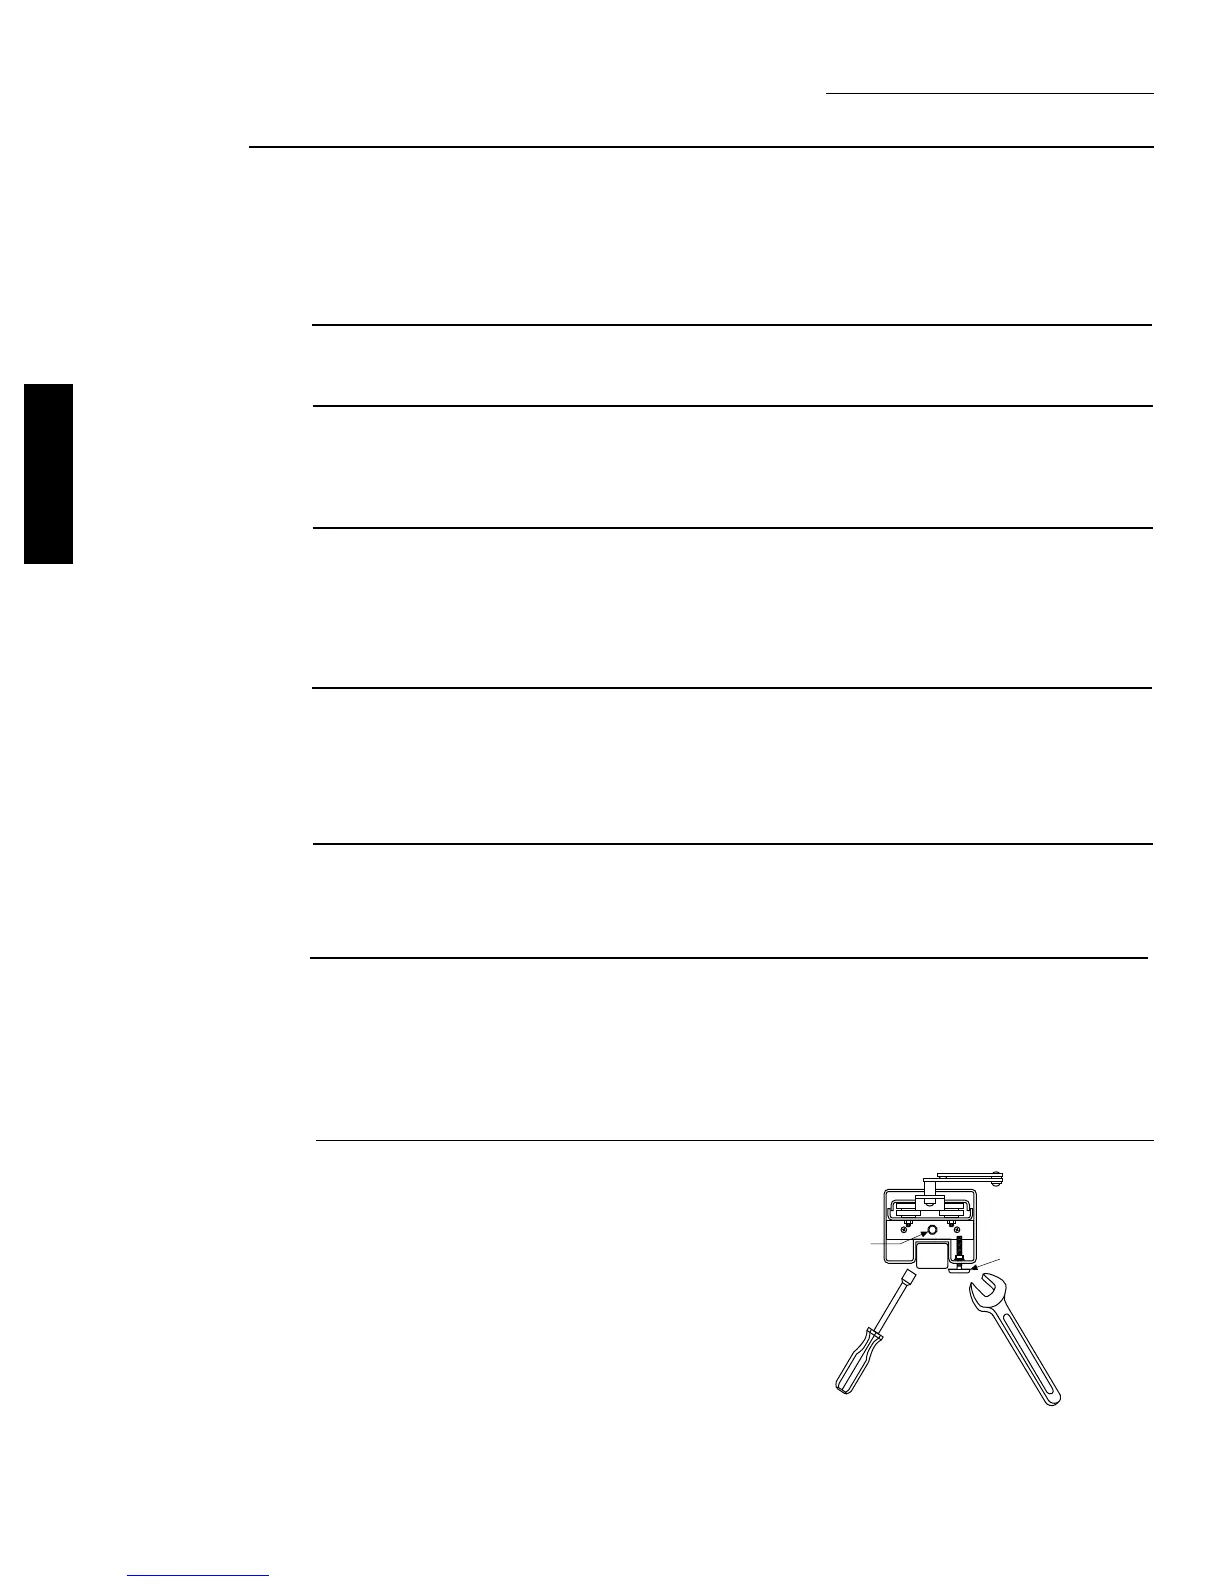
All models have 4-point leveling. The front is supported
by leveling legs, the back is supported by rear wheels.
• To level the back of the unit, turn the 7/16" hex nut
located above the front wheels.
• For front leveling, use the 1-1/2" open-end wrench
(provided).
• Turn hex nut or front leveling leg to raise or lower
the refrigerator.
• Adjust carefully, the refrigerator should be level
and plumb with cabinetry, and should align with
toekick height.
Hex Nut Adjusts
Rear Wheels
Leveling Leg
16
PRODUCT
INSTALLATION
• Tinsnips to cut
banding
• Stepladder
Tools
required
• 1-1/2" stamped open-
end wrench
• Water shut-off valve
(optional but
recommended)
Hardware
supplied
Hardware
required
Flooring
Cutout
information
Install
side panels
Step 4
Roll unit
into opening
Step 5
Level
refrigerator