17
Installation
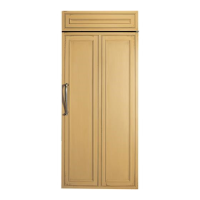
42" Built-In Refrigerator
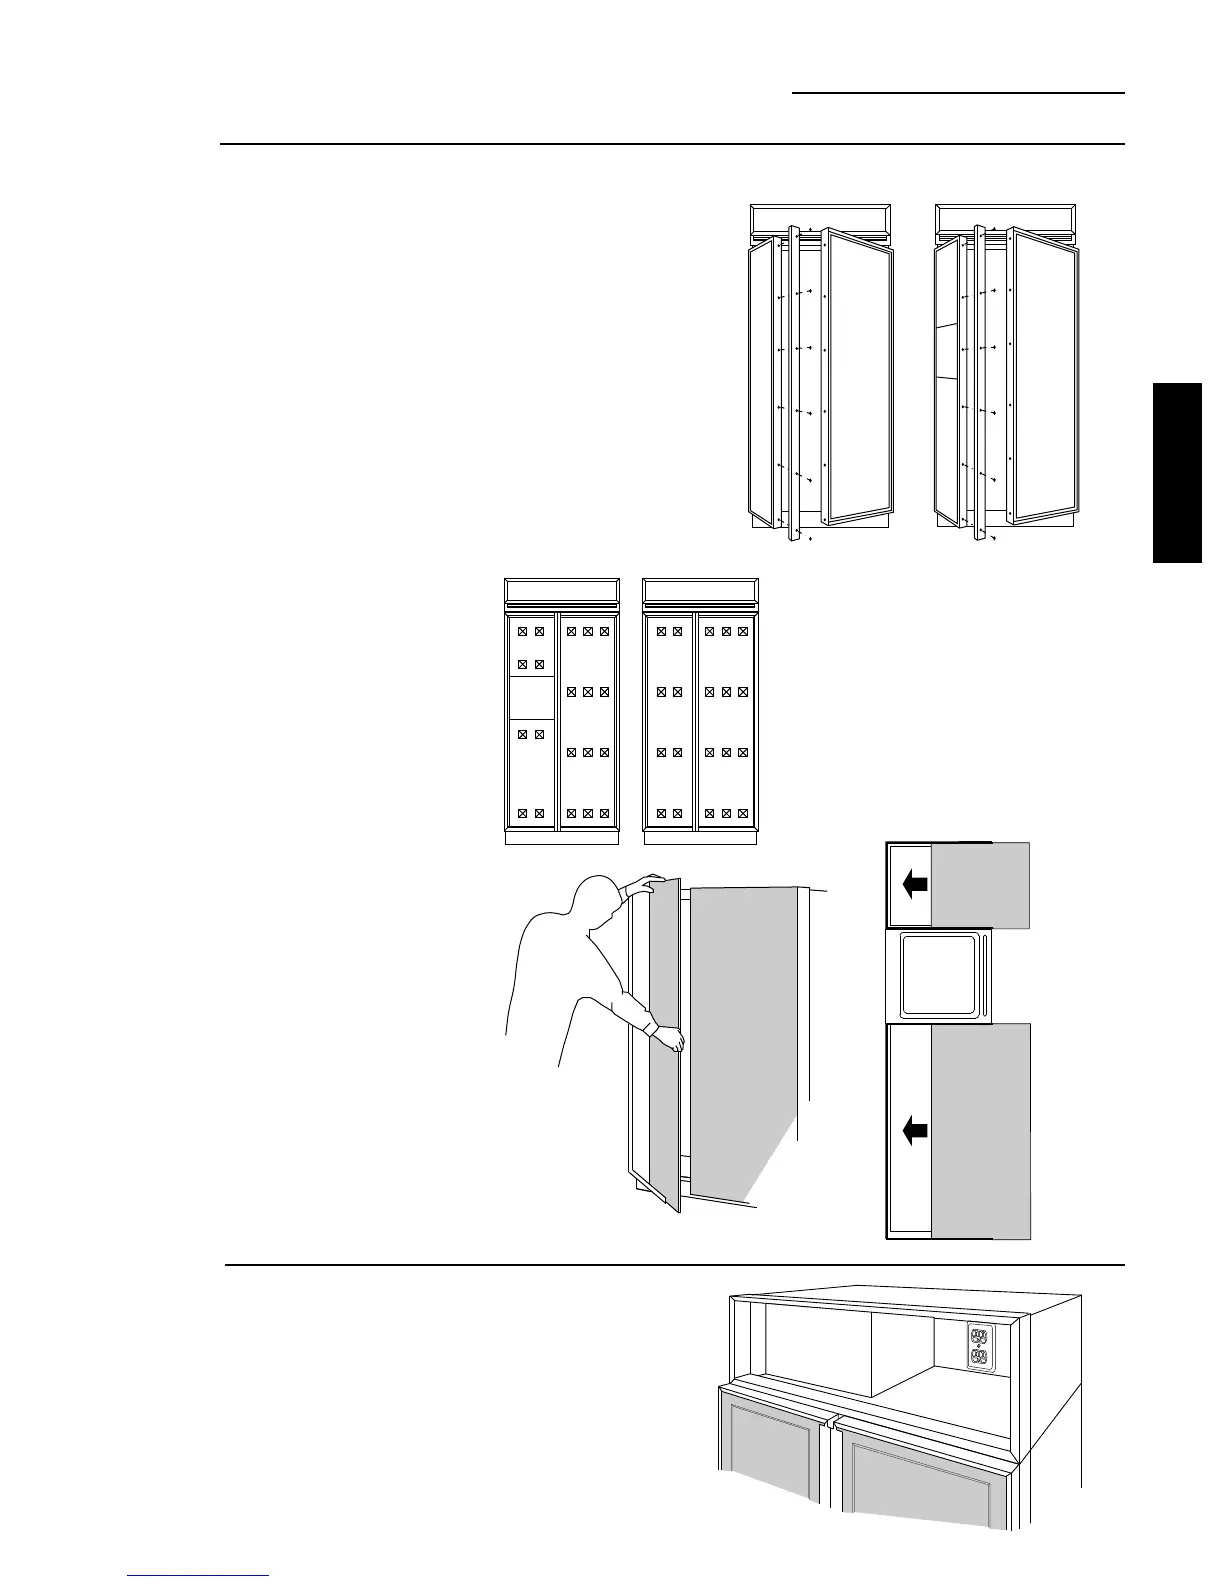
Step 6
Install 1/4"
door panels
• Attach 2" x 2" adhesive
backed foam pads to
the door. These fillers
assure proper fit. Fillers
are shipped with
literature package in
snack pack drawer.
• Slide in panels.
• Replace door handles
and secure with
original screws.
• Again, check to be
sure unit is level and
that panels align with
cabinetry. Doors will
not close properly if
unit is not level.
• Check for noises
caused by incomplete
alignment (rubbing of
panels, trim or screws).
If you are using 3/4" thick custom panels, see pages 8,
9, 12 or 13 for panel sizes with ZKT trim kit and/or
custom handles. Order the appropriate trim kit to suit
the appearance option.
If you are using the custom collar dispenser trim, order
ZWCD1 trim kit.
To install 1/4" door panels:
• Carefully remove the Phillips head screws from the
door handle endcaps, top and bottom.
• Open door to 90° stop. Remove the Phillips head
screws from the aluminum trim door handles. Retain
all screws.
Step 7
Connect
power
• Connect refrigerator power cord plug to properly
grounded receptacle, accessible through the top
right side of the hood opening.
• Check to make sure power to refrigerator is on by
opening refrigerator door to see if interior lights
are on.
PRODUCT
INSTALLATION