Reference 13-4July 2012 pg.3 of 8Copyright 2012 Monster Tower, Inc.
2
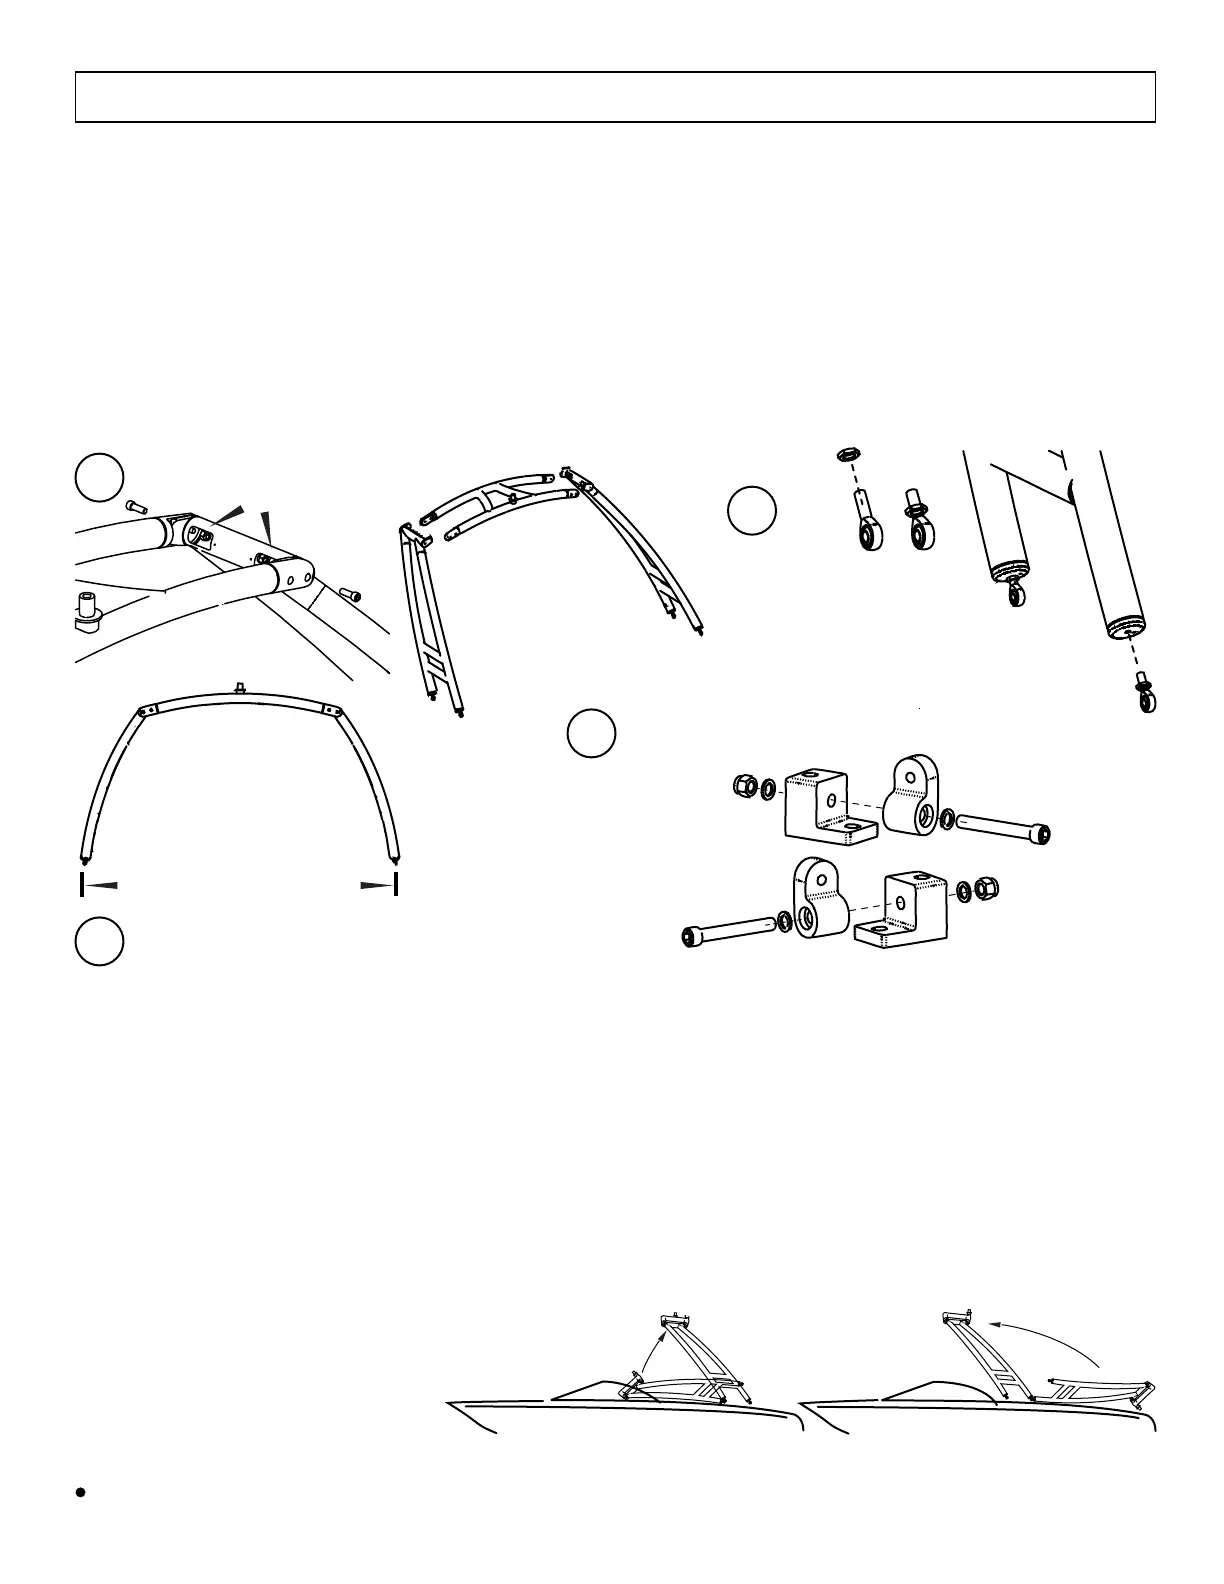
x 4
Screw Hex Jam Nut onto
Heim Jointas far as possible
then back off one turn. Hand
tighten the 4 Heim Joints onto
each leg footing. NOTE- When MTK is
fully assembled, Heim Joints must be
at least 9 turns into the leg bases.
3
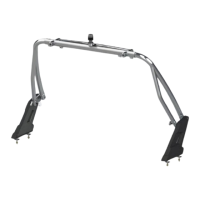
Attach Legs toTop Section
1
Begin Installation - Layout and Planning
During installation, you should protect the tower by doing all the layout of the tower on a tarp, blanket or carpet and leave as
much plastic wrapping on the legs and top section as possible. Protect the general mounting area of your boat by covering it
with a tarp or blanket. Use masking tape to protect your deck from scratches as you determine the location of the four bases.
The rst step when installing your MTK is to determine if your boat is better suited for a forward folding or back folding tower.
T
his determines where the leg bases will attach to your deck. If your MTK will ever be folded for storage, this location is more
important than where the tow point is located. Forward folding towers usually fold down behind the windshield within the boat
interior. If folding forward, the top section will rest on the driver seat, steering or dash. If folding to the back, the Top Section will
rest on your back seat or sun pad when folded.
Begin by measuring the approximate width of your boat. STEP 1. Attach both legs to the top section using the M10 x 40 bolts and
nuts
. The nuts are installed with a socket wrench through the access windows at the top of each leg. Position the legs to the boat
width and tighten the bolts so the legs stay in place when moving the tower. STEP 2. Attach the Heim Joints with jam nuts to the
base of each leg as shown below.
Set legs to the approximate
width of your boat
Access windows
Assemble 4 bases (2 Left and 2 Right) as shown
M12 x 85 Bolt
and washer
Base Mount
Base Mount
M12 x 85 Bolt
and washer
M12 Nylock Nut
and washer
M12 Nylock Nut
and washer
Swivel
Swivel
4
Make sure the legs are set to the approximate width of your boat. Forward folding is recommended if you will be adding speakers
and board racks. Customer photos on our website can be helpful for mounting ideas and where to mount the tower.
To test if a forward folding tower works best:
Hold the t
ower in a “face down” position over your deck. Move the tower toward the front of the boat until it’s close to the
windshield. Lay the tower on the deck making sure it doesn’t slide o. While standing inside the boat, pivot the tower to an upright
position (you will need the help of a friend or two). The tower must pivot to the upright position without contacting the windshield.
If it touches the windshield, move the tower back a bit and try again. Repeat until there is no interference with the windshield.
Make further adjustment depending on where you want the folded tower to rest. Note: If you plan on purchasing a Bimini, allow
extra space for the Bimini to fold with the tower. Also note that if the tower is too far back, the driver may not be covered by shade.
To test if a back folding tower works best:
W
ith your tower in a “face up” position have a friend help you lift the tower over the back of the boat. Move the tower forward until
the top section is within the back of your boat. Lay the tower on the deck making sure it doesn’t slide o. Get inside the boat and
pivot the tower to an upright position. Decide if the tow position is acceptable. If not, move the tower forward and repeat until the
tow position is to your liking.
After you decide an approximate location and
f
olding direction, put masking tape on
your boat in the general area that the
bases will be mounted. This protects your
deck from scratches during the next steps.
Determine which is best: Forward or Back folding.
“Face Down” Position
Forward Folding - front foot pivots
“Face Up” Position
Back Folding - back foot pivots
Go to: “Forward Folding Instructions” or “Back Folding Instructions”.
 Loading...