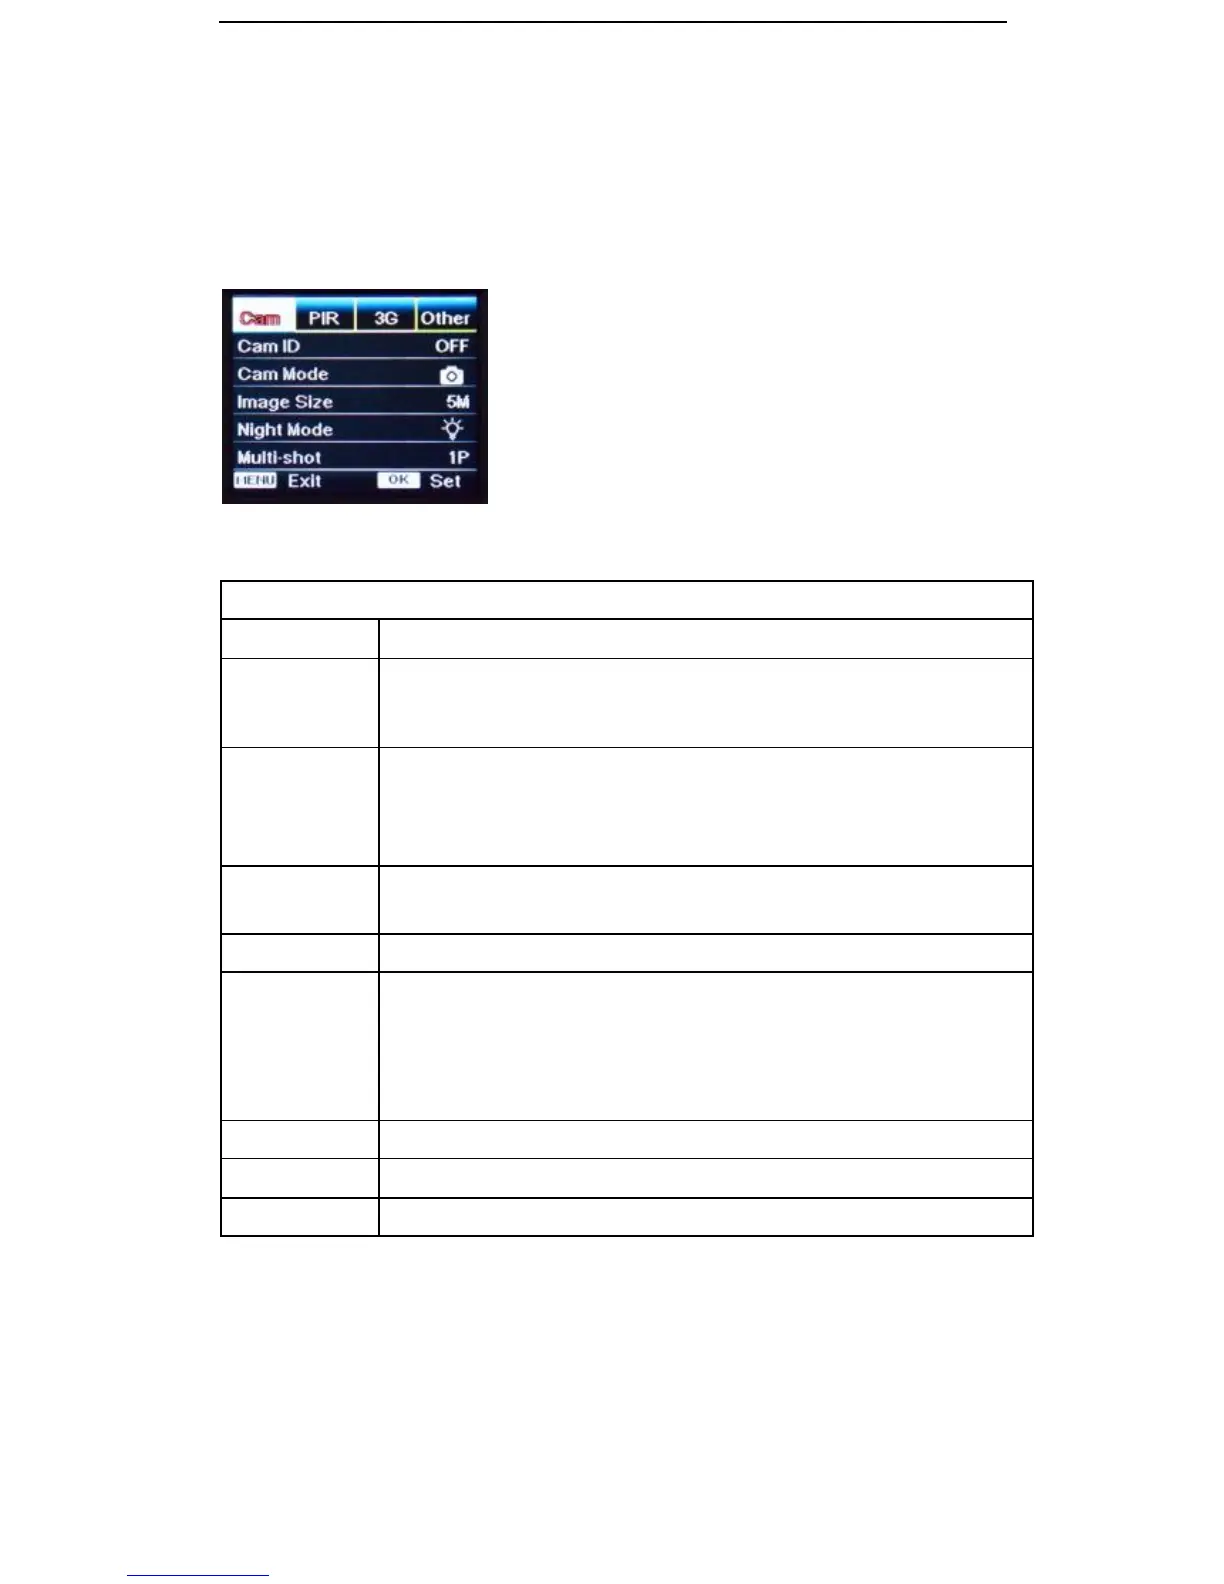
4.5 Operation Menu
Enter Test Mode: Press “M” once to enter camera setting menu. Navigate the settings interface
by pressing ←, ↑, →, or ↓, press “OK” for selection, “M” to exit to previous page, and “M” to
switch alpha/ digits/ symbols.
Select “ON”, press “OK”, to set 4 numbers / letters for ID of camera.
This function lets you identify photos taken from this particular camera and is
shown on the timestamp
When “Camera/Video Switch” is set to Camera icon
1) If select “PIC+Video”, camera shoots photo(s) first, then video on the same
trigger event. Based on Multi-shot and Video Length can be user
configured.
When “Camera/Video Switch” is set to Video icon
Video Recording mode only. Video Length can be user configured
5MP (2560*1920) 8MP (3264*2448) 12MP (4000*3000)
1) Min. Blur: Short exposure time to minimize motion blur for better image
quality. Shortened IR flash range.
2) Max. Range: Longer exposure time to extend IR flash range for better
night vision. Lower image quality.
3) Balanced: Combination of the above 2 options.
Programmable 1~5 photos per trigger
VGA (640*480) HD-720P (1280*720) FHD-1080P (1920*1080)