EasyManua.ls Logo

moore o matic 700 User Manual

moore o matic 700
18 pages
To Next Page IconTo Next Page
Page #1 background imageLoading...
Page #1 background image
Model 700/727/750/757 S & J &700-240 date from 70’s to approx.
1989.
Check the serial # if the unit is pre 83 NO PARTS ARE AVAILABLE.
If newer than 83 warn the customer of parts being obsolete.
The following parts are available at this time 8/9/00, check inventory
before committing to availability. When our inventory is depleted the
parts will be considered obsolete/NLA
.
DESCRIPTION OLD PART# NEW PART #
9 TOOTH PINION GEAR A6725 A6725 NLA
CAPACITOR 43-53 MFD A6993 210719
CAPACITOR 53-64 MFD 6026-000 210718
LIGHT LENS 8311-000 8311-000
TORQUE SENSOR
(RPM)
A7767 A7767P
LIMIT GEAR A6720 A6720
38 TOOTH GEAR A6721 A6721
36/9 TOOTH GEAR A6723 A6723
9 TOOTH SPROCKET
(JAMB)
A6728 A6728
13 TOOTH
SPROCKET(
SECTIONAL)
A6724 A6724 - use A7274
LOGIC BOARD AAE00341 AAE00341
Question and Answer IconNeed help?

Do you have a question about the moore o matic 700 and is the answer not in the manual?

moore o matic 700 Specifications

General IconGeneral
Horsepower1/2 HP
Drive TypeChain Drive
Remote ControlYes
Safety SensorsYes
Battery BackupNo
Warranty1 Year

Summary

Safety Precautions

Door Preparation

Instructions for preparing the garage door before operator installation.

Setting Radio Receiver and Transmitter Codes

Sectional and One Piece Track Doors

Mounting Header Bracket

Instructions for mounting the header bracket for sectional/track doors.

Attaching Door Bracket And Door Arm

Door Arm Assembly for Sectional Doors

Details on attaching the door bracket and arm for sectional doors.

Door Bracket and Arm for Trackless Doors

Instructions for trackless doors, referencing figures.

Connection To Power Source

Connecting Power Cord

Steps for connecting the operator to a power source.

Trackless Doors (Jamb)

Attaching Header Bracket

Steps for attaching the header bracket for trackless doors.

Mounting The Door Bracket And Door Arm

Door Bracket and Arm Installation for Trackless Doors

Detailed steps for installing door bracket and arm for trackless doors.

Connecting Door Arm Sections

Steps to connect the door arm sections and quick release cord.

Adjusting Door Travel

Up-Down Travel Adjustment

Procedures for adjusting the up and down travel limits.

Setting Travel Limits

Adjusting the up and down travel limit screws.

Parking the Door for Adjustment

Method for stopping the door to facilitate travel limit adjustment.

Adjusting Door Pressure Sensitivity

Decreasing Door Pressure

Steps to reduce door pressure sensitivity.

Increasing Door Pressure

Steps to increase door pressure sensitivity.

Mounting Operator To Header Bracket

Positioning Power Head

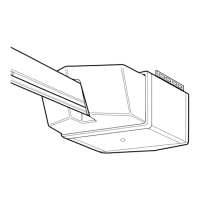
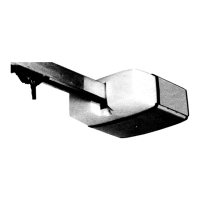
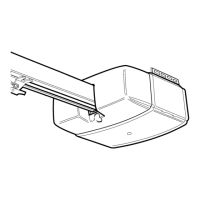
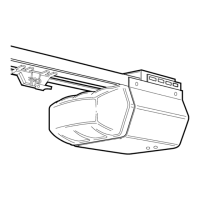
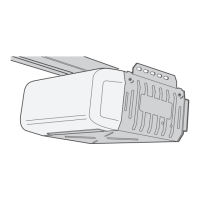
Instructions on how to position the power head during installation.

The Posi-Lock Stop

Installing the Posi-Lock Stop

Steps for installing the Posi-Lock STOP and SPACER.

Trouble Shooting Guide

Phantom Operation

Cause and remedy for the operator starting without cause.

Limit Switch Issues

Cause and remedy for the door not shutting off at limits.

Obstruction Reversal Issues

Troubleshooting for the door not reversing on obstruction.

Replacement Parts List

Related product manuals