
C
Christine RossAug 2, 2025
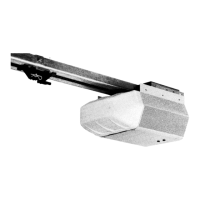
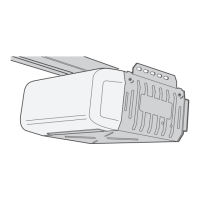
How to fix a moore o matic XX325 when the door won't close?
- VValerie DurhamAug 2, 2025
If your moore o matic Garage Door Opener door won't close, the issue might be shorted wall station wires. Check the wall station wires, ensuring both are connected to the terminal screws. Also, inspect for any staples compressing the wire and remove them.