14 AP-8132 Access Point
2.7 Suspended Ceiling Tile (Plenum) Mount Instructions
An above the ceiling installation requires placing the access point above a suspended ceiling and installing the
provided light pipe under the ceiling tile for viewing the rear panel status LEDs of the unit. An above the ceiling
installation enables installations compliant with drop ceilings, suspended ceilings and industry standard tiles from
.625 to .75 inches thick.
The mounting hardware required to install the access point above a ceiling consists of:
• Light pipe
• Badge for light pipe
• Safety wire (strongly recommended)
• Security cable (optional)
To install the access point above a ceiling:
1. If possible, remove the ceiling tile from its frame and place it, finish side down, on a work surface.
2. If required, install a safety wire, between 1.5mm (.06in.) and 2.5mm (.10in.) in diameter, in the ceiling
space.
3. If required, install and attach a security cable to the access point’s lock port.
4. Mark a point on the finished side of the tile where the light pipe is to be located.
5. Create a light pipe path hole in the target position on the ceiling tile.
6. Use a drill to make a hole in the tile the approximate size of the access point LED light pipe.
NOTE Notes or warnings about suspended ceiling mounts apply to all
installations where the unit is placed on suspended ceiling tile.
CAUTION Motorola does not recommend mounting the access point directly to
any suspended ceiling tile with a thickness less than 12.7mm (0.5in.)
or a suspended ceiling tile with an unsupported span greater than
660mm (26in.). Motorola strongly recommends fitting the access point
with a safety wire suitable for supporting the weight of the device.
The safety wire should be a standard ceiling suspension cable or
equivalent steel wire between 1.59mm (.062in.) and 2.5mm (.10in.) in
diameter.
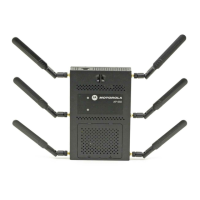
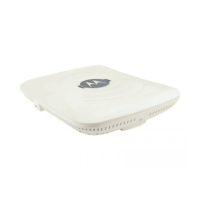
NOTE Remove the access point’s facade and antennas before installing in an
above the ceiling orientation. The access point is not certified for an
above the ceiling installation with its accessories installed.
CAUTION Motorola recommends care be taken not to damage the finished
surface of the ceiling tile when creating the light pipe hole and
installing the light pipe.
!
!

 Loading...