Do you have a question about the Mount-It! 2781 and is the answer not in the manual?
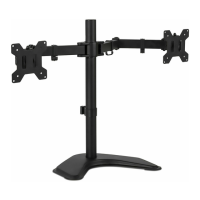
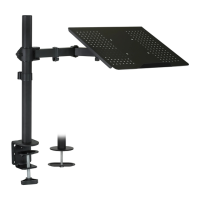
Install the Pole(a) to the Weighted Base(b) using M5x14 Bolts(e) and the Allen Key(o).
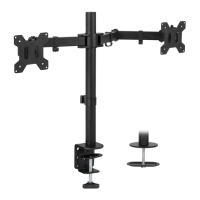
Install the Grommet Base Plate(m) to the Pole(a) using M5x14 Bolts(e) and the Allen Key(o).
Install the Grommet Base Plate(m) to the Pole(a) using M5x14 Bolts(e) and the Allen Key(o).
Install the Swivel Arm(c) to the Pole(a) and attach Wire Clips(n1, n2).
Attach the VESA plate using M4x12 Bolts(q) for monitors with a flat back.
Attach the VESA plate using M4x30 Bolts(r) and M4 Spacers(s) for curved or recessed backs.
Tighten the bolt with Allen Key(o) to fix tilt angle or adjust monitor height.
Use Allen Key(o) for adjustments and store keys in Wire Clip(n1).
| VESA Compatibility | 75x75mm, 100x100mm |
|---|---|
| Material | Steel, Aluminum |
| Number of Screens Supported | 1 |
| Height Adjustable | Yes |
| Color | Black |
| Category | Racks & Stands |
| Placement | Desk |
| Maximum Screen Size Supported | 32 inches |
| Rotation | 360 degrees |
| Number of Shelves | 0 |