EasyManuals Logo

Moxa Technologies NAT-102 Series User Manual

Moxa Technologies NAT-102 Series
10 pages
To Next Page IconTo Next Page
To Previous Page IconTo Previous Page
Page #5 background imageLoading...
Page #5 background image
- 5 -
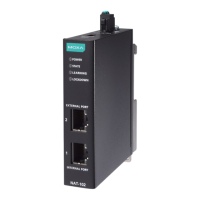
Suggested Installation Method
STEP 1:
Insert the upper lip
of the DIN-rail
kit into the mounting rail.
STEP 2
:
Press the
NAT-102 Series towards
the mounting rail until it snaps into
place.
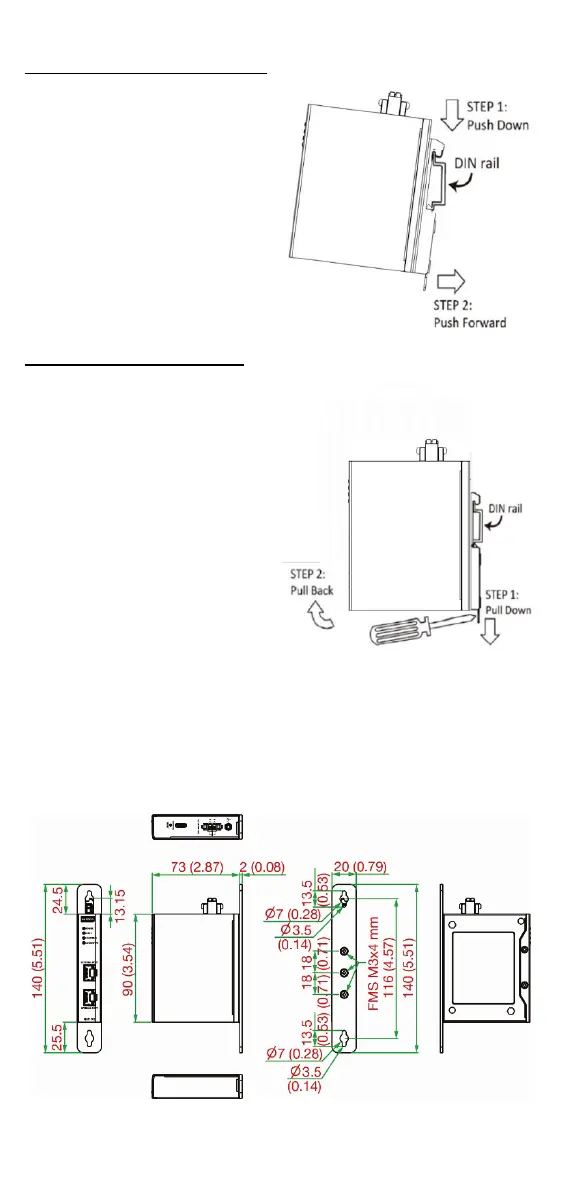
Suggested Removal Method
STEP 1:
Pull down the latch on the DIN
-rail
kit with a screwdriver.
STEPS 2 & 3
:
Slightly pull the
NAT-102 Series
forward and lift
it up to remove it
from the mounting rail.
Wall Mounting
For some applications, you will find it convenient to mount the NAT-102
Series on the wall, as shown in the following illustrations.
STEP 1: Remove the aluminum DIN-rail attachment plate from the rear
panel of the NAT-102 Series, and then attach the wall mount plates
with three M3 screws.

Questions and Answers:

Question and Answer IconNeed help?

Do you have a question about the Moxa Technologies NAT-102 Series and is the answer not in the manual?

Moxa Technologies NAT-102 Series Specifications

General IconGeneral
BrandMoxa Technologies
ModelNAT-102 Series
CategoryNetwork Router
LanguageEnglish

Related product manuals