SMPPT Installation & Operation Manual Version 1.0
15
(1) Connect the battery with the battery terminal on the controller by
cables and fasten the screws.
(2) Connect the load with the load terminal on the controller by cables and
fasten the screws.
(3) Connect the solar panels array with the solar panel terminal on
controller by cables and fasten the screws.
E. Switch on the breaker or fuse of the battery, then the LCD displays the
system status. Switch on the breaker or fuse of the load. (more
information about LCD see Chapter 5.)
F. Switch on the breaker or fuse of the Solar panel, then the controller starts
to charge the battery.
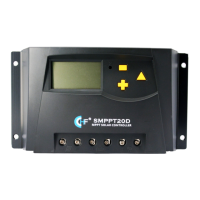
5. Operation Instructions
5.1 Symbols
Figure 5.1-1
1. Data display area 2. Day and night 3. Charging 4. Capacity
5. Discharging 6. Load 7. Unit
5.2 LCD Interface
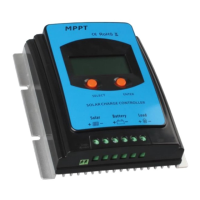
5.2.1 Startup Interface
Photo 5.2-1
⑴ Startup interface: the interface when system is powered on by which you check whether the
LCD is in good condition
⑵ Working voltage of controller: battery voltage detected by controller
⑶ Rated working current: Rated charging and discharging current of controller