9
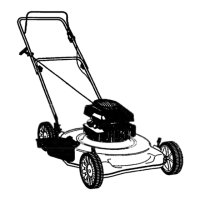
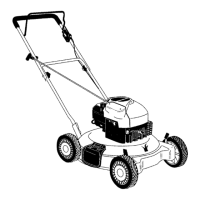
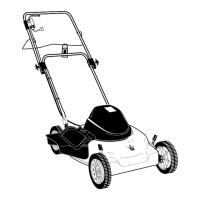
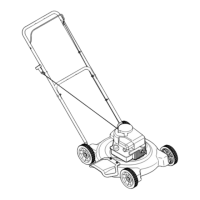
Attaching Lower Handle
(Hardware A)
• Raisetherearofthedeckandplaceitonablock
securely.
• Placethelowerhandleoverthedeckaligningthe
lower two holes in the handle with the corresponding
holes on the deck. See Figure 4-2.
• Attachthelowerhandletothedeckwithshoulder
screws in the upper hole and hex screws in the lower
hole as shown in Figure 4-2, secure both with hex
flange locknuts. Tighten securely.
Attaching Upper Handle
(Hardware B)
• Placetheupperhandleinpositionoverthelower
handle. The blade control must be on the upper side
of the handle.
• Securetheupperhandletothelowerhandleusing
the carriage bolts and hex flange lock nuts, see
Figure 4-3. Make sure that the carriage bolt heads go
on the outside of the handle.
Attaching the Chute Deflector
(Hardware D)
The chute deflector provided is a safety device. Do not
operate the mower unless the chute deflector has been
properly installed.
• Placethechutedeflectorinpositiononthedeck,
aligning holes. See Figure 4-4.
• Insertthecarriageboltsfromtheundersideofthe
deck up through the chute deflector. Secure each bolt
with a flat washer and locknut.
• Makecertainallnutsandboltsaretightenedsecurely.
Figure 4-2
3HOULDER
3CREW
&LANGE.UT
(EX3CREW
#ARRIAGE"OLT
&LANGE,OCK.UT
&LAT7ASHER
Figure 4-4
Figure 4-3
Flange Lock Nut
Carriage
Bolt
4
WARNING
Do not run your
lawn mower without
chute deflector or
an approved grass
catcher in place. The
deflector will deflect
a projectile thrown
by the blade into the
lawn.
Setup and
Adjustments
IMPORTANT
This unit is shipped
WITHOUT GASOLINE
or OIL. After assem-
bly, service engine
with gasoline and
oil as instructed in
the separate engine
manual packed with
your unit.
 Loading...