6
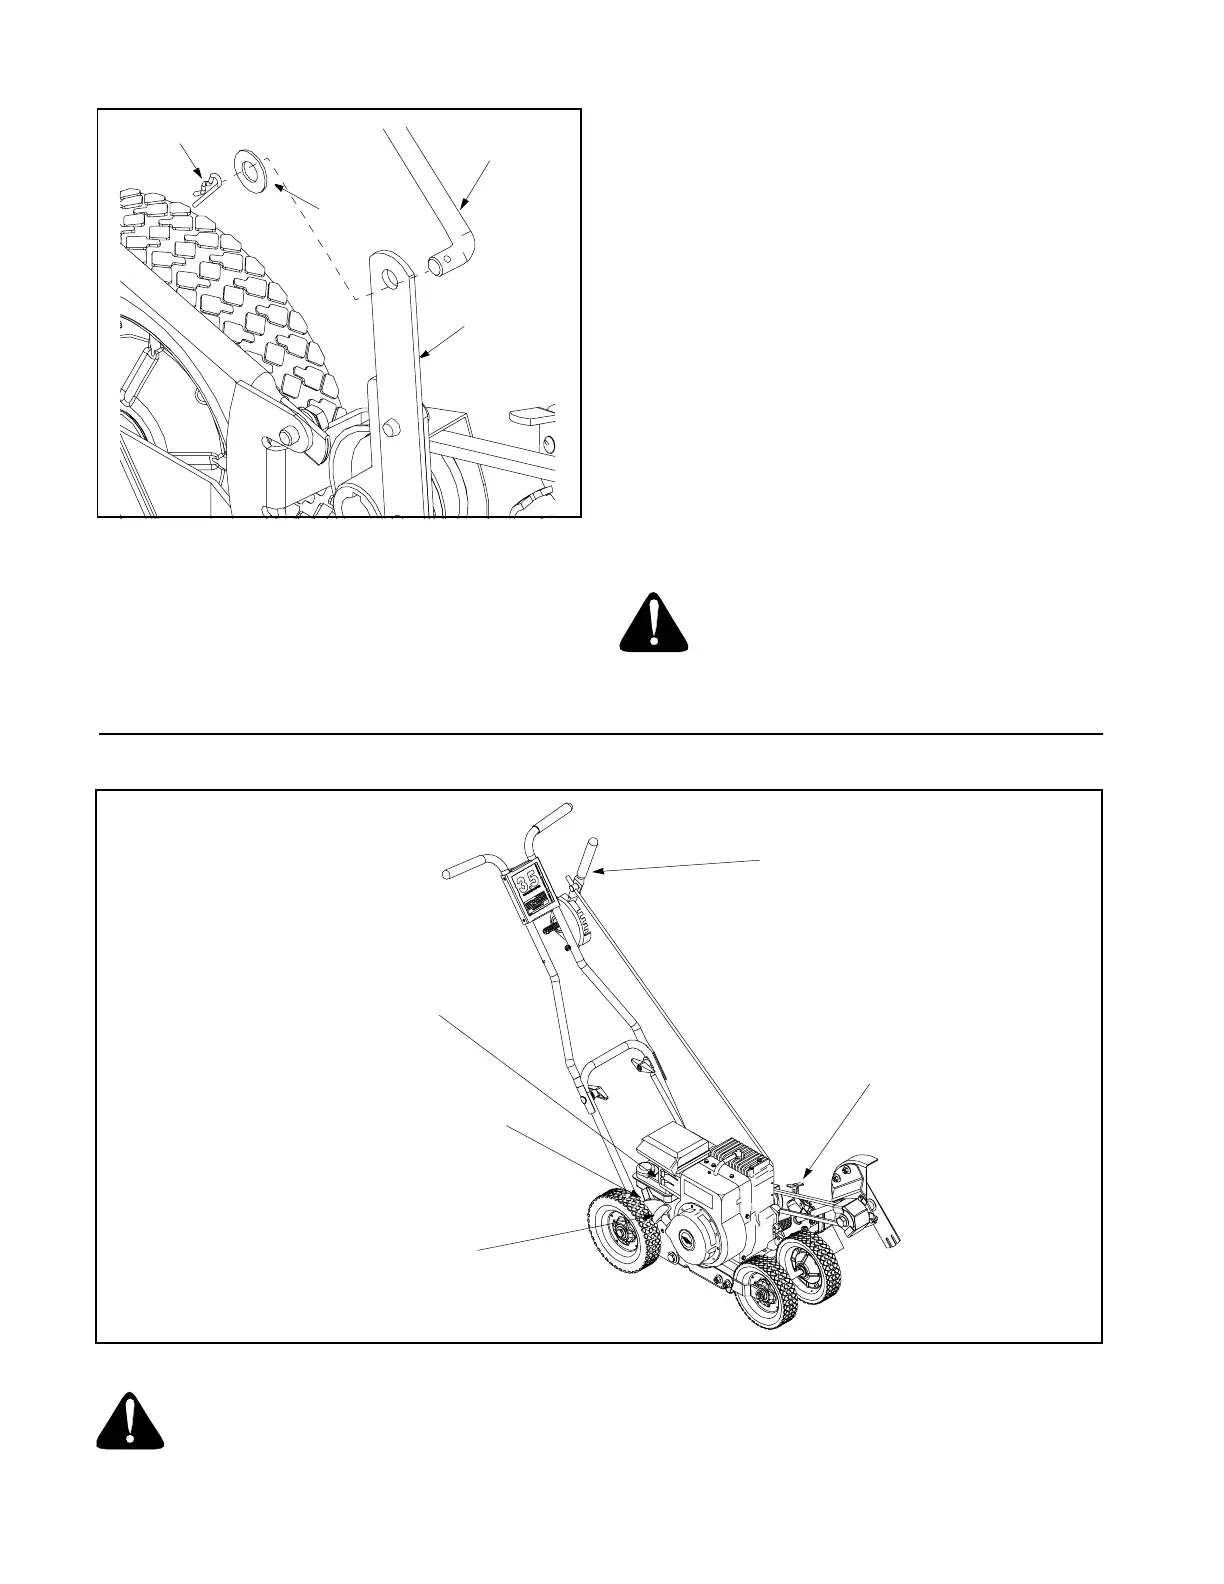
Figure 5
IMPORTANT:
Perform the clutch rod adjustment before
operating the edger.
Clutch Rod Adjustment
Before operating the edger, check the adjustment of the
clutch rod as follows:
• Disconnect the spark plug wire and ground it as
instructed earlier in this section. Refer to Figure 2.
• With the blade clutch/depth control lever in the
disengaged position (the top notch in the depth
adjustment bracket), carefully pull the recoil starter
rope. The blade on the edger should not turn. If the
blade turns, remove the ferrule from the blade
clutch/depth control lever by first removing the
hairpin clip and flat washer.
• Rotate the ferrule clockwise one or two turns on the
clutch rod, then re-insert the ferrule into the lever
and recheck the adjustment.
• After adjusting, check to be certain the blade clutch/
depth control lever can be moved to the furthest
notch forward without bowing the clutch rod. If it
can’t, recheck the adjustment.
IMPORTANT:
Be certain that the clutch rod is secured at
both ends with a flat washer and hairpin clip before
operating the edger.
WARNING: When operating the edger, stop
engine immediately and readjust the clutch
rod if the blade turns with the blade clutch/
depth control lever in the disengaged position.
SECTION 3: KNOW THE EDGER
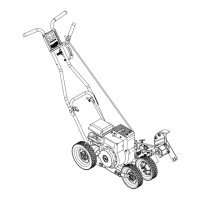
Figure 6
WARNING: Be familiar with all controls
and their proper operation. Know how to
stop the machine and disengage them
quickly.
NOTE: Refer to the Briggs & Stratton Operator/Owner
Manual packed with your edger for a detailed
description of all engine-related controls and
components.
Clutch Rod
Pivot Arm
Flat Washer
Hairpin Clip
Throttle Control &
Choke Control
Blade Clutch /
Depth Control Lever
Pull Rope / Recoil Starter
Blade Angle
Adjustment Lever
Curb Height
Adjustment Lever
NOTE:
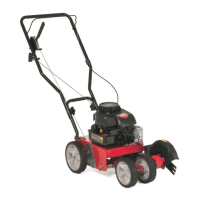
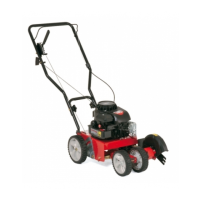
Handle, wheel and blade styles vary by model. Yours may differ slightly.
 Loading...