4MUDITA HARMONY - USER GUIDE
the screen in the dark. E ink also conserves the battery since
it doesn’t need energy to maintain an image. This is why
when the device is OFF or when the battery is dead it still
holds an image on the display with certain information.
4. TRANSPORTATION MODE AND
INITIAL CONFIGURATION
4.1 Transportation mode
Each Mudita Harmony is set to transportation mode to
ensure safe handling during shipping. Once you receive the
device, it will display information about turning the device
on, even though it is switched o, since e Ink can hold an
image without using energy.
To exit transportation mode, charge the device for at least 3
hours before you proceed with the initial configuration.
4.2 Initial configuration
Turning the device ON for the first time
• To turn Mudita Harmony ON, lightly click on the main
button
• Wait for for the device to switch ON
• Click the light button to move forward with the configura-
tion
• Click the back button in order to switch the device OFF
again
• If you do not interact with the device for 5 seconds, it will
automatically return to the previous screen and switch the
device OFF
Selecting language and time
• Use the main button and back button to navigate around
the interface - see Navigating with the device (2.2)
• Choose the language
• Choose time format - 12h or 24h
• Select hour, minutes, (optional AM/PM if choosing 12h
format)
5. HOME SCREEN
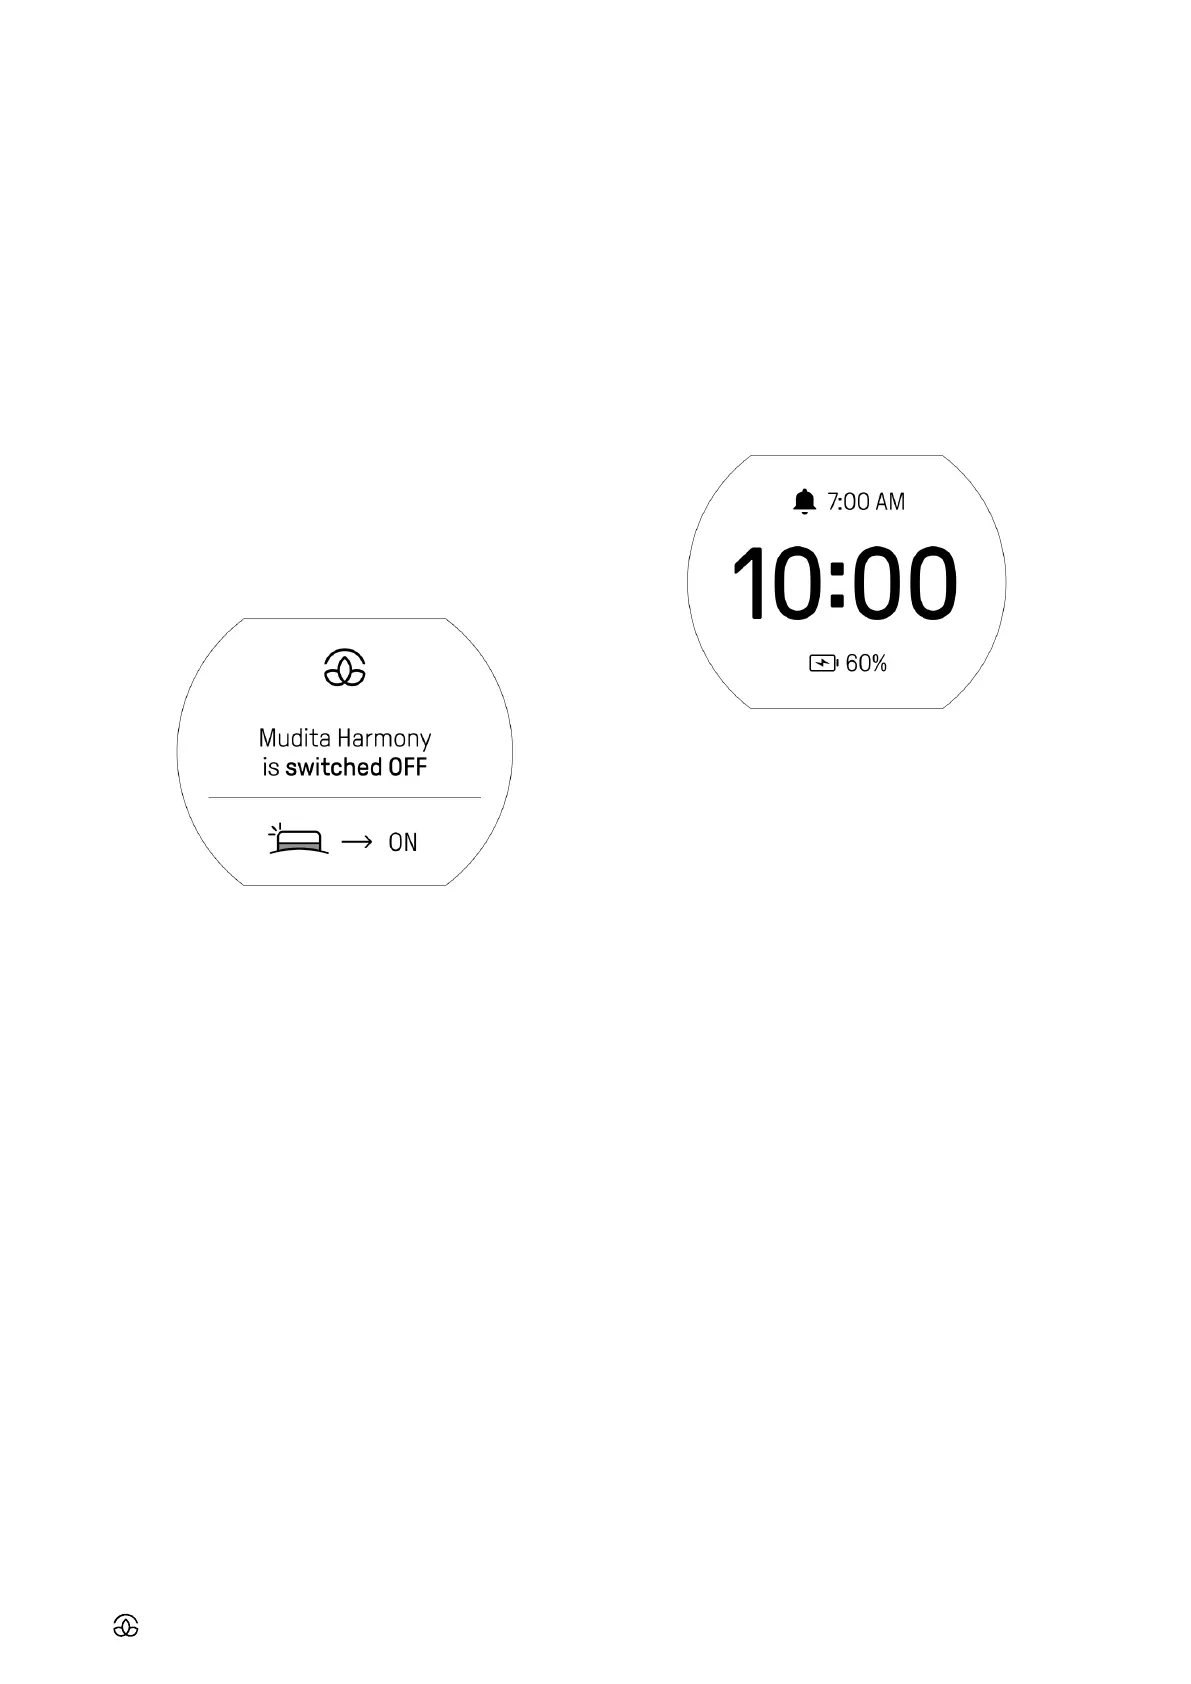
5.1 Elements on the home screen
• Time
• Alarm status - it will appear after deep pressing the knob
• Alarm time - if the alarm is activated (orange band on the
knob will be visible)
• Charging status - if the device is plugged in
• Low battery status - if the battery is low
5.2 Navigating the home screen
• To access menu, light click the main button
• To check the battery status, press the back button for 2
seconds
• To light up the screen, press the light button
6. ALARM INFORMATION
6.1 General information
Mudita Harmony is equipped with a fully customized alarm.
We designed the alarm to gently wake you up. This is why 10
minutes (default, but customizable) before the main alarm
you’ll be lightly woken up by a pre-wake up tone and a warm
light. The main alarm of your choice will gently wake you up,
but the snooze function will enable you to stay in bed for a
little longer. Check out more specific information about basic
alarm navigation in simple steps below.
6.2 Alarm activation
Deep press the main knob to activate the alarm - the orange
band must be visible for the alarm to be activated.
6.3 Snooze activation
While the alarm is going o, you can activate the snooze
function by:
• Lightly pressing the main knob
• Rotating the main knob