8MUDITA HARMONY - USER GUIDE
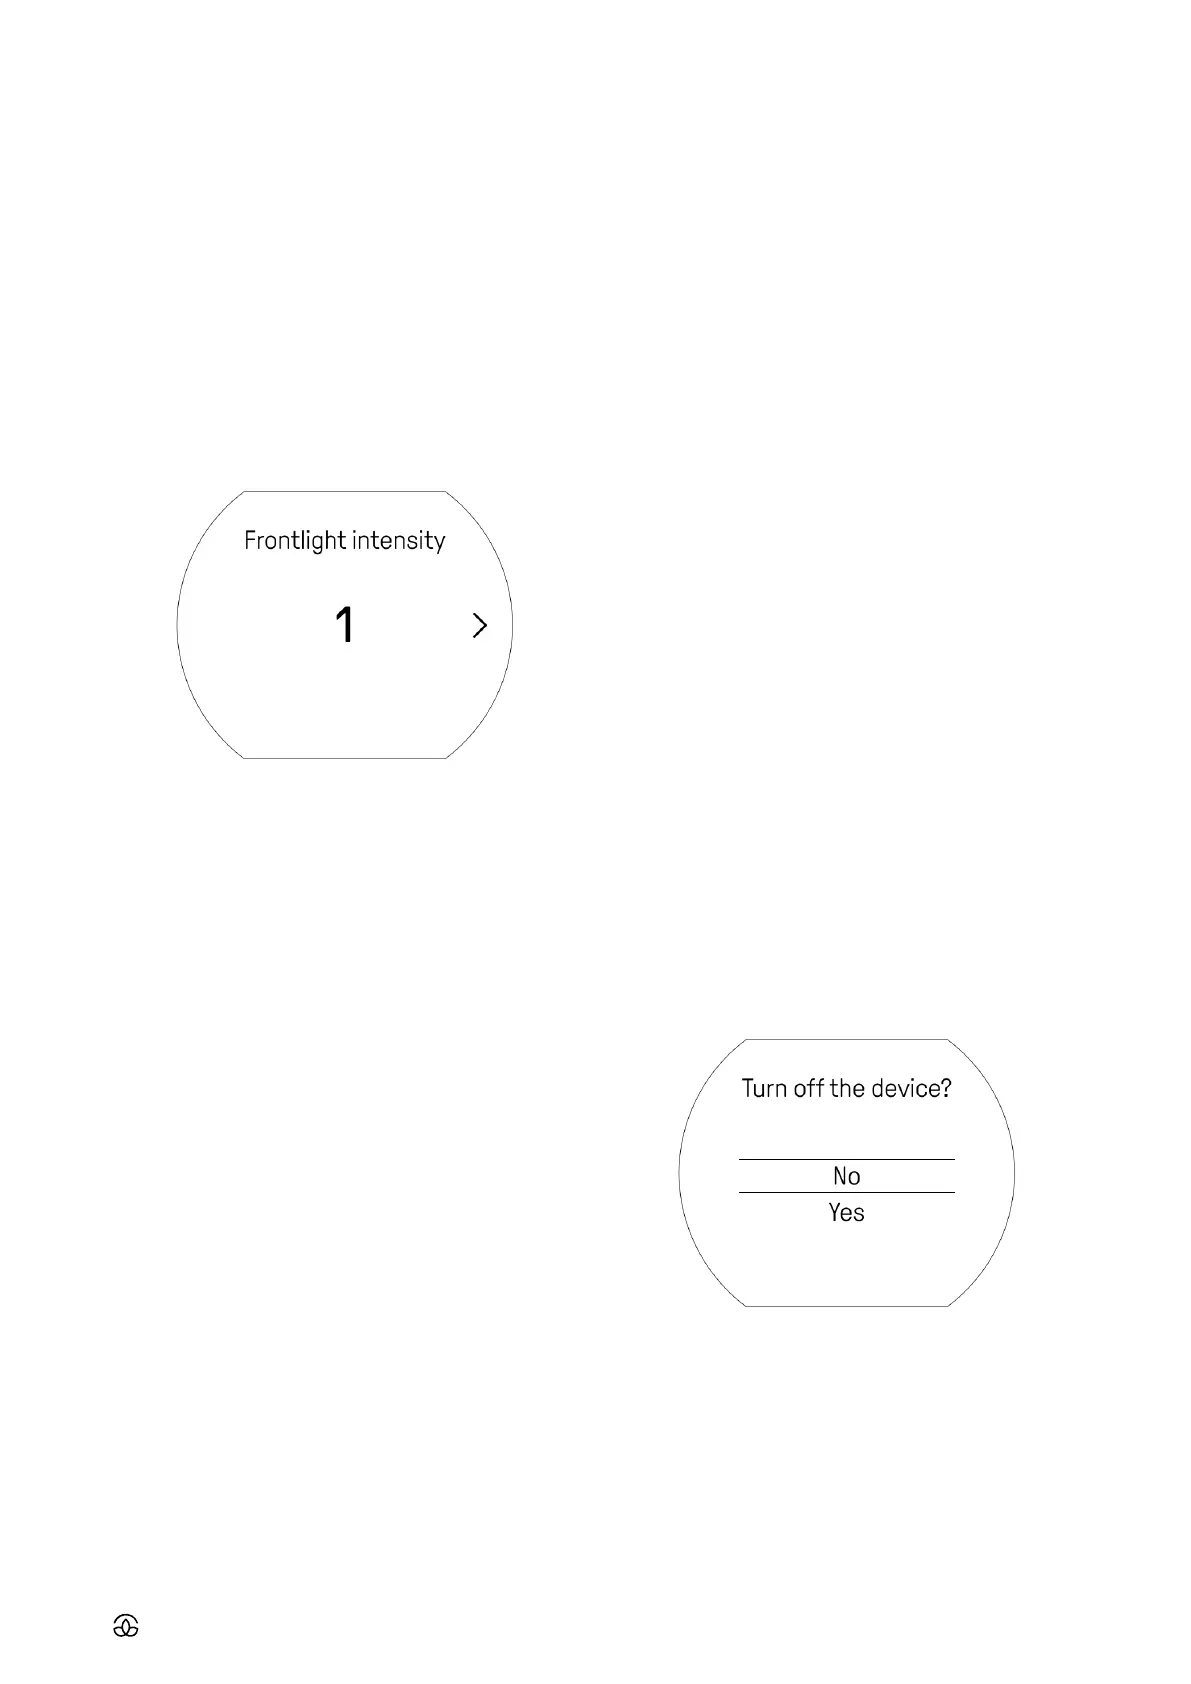
13.2 Frontlight settings
Frontlight is both dedicated to enable readability, especially
at night as well as a part of Mudita Harmony’s functionalities
such as alarm clock or pre-wake up chime. The front light
can be customized separately in each functionality’s setting.
For general frontlight settings:
• Starting from home screen, lightly click the main knob to
access menu
• Choose ‘Settings’
• Then choose ‘Frontlight’
• Choose general light intensity
• Then, choose if the light should switch ON:
• Auto - frontlight will light up while using the device
and after pressing light button
• On demand - frontlight will switch only when you
press the light button
14. CLOCK FACE
You are able to customize Harmony’s clock face and choose
your favorite main screen design and information that are
displayed.
• Light click the main knob to access menu
• Choose ‘Settings’
• Choose ‘Clock face’
• In next steps, choose your favorite main screen layout
15. BATTERY
15.1 Battery status
• To check the battery status, on the home screen, press
back button for 2 seconds
• When the device runs on low battery, it’ll display low bat-
tery status on the home screen.
• When the device is charging, a battery icon with a per-
centage level will appear on the home screen.
• When the battery level reaches 100% while charging, the
battery icon will disappear.
• When the device is discharged, it’ll display dead bat-
tery screen and will not respond to any interaction until
plugged in to charge
15.2 Charging the device
• To charge the battery, use a USB-C/USB-A cable and an
AC/DC adapter, a wall charger (not included in the box)
with a USB-C charging cable.
16. ADVANCED SETTINGS
Access advanced settings by:
• Starting at home screen, light click to access menu
• Choose ‘Settings’
16.1 Time settings
• Choose ‘Time’
• Choose 12h or 24h time format
• Set current hour
16.2 Language
• Choose ‘Language’
• Select the desired language
17. TURNING THE DEVICE OFF AND ON
17.1 To turn the device OFF
• Access the main menu (light click on knob while displaying
home screen)
• Choose ‘Settings’
• Choose ‘Turn o’
• Choose ‘Yes’ by confirming with light click on the main
knob
17.2 To turn the device ON
• Light click the main knob
• Wait for the device to turn on
18. RESETTING THE DEVICE
18.1 Soft reset