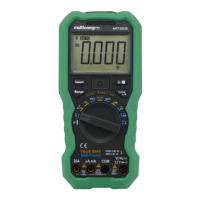
User Manual
2. Quick Start
General Inspection
After you get a new multimeter, make a check on the instrument according to the
following steps:
1. Check whether there is any damage caused by transportation.
If the packing boxes or foam cushions are found to have serious damage, keep them
in a safe place until the complete instrument and accessories have passed the
electrical and mechanical tests.
2. Check the Accessories
Check that all the parts and accessories are included and in serviceable condition.
3. Check the Complete Instrument
If the instrument is damaged in its appearance or it fails in normal operation or
performance test, do not use it and contact the supplier directly.
Install the Batteries
The multimeter is powered by a 9V (6F22) battery.
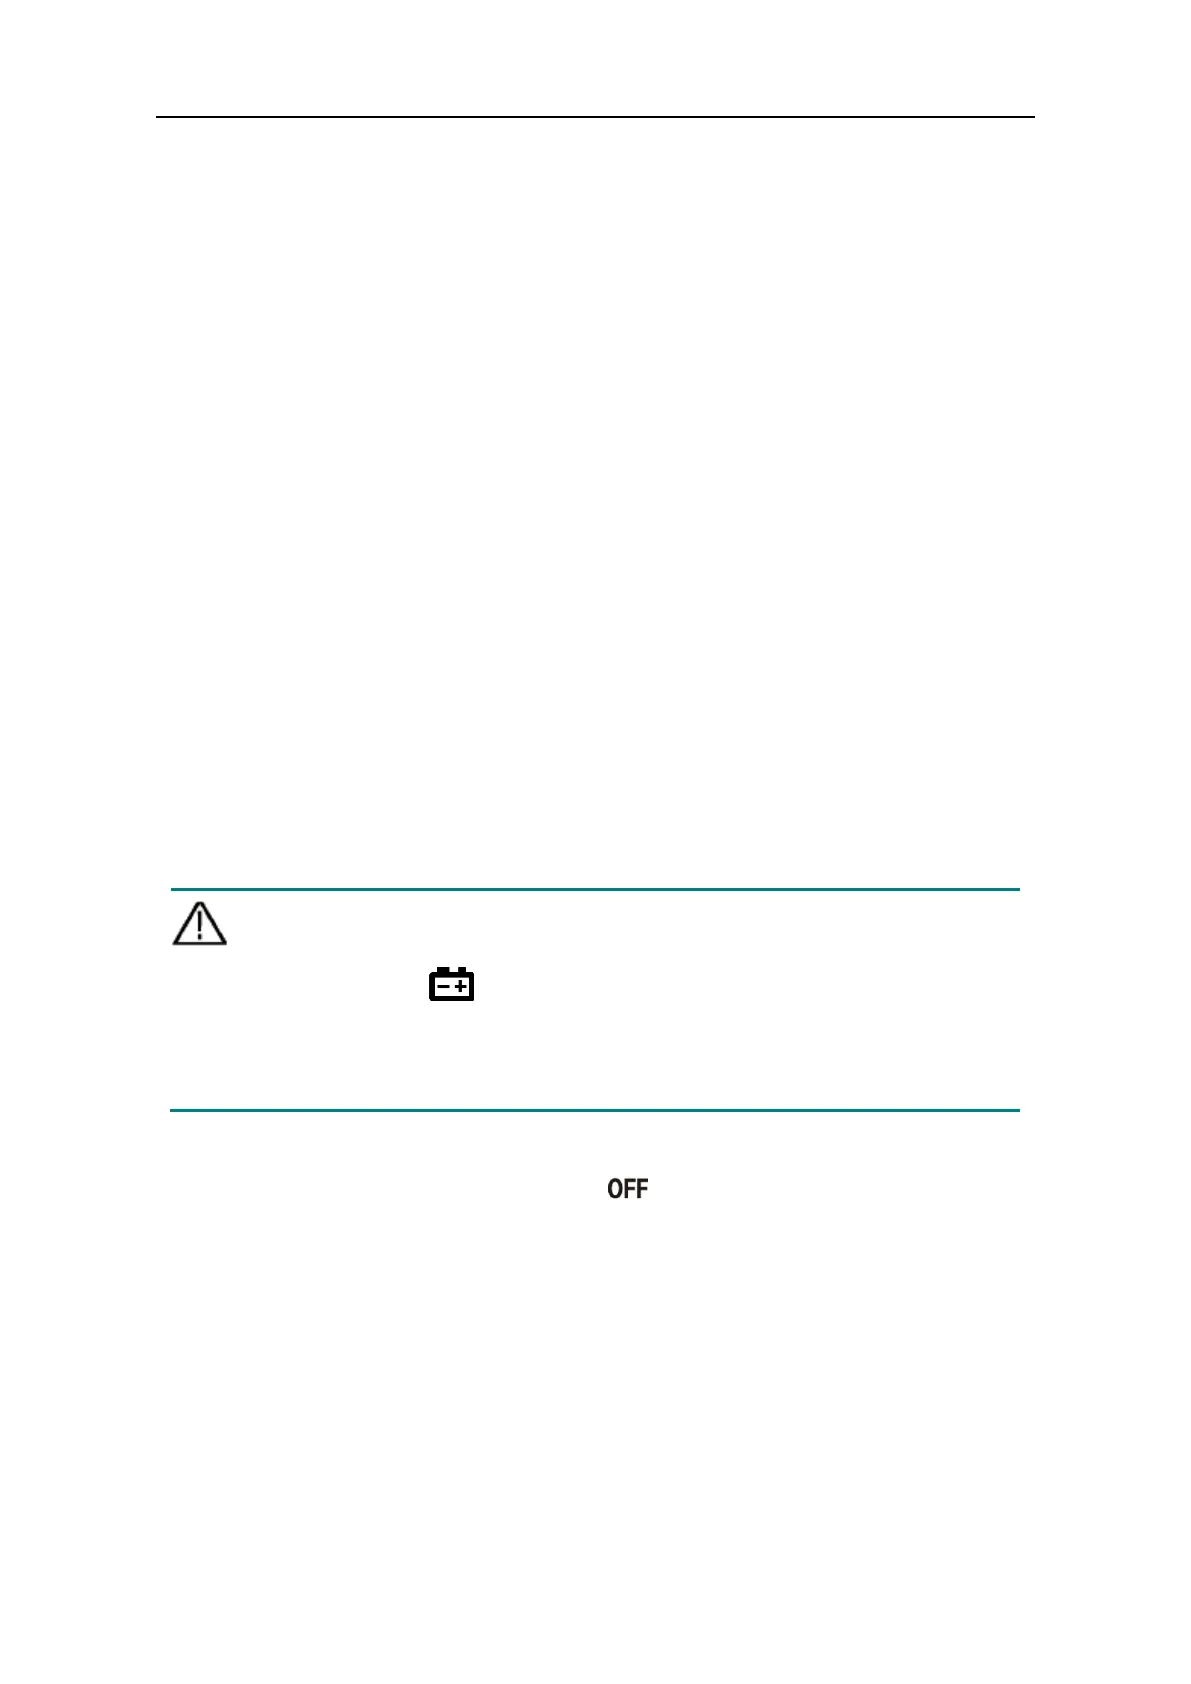
Warning: To avoid false readings, which could lead to possible electric shock
or personal injury, replace the battery as soon as the low battery
indicator appears.
Before replacing the battery, turn off the meter, disconnect test
leads and any connectors from any circuit under test, remove test
leads from the input terminals. Use only the specified battery type.
Use the following procedure to install the batteries.
(1) Ensure that the rotary switch is at the position. Remove test leads and any
connectors from the input terminals.
(2) Lift the tilt stand and loosen the screws with a suitable Phillips screwdriver and
remove the battery cover.
(3) Observe the battery polarity indicated inside the battery compartment, Insert the
batteries.
(4) Place the battery cover back in its original position and tighten the screws.