14 - English
7. Configuration and connection check
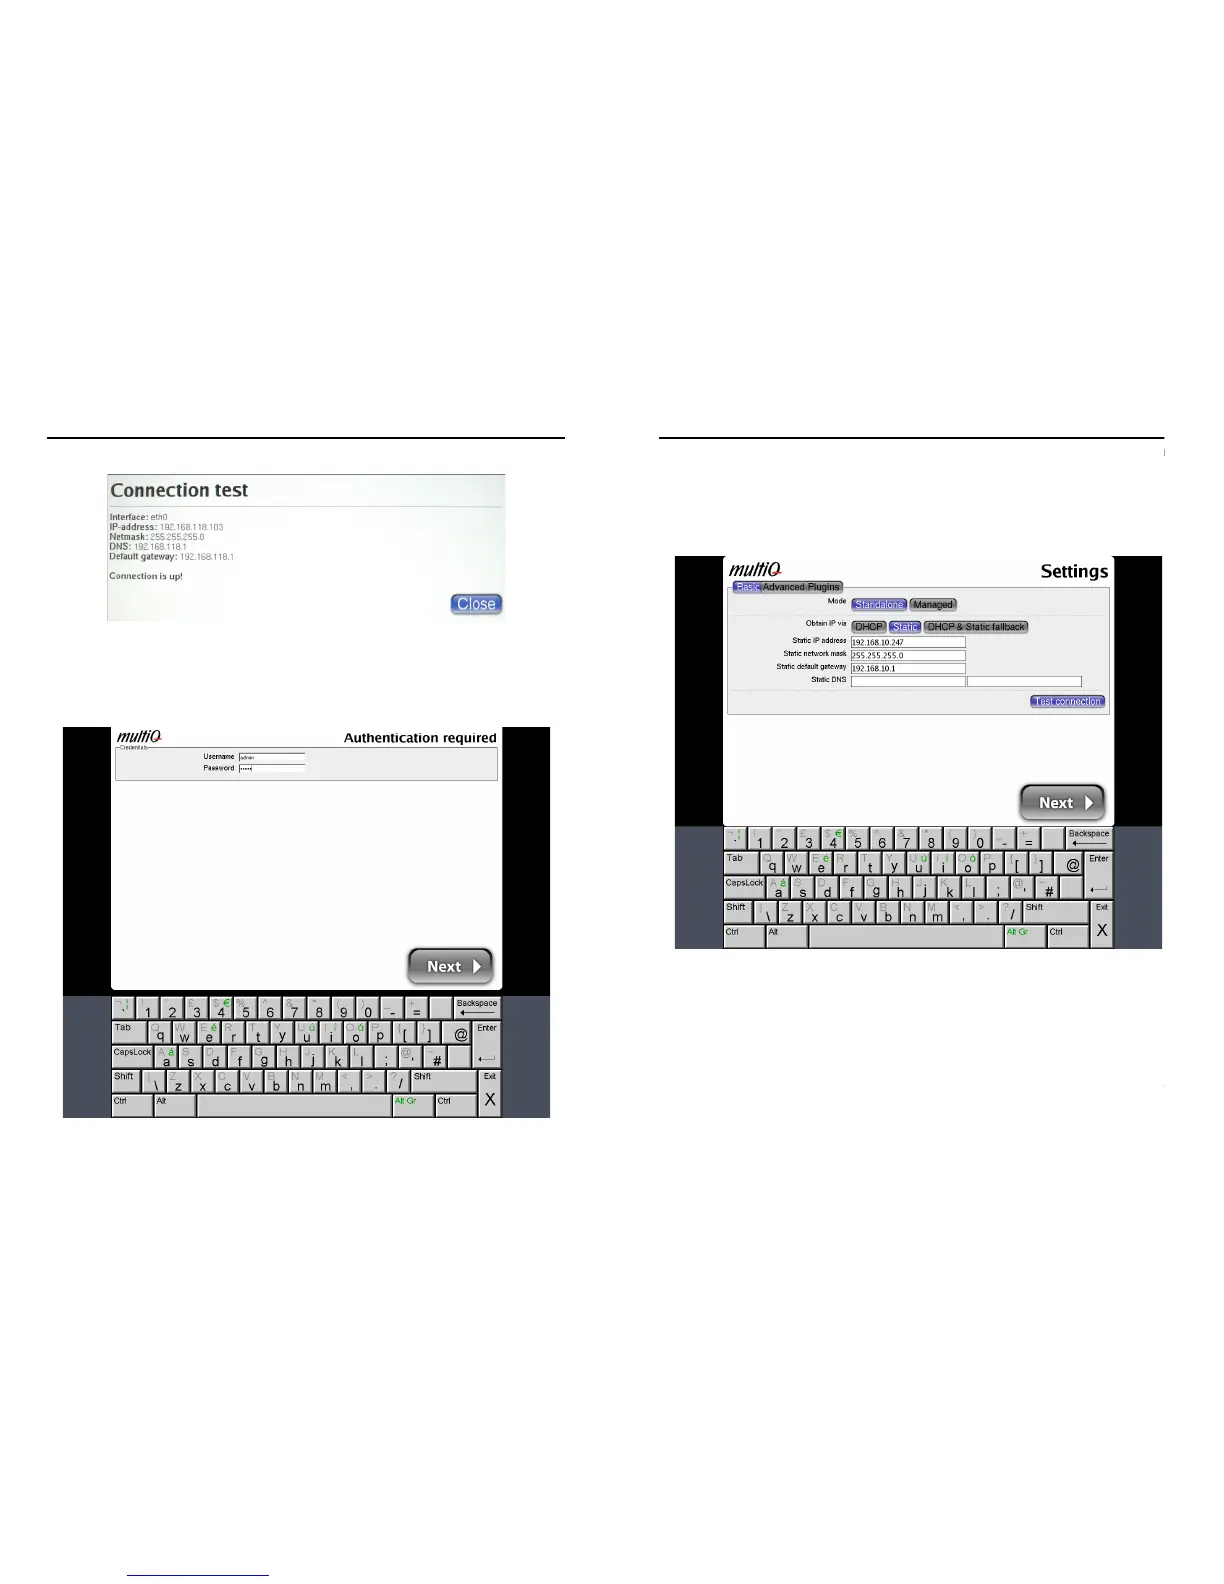
Figure 7. The connection test will provide you with the IP address of the media monitor.
Next is the setup menu login page. You will find see the virtual keyboard at the bottom of
the page. By default the username is “admin” and the password is “admin”.
Figure 8. Use the virtual keyboard to enter username and password.
15 - English
7. Configuration and connection check
After pressing the “Next” button you will find yourself in the digital signage management
system main menu.
As an alternative to acquiring an IP address automatically, the IP address can be set
manually. In such case you must obtain IP addressing parameters from your network
administrator (Figure 9).
Figure 9. As an alternative the IP address of the media monitor can be set as static.
Most features of the media monitor can be handled using the onscreen menus. However
in order to upload content files and for more practical handling of the unit, you are
recommended to log in to the media monitor from your PC. To log in to the unit you need
to know its IP address.
To be able to log in to the unit you also need to remove the web server lock. For security
the web server is by default locked from inbound requests. To remove the web server
lock you need to click the “Users” icon to the left. The “Disable remote access to web
server” check box should be unchecked. Then click “Save”. After a while the media
monitor will be available for inbound requests.