18 - English
7. Configuration and connection check
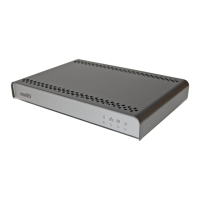
Figure 12. Managed setup of the media player.
If you are successful you will get a sign on the screen telling you that the unit has
received a script file and that the connection is up. It also confirms that the media
monitor Unit ID is defined in the digital signage management system.
If the connection test fails, start by checking the parameters once more to see that
everything is correctly set. Also check the LAN cabling.
When everything is working correctly press “Next” to save the settings.
After the reboot the media player will automatically start downloading the files decided
by the digital signage management system. While downloading files the “Status” LED
will flash between red and green (see section 6-4).
19 - English
7. Configuration and connection check
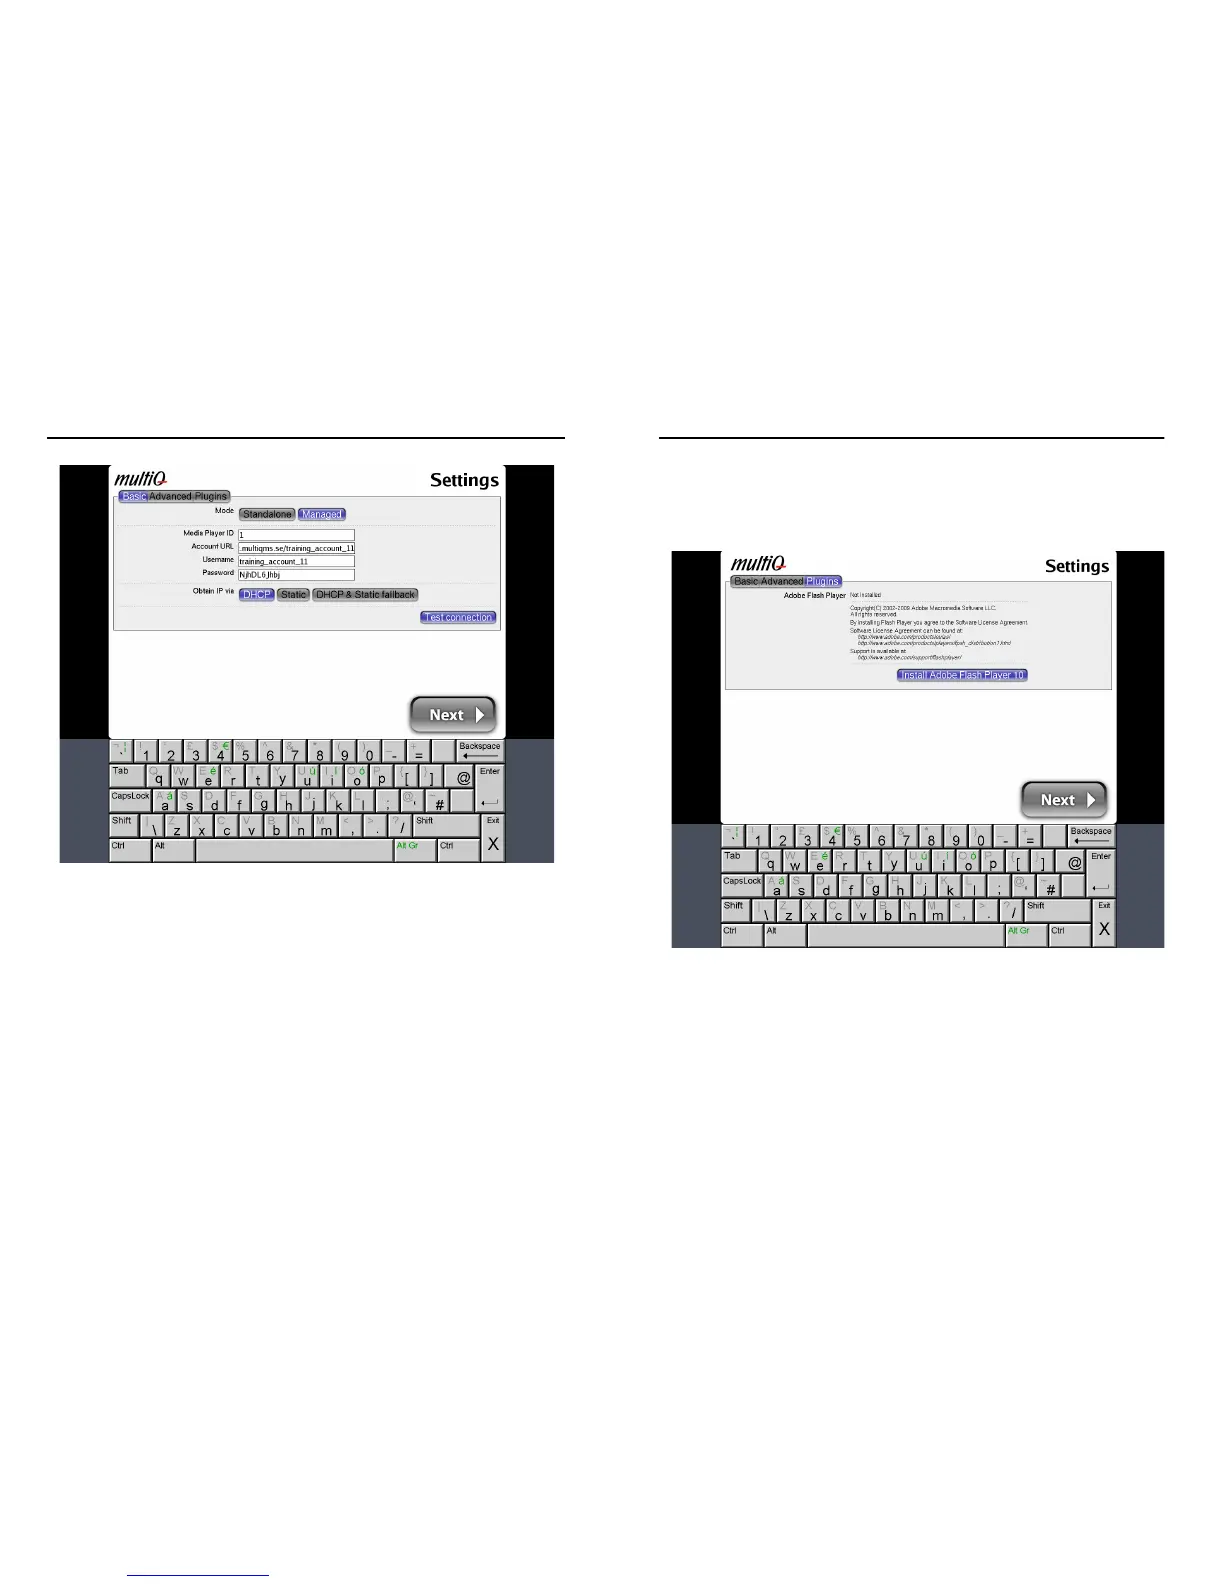
7-6. Flash installation
If the media player is to use Flash files a Flash plug in has to be installed. This is done
by pressing the “Plugins” button in the configuration menu. Follow the instructions to
install Flash. Also other plugins will become available in this menu.
Figure 13. Plug-ins such as Flash are available in the “Plugin” menu.
7-7. Image retention
All monitors are more or less sensitive to image retention. Temporary or permanent
image retention (visible tracks of previously shown images) is caused by long-time
display of static images. Especially static images containing hard contrast transitions
may cause image retention. Therefore it is recommended not to display the configuration
menu or other static content during a long period of time. In applications where static
images are inevitable as in kiosk applications with buttons, hard contrast transitions
should be avoided and screen saver videos are recommended.