Sections 40 & 75 00-02-0594
04-16-10 4
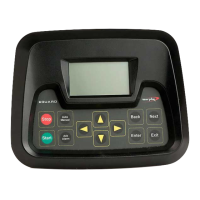
Installing the Cascade Auto-Start Controller
The Cascade controller offers automatic start/stop control with easy configuration for a broad number of engine
driven applications.
Tools Needed
To install the Cascade, you will need:
• #2 Philips (cross head) head screwdriver
• Nut driver to fit #6-32x1/2” machine nuts
• Wire for hook-up (rising cage clamp suitable for 14-24 gage wire)
Mounting the Cascade
A. THIS EQUIPMENT IS SUITABLE FOR USE IN CLASS I, DIVISION
2, GROUPS A, B, C, AND D OR NON-HAZARDOUS LOCATIONS
ONLY.
B. WARNING – EXPLOSION HAZARD – SUBSTITUTION OF
COMPONENTS MAY IMPAIR SUITABILITY FOR CLASS I,
DIVISION 2.
C. WARNING – EXPLOSION HAZARD – DO NOT DISCONNECT
EQUIPMENT WHILE THE CIRCUIT IS LIVE OR UNLESS THE AREA
IS KNOWN TO BE FREE OF IGNITABLE CONCENTRATIONS.
NOTE: This unit shall be mounted in a type 1 electrical enclosure for other than indoor
applications.
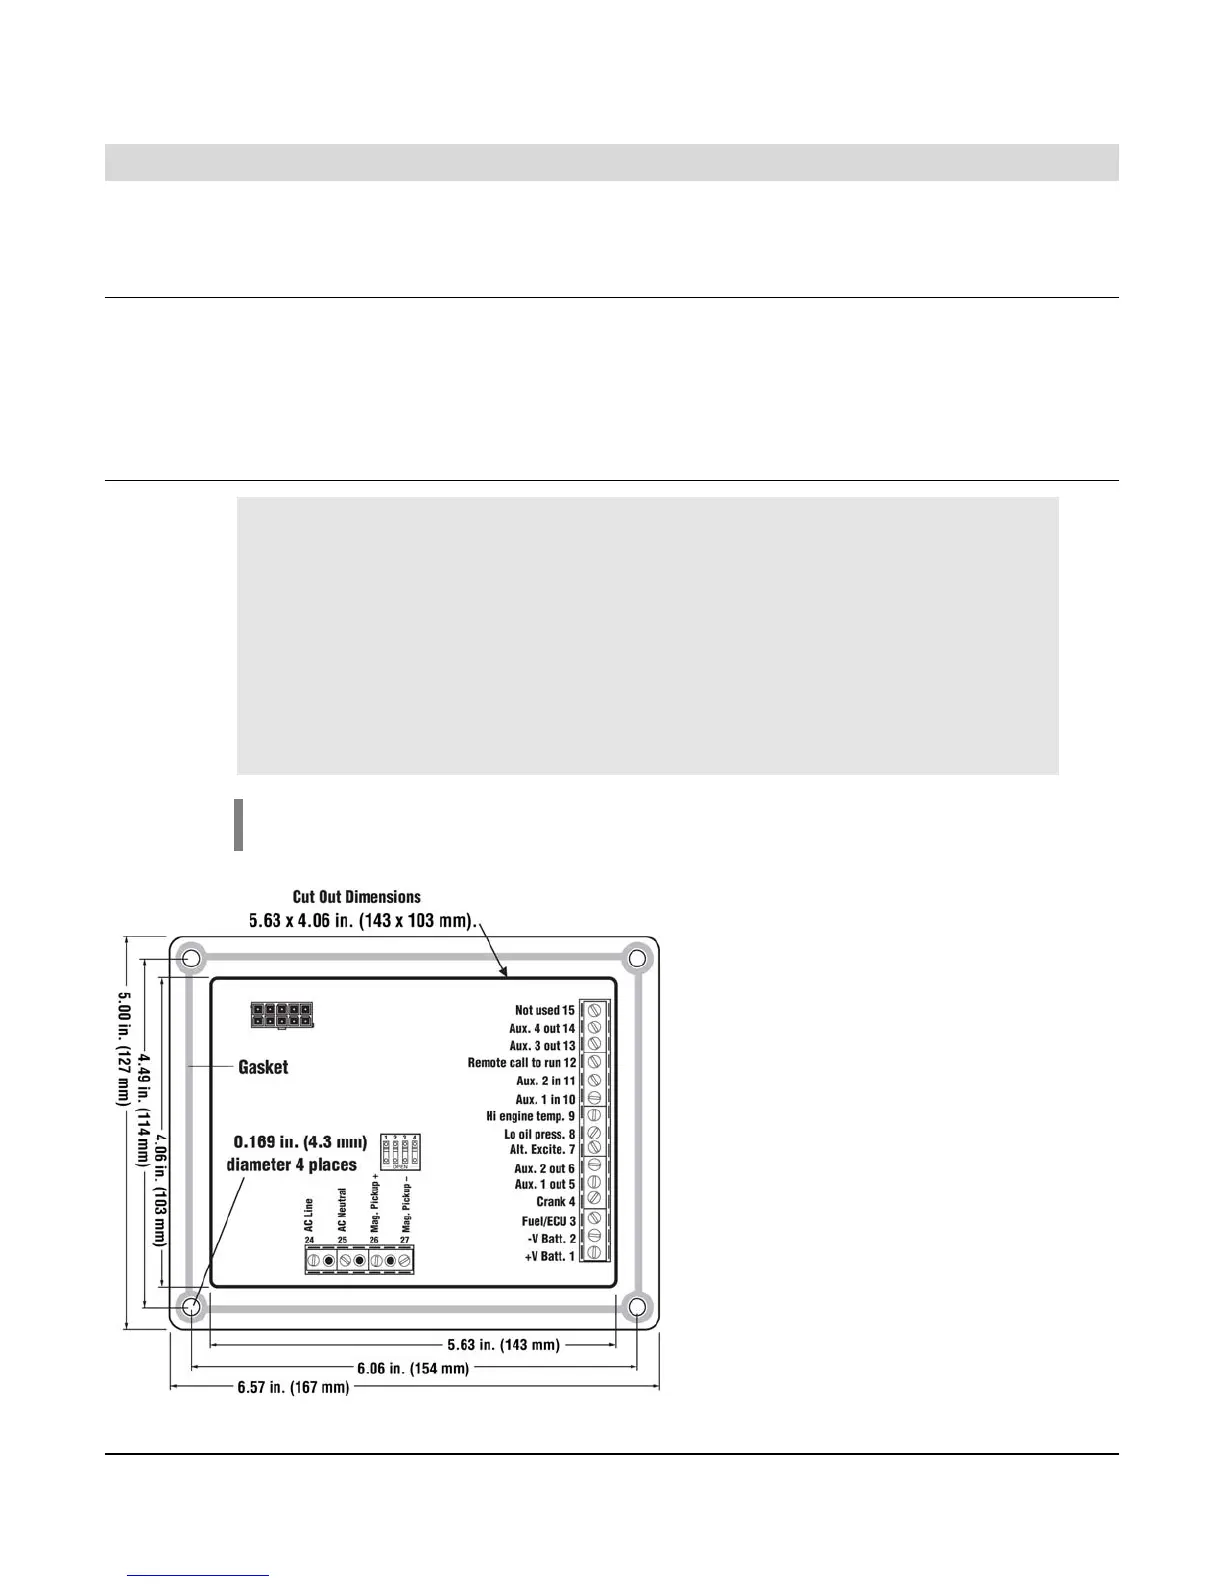
Cut a 5.63 x 4.06 in. (143 x 103mm) mounting
hole, and drill four 0.169 in. (4.3mm) diameter
holes for the mounting screws. See Schematic
below: