9
Place the carry cot adapters (j)
· There are two foldable attachment points on both sides of the frame.
Make sure that the attachment points are in a vertical position.
· The adapter marked with ‘R’ is placed on the right side of the frame, the
adapter marked ‘L’ is placed on the left side.
· Slide the adapters in the attachment parts and press solidly until you
hear a click.
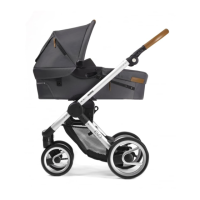
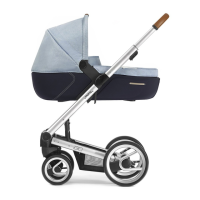
Place the carry cot (k)
· Orientate the carry cot such that it is directed rearwards on the frame.
· Hold the carry cot by the handles on both sides of the cot and place
directly above the adapters.
· Slide the carry cot over the adapters and press solidly until you hear a
click on both sides.
· Check that the carry cot has been placed horizontally and has been at-
tached properly by trying to lift it from the frame.
Remove the carry cot (l)
· Hold the carry cot by the handles on both sides of the cot. Press and
hold the unlock buttons.
· Lift the carry cot in vertical direction of the adapters.
Remove the carry cot adapters (m)
· Pull the unlock buttons on the inside of the adapters upwards and ver-
tically remove the adapters from the attachment points.
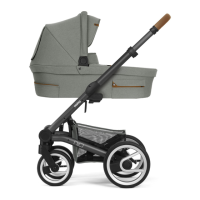
The hood (n)
· The hood can be unfolded by moving it upwards.
· Push and hold the buttons on both sides of the hood. The hood can
now be folded downwards.
The carry straps
· The carry straps must be clicked into the plastic components in order to
carry the carry cot.
· Always ensure that the carry straps have been removed if a child is
placed in the carry cot.
Assemble the rain cover on the carry cot (o)
· Make sure that the hood of the carry cot has been unfolded.
· Place the rain cover from top to bottom over the carry cot and make
sure that the rain cover attaches well all around the bottom of the
carry cot.