StarLink
™
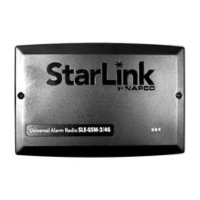
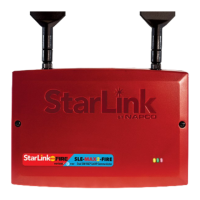
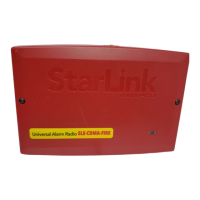
SLE-LTEVI-FIRE Commercial Series Dual-Path Alarm Communicator -- Installation Instructions 5
work coverage, the StarLink radio must be configured to
prompt the control panel to announce a Telco Line Cut
failure trouble using the Management Center screen
(located at www.NapcoNOC.com).
INSTALLATION STEPS
STEP 1: ACCOUNT REGISTRATION
Create a new account and register specific StarLink radio
modules at www.NapcoComNet.com. Accounts and
modules registered via the Internet are enabled for activa-
tion within 24 hours.
STEP 2: SELECT A MOUNTING LOCATION
The mounting location should be indoors within the pro-
tected area and selected based on RF performance. It is
HIGHLY recommended that the installer carefully adhere
to the following recommendations BEFORE any wires are
installed.
Generally, high locations are best. DO NOT mount
radio in basements or below grade as unpredictable
performance may result.
DO NOT mount the radio in non-climate controlled en-
vironments (i.e. attics may become extremely hot in
summer, garages may become extremely cold in win-
ter).
Avoid mounting locations within 3 feet of AC power
lines, fluorescent light fixtures, or large metal objects
(air conditioners, metal garage doors, etc.) as these
locations have been shown to have a detrimental ef-
fect on signal strength.
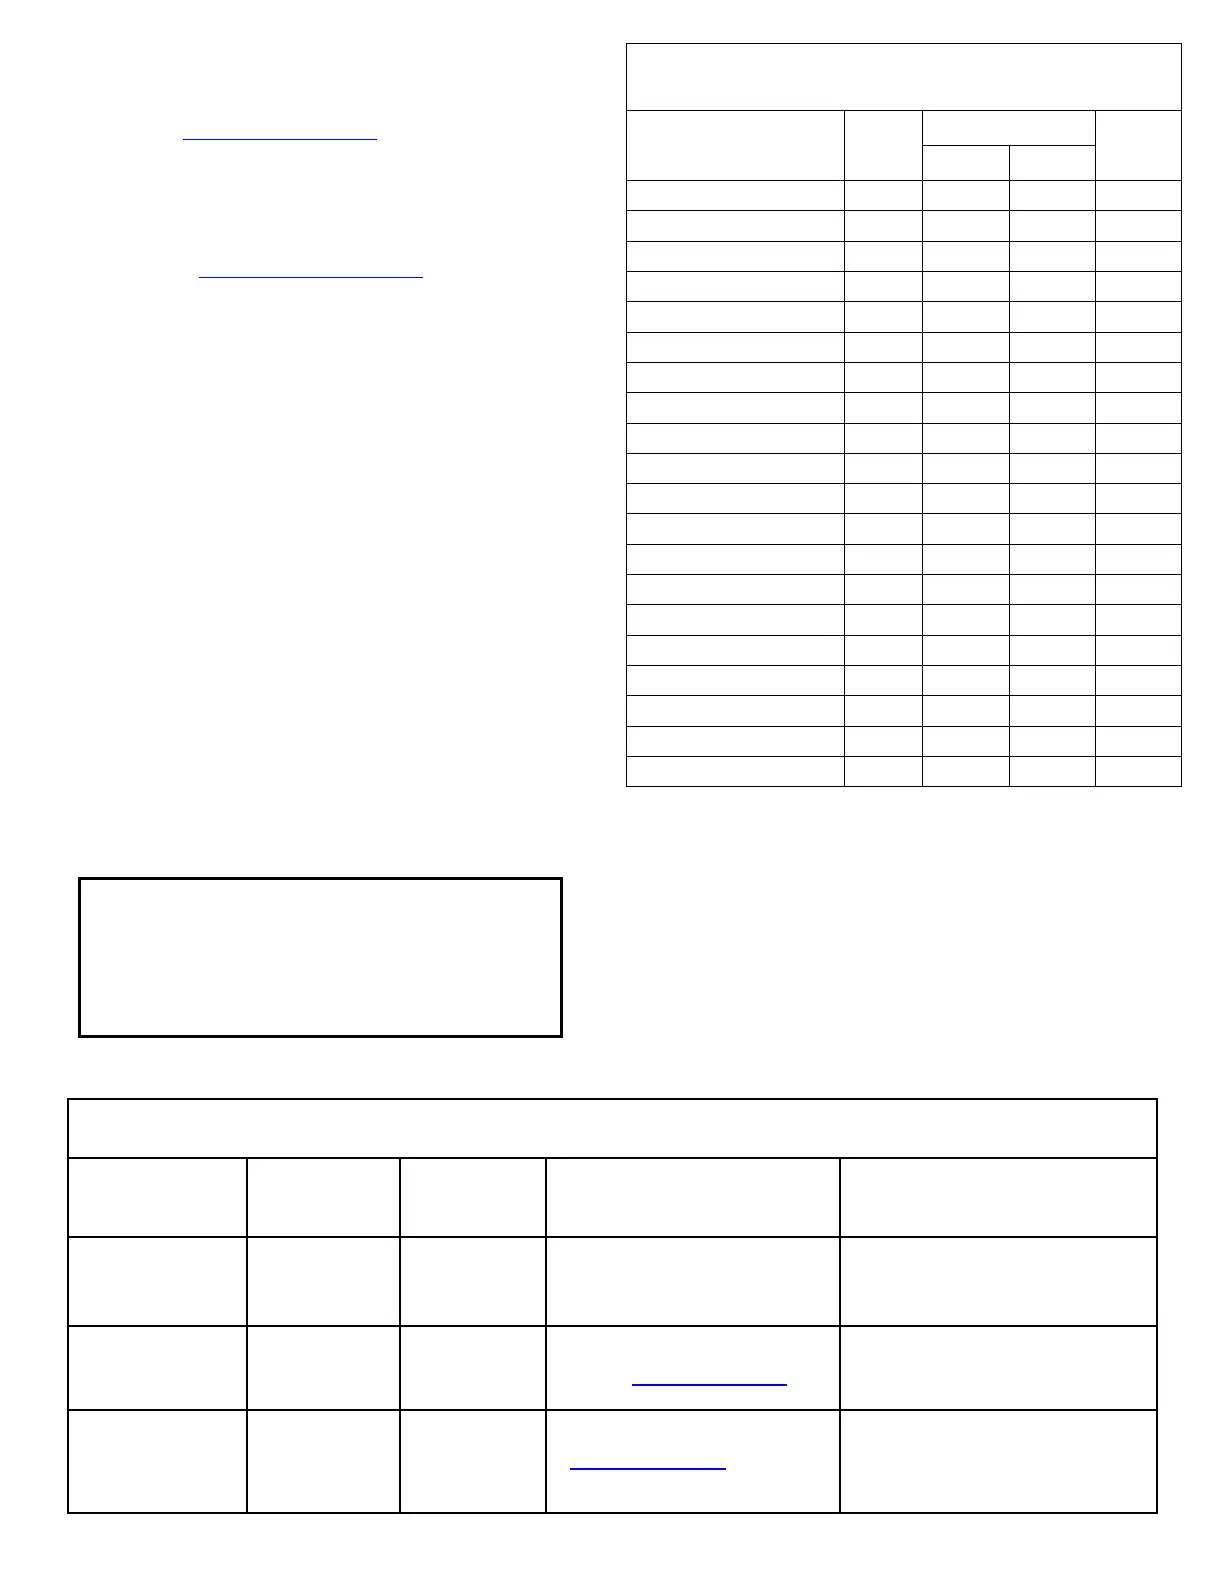
NOC Originated
Alarms
Contact ID
Event Data
Sent
Pulse Format
Event Code
Sent
Initiated By Comments
Supervisory Fail
E356 A00 Zn000 99
Automatically by NOC if fail to receive
any signal from StarLink radio within
Supervisory Timeout duration.
For Auto Enroll, uses captured telephone
number, Sub ID and format. For Dealer
Programmed, uses entered telephone
number, Sub ID and format.
Press to Send
Test Signal
E601 A00 Zn000 98
Manually by dealer from the Manage-
ment Center Signal Log screen
(located at www.NapcoNOC.com).
Sends test into CS receiver.
Same comment as above.
Press to Send
Radio Test
Not Applicable
Nothing sent to
CS receiver
Not Applicable
Manually by dealer from the Manage-
ment Center Checkins screen (located
at www.NapcoNOC.com). Sends a
command to the StarLink radio to force
a check-in to the NOC.
----
SIGNALS ORIGINATED AT THE NOC
Cover Tamper Switch
The SLE series radios in the plastic housings are
provided with a front tamper switch. Note: The
tamper switch on the radio PC board is always
functional and requires no programming.
STARLINK RADIO RELATED EVENT
REPORT CODES
(Contact ID by default)
EVENT AREA
CONTACT ID
PULSE
4/2**
CODE ZONE #
IN 1 Fire
0 E110 990 1A
IN 2 Trouble
0 E373 992 F2
IN 3 Fire
0 E110 993 1A
IN 4 Supervisory
0 E200 994 00
IN 5 Water Flow
0 E113 995 13
Low Battery/Voltage
0 E302 994 F4
Tamper Trouble
0 E341 995 F5
Line Cut
0 E352 996 F6
Reboot
0 E625 997 F7
IN 1 CO (Carbon Monoxide)
0 E162 998 18
Medical Alarm*
E100
24 hour Aux. Alarm*
E150
24 hour Aux. Restore*
R150
Keypad Emergency Alarm*
E140
A.C. Trouble*
E301
Tel 1 Fail*
E351
Fire Polling Report
E780 999 F9
Supv Failure Report
E788 000 D1 or D2
Tip/Ring Wiring Fault Report
E789 000 F2
Path Test Report
E602 890 77
*Not generated by the StarLink radio.
**See table "NOTICE TO AUTHORITIES HAVING JURISDICTION..." on page 3.
 Loading...