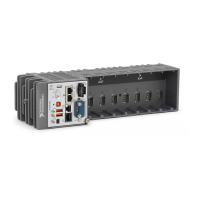
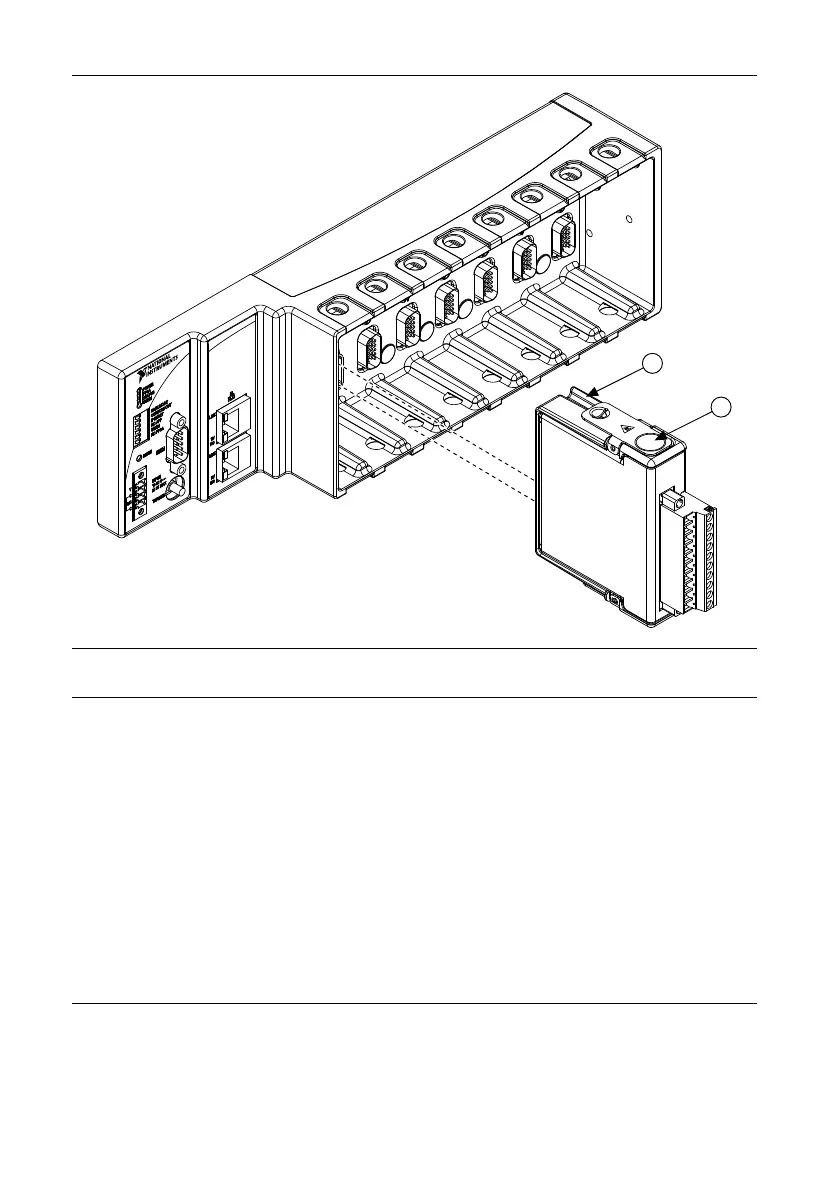
Figure 10. Installing an I/O Module in the Chassis
1. Insertion Groove
2. Latch
3. Squeeze the latches and insert the I/O module into the module slot.
4. Press firmly on the connector side of the I/O module until the latches lock the I/O module
into place.
5. Repeat these steps to install additional I/O modules.
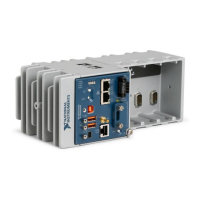
Removing I/O Modules from the Chassis
Complete the following steps to remove a C Series I/O module from the chassis.
1. Make sure that no I/O-side power is connected to the I/O module. If the system is in a
nonhazardous location, the chassis power can be on when you remove I/O modules.
2. Squeeze the latches on both sides of the module and pull the module out of the chassis.
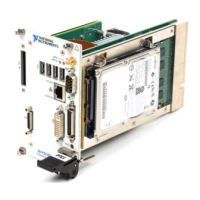
Connecting the Chassis to a Network
Connect the chassis to an Ethernet network using the RJ-45 Ethernet port on the controller
front panel. Use a standard Category 5 (CAT-5) or better shielded, twisted-pair Ethernet cable
to connect the chassis to an Ethernet hub, or use an Ethernet crossover cable to connect the
chassis directly to a computer.
NI cRIO-9072/9073/9074 User Manual and Specifications | © National Instruments | 9
 Loading...