4. Follow the instructions in the installation prompts.
Note Windows users may see access and security messages during
installation. Accept the prompts to complete the installation.
5. When the installer completes, select Restart in the dialog box that prompts you to restart,
shut down, or restart later.
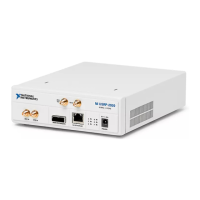
Installing NI 292x Devices
Install all the software you plan to use before you install the hardware.
Note The NI 292x device connects to a host computer using a standard gigabit
Ethernet interface. Refer to the documentation for your gigabit Ethernet interface for
installation and configuration instructions.
1. Power on the computer.
2. Attach the antenna or cable to the front panel terminals of the NI 292x device as desired.
3. Use the Ethernet cable to connect the NI 292x device to the computer. For maximum
throughput over Ethernet, NI recommends that you connect each NI 292x device to its
own dedicated gigabit Ethernet interface on the host computer.
4. Connect the AC/DC power supply to the NI 292x device.
5. Plug the power supply into a wall outlet. Windows automatically recognizes the NI 292x
device.
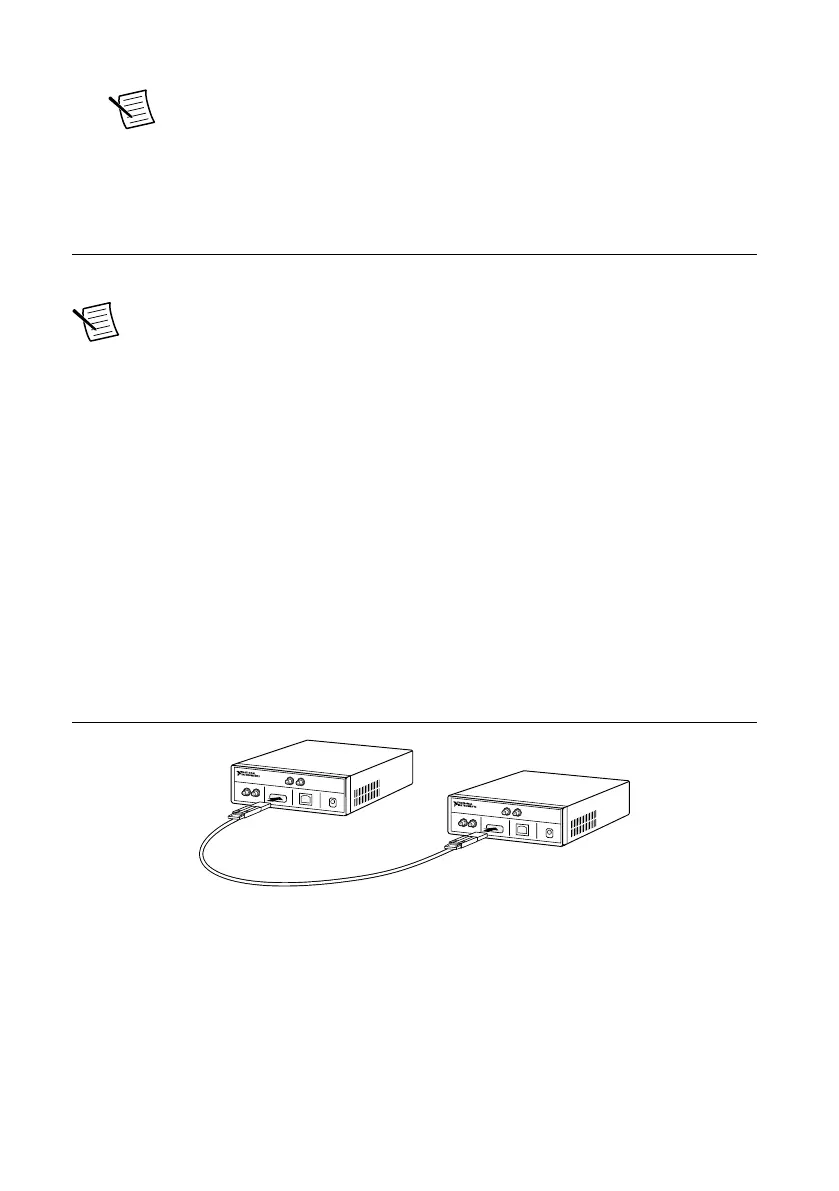
Synchronizing NI 292x Devices (Optional)
You can connect two USRP devices so that they share clocks and the Ethernet connection to
the host.
1. Connect the MIMO cable included with the kit to the MIMO EXPANSION port of each
device.
2. If you have not already done so, attach antennas to the USRP devices.
If you want to use one USRP device as a receiver and the other as a transmitter, attach
one antenna to the RX 1 TX 1 port of the transmitter, and attach another antenna to the
RX 2 port of the receiver.
The NI-USRP driver ships with some examples that you can use to explore the MIMO
connection, including USRP EX Rx Multiple Synchronized Inputs (MIMO Expansion).vi and
USRP EX Tx Multiple Synchronized Outputs (MIMO Expansion).vi.
NI USRP-2920/2921/2922 Getting Started Guide | © National Instruments | 5
 Loading...