Caution: Do not allow the clip to contact the adhesive on the sensor, as myogenic interference and
eventual corrosion of the clip may occur. Do not touch the underside of the sensor, as the entire
surface is conductive.
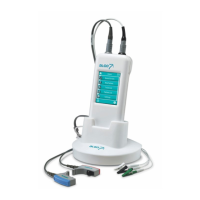
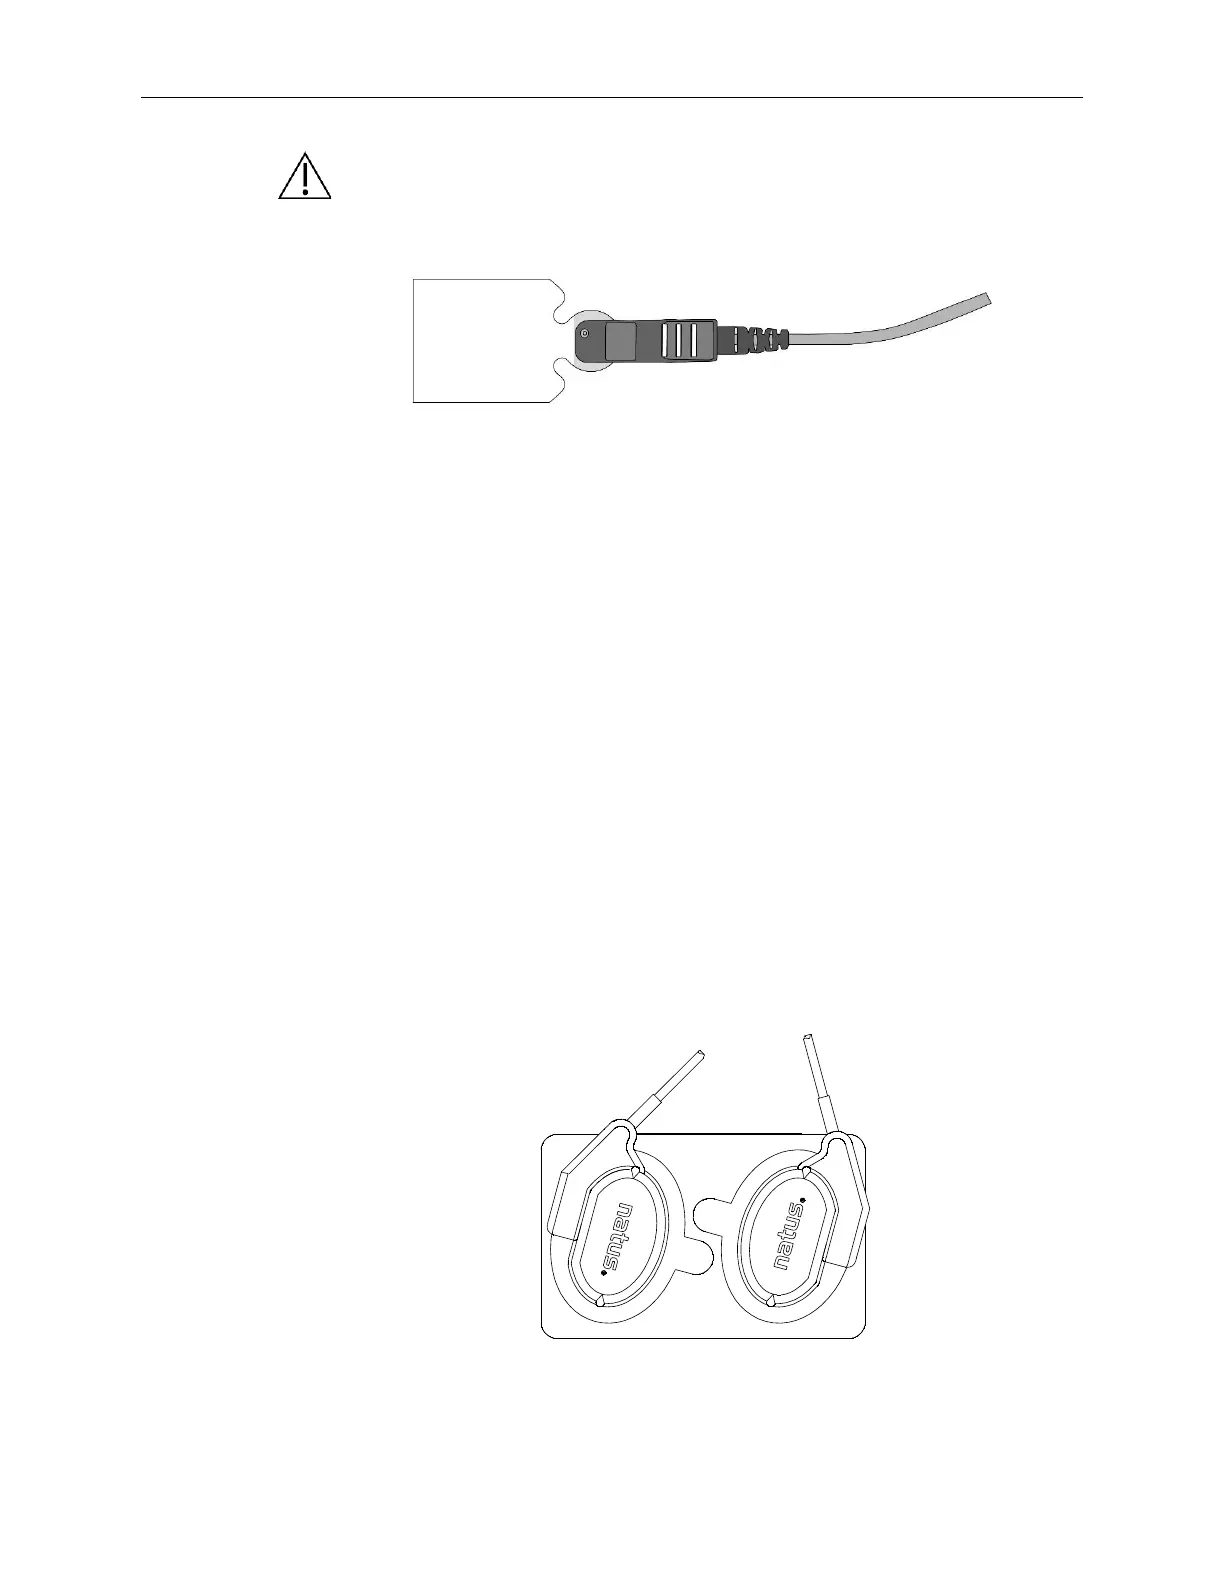
The sensor clips on the preamp cable are color coded for placement on the
appropriate location on the infant.
BLACK clip for sensor attachment to Vertex site (center high forehead)
WHITE clip for sensor attachment to Nape site (centered, back of neck)
GREEN clip for sensor attachment to Common site (shoulder)
ii. Place the nape and common sensors onto the infant, ensuring that the cables lay in the
same direction.
Gently tilt baby’s head forward to expose the back of the neck. The nape sensor
(white clip) should be centered on the back of the neck, not on the skull or back.
The common sensor (green clip) should be placed on the back or front of either
shoulder, not on the chest or back, and not on the hand.
Using Natus’ required sensor montage will help achieve faster test times and less myogenic
interference.
iii. Gently hold each sensor in place for a few seconds to allow them to warm and create
good adhesion to the baby’s skin.
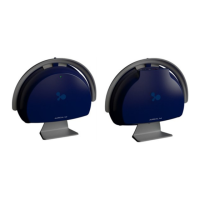
iv. Attach the ATA cable to Natus earphones by inserting the acoustic transducer into the
round opening, and clicking it into place along the side of the earphone.
v. Place earphones on baby by rolling the earphone from behind the ear forward.
RED transducer is for the baby’s Right ear;
 Loading...