OBM Olympic Brainz Monitor Reference Manual 23
PN 027050 Rev 05
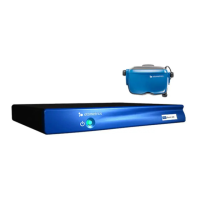
Using Olympic Brainz Monitor Components
This section describes how to use and maneuver the physical Olympic Brainz Monitor device.
Moving the Olympic Brainz Monitor
You can move the Olympic Brainz Monitor from location to location without disassembling the
unit.
For maximum safety and convenience, observe the following points when moving the Olympic
Brainz Monitor:
•
Lower the touch screen monitor on the roll stand and lock it in place before moving
the Olympic Brainz Monitor.
•
Lift the locking levers to unlock the casters before attempting to move the unit.
Warning! Lower the touch screen monitor to its lowest position and lock it firmly in place
before moving the Olympic Brainz Monitor unit.
Warning! Unlock the casters before moving the Olympic Brainz Monitor unit.
• Hold the roll stand handle to push the Olympic Brainz Monitor in front of you, rather
than holding the touch screen monitor unit.
•
Hold the roll stand handle firmly while traversing small steps (such as the lip of an
elevator cage).
•
After moving the Olympic Brainz Monitor, lock the casters by depressing the locking
levers.
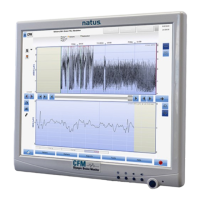
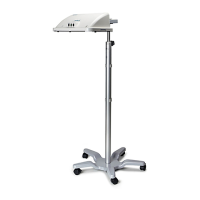
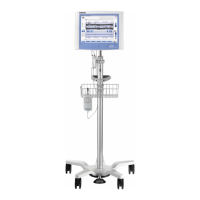
Adjusting the Touch Screen Monitor Position
You can adjust the height and angle of the touch screen monitor to suit different operators and
operating positions. See Figure 10 on page 24 .
To adjust the height of the touch screen monitor:
1.
Grip the touch screen monitor while depressing the height adjustment foot pedal.
Note: When the height adjustment foot pedal is depressed, the pole’s pneumatic system
prevents the touch screen monitor from dropping suddenly.
2. Move the touch screen monitor up or down to the required height.
3.
Release the height adjustment foot pedal.
To adjust the angle of the touch screen monitor:
1.
Hold the touch screen monitor firmly at the bottom.
2.
Loosen the tilt adjustment lever and tilt the touch screen monitor to the desired angle.
Note: If the tilt adjustment lever is not able to move freely, lift it up and out before adjusting it.
3. Tighten the tilt adjustment lever.
 Loading...