45
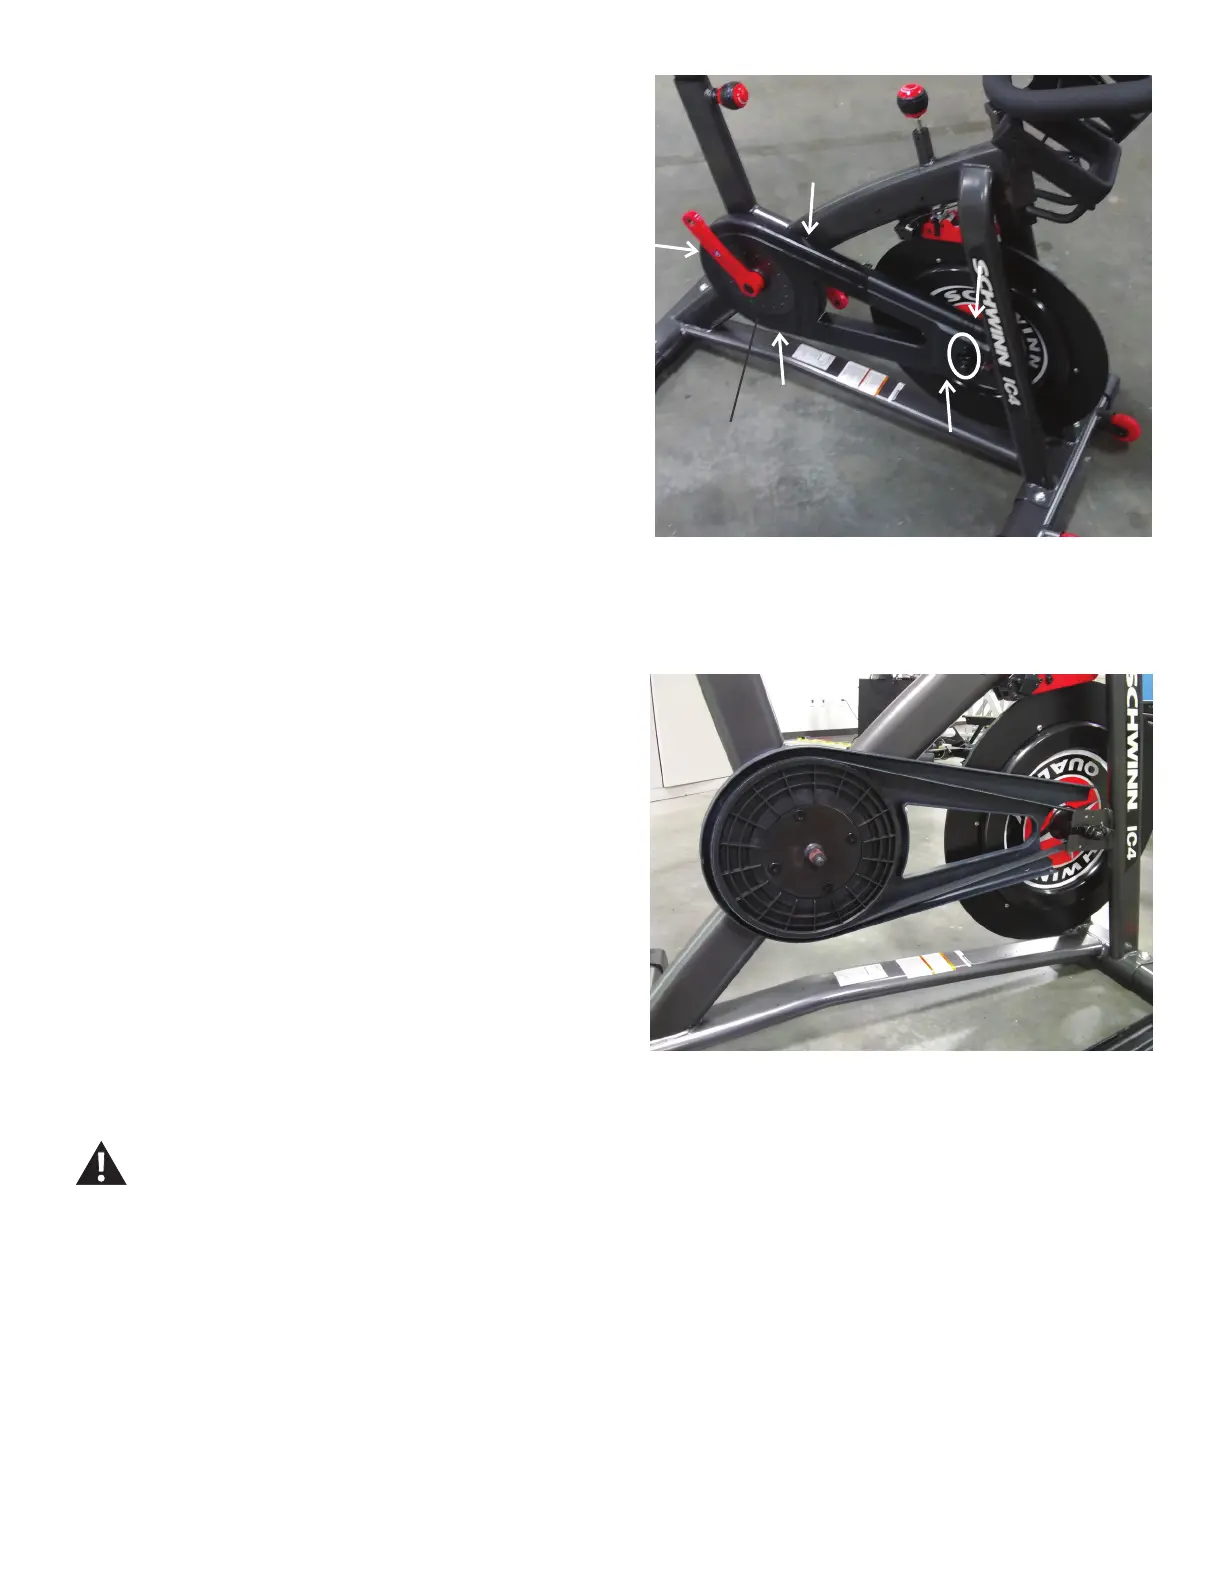
7. Using a #2 Phillips screwdriver, remove the indicated hardware from
the Drive Belt Cover.
Note: The oval indicates the two machine screws with washers.
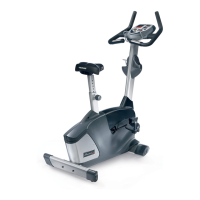
8. Using a #2 Phillips screwdriver, attach the new Drive Belt Cover to
the Frame Assembly.
9. Re-install all remaining parts that were removed in reverse order.
NOTICE: Installation of the Crank Arms does not require the
use of the Crank Puller. Be sure the Crank Arms are
connected at 180° from each other.
10. Final Inspection
Inspect your machine to ensure that all hardware is tight and components
are properly assembled.
Do not use until the machine has been fully assembled and
inspected for correct performance in accordance with the
Owner’s Manual.
Drive Belt Cover
Note: Please disregard the Right Crank Arm in the above
image. It was removed during an earlier step.