©Navien America Inc. 2010 NR/NP series service Manual
142
Version 2.0
8.2.7. APS
1. Turn off the gas supply
2. Turn off the 120V power supply
3. Turn off the water supply
4. Loosen the PCB right-side screw from
bottom base.
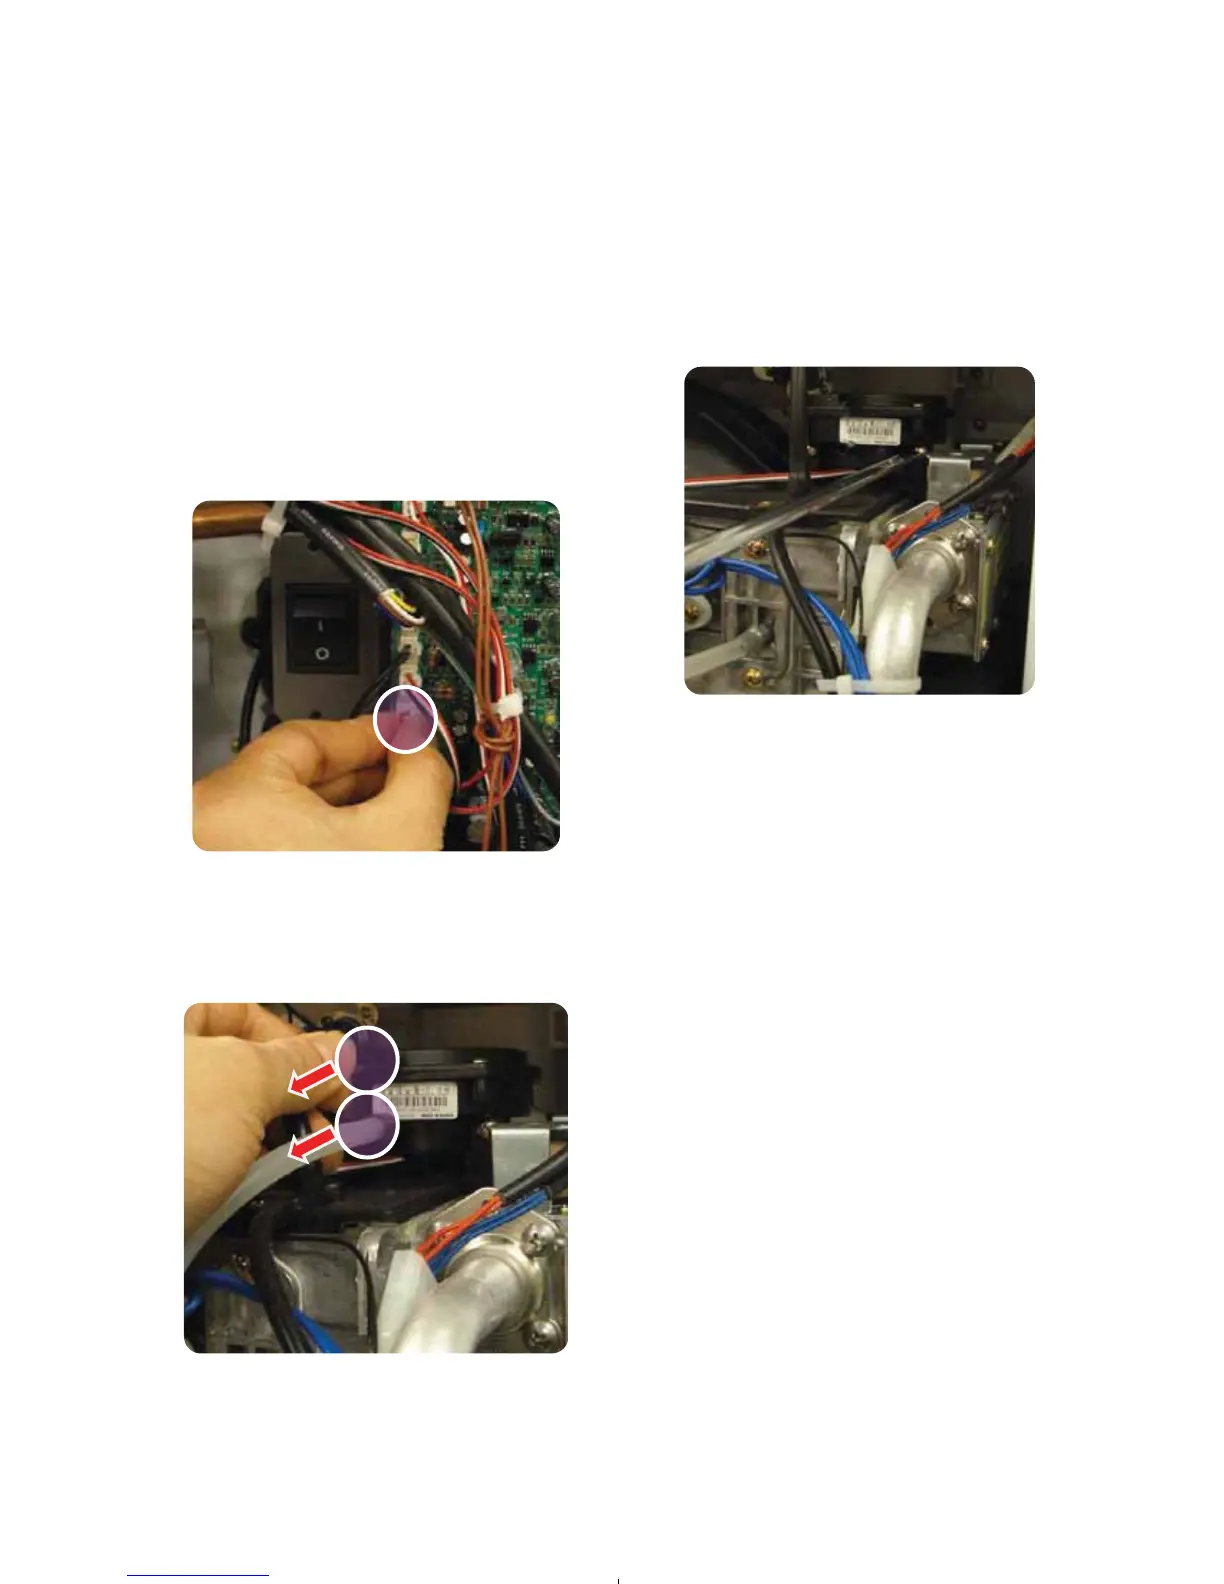
5. Remove the air pressure sensor connecting
housing into the PCB.
7. Loosen the air pressure sensor lowerside
2-screw from burner assemble.
8. Pull out the air pressure sensor.
9. Attach the new air pressure sensor tighten
screws.
10. Connect the air pressure sensor tube.
11. Connect the air pressure sensor connecing
housing into the PCB.
13. Install front panel using 4(four) screws.
14. Turn on water supply, power supply, and
gas supply.
As re-assemble the air pressure sensor,
careful with right size and direction.
6. Remove the air pressure sensor tube into
the burner assembly.
< Figure 16 >
< Figure 18 >
< Figure 17>
NOTE
 Loading...