2 7350 Narrow Core (R5N) Receipt Printer Upgrade
Installation Procedure
To install the Receipt Printer, follow these steps:
1. Turn off the NCRSelfServ Checkout software and hardware systems.
2. Unlock and open the Core Door. For more information, refer to Opening Core Door
on page4.
3. Do any of the following:
a. If the unit is configured with an Uninterruptible Power Supply (UPS), turn off
the UPS and then unplug the power cable.
b. If the unit is not configured with a UPS, unplug the power cable.
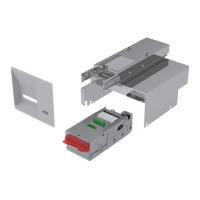
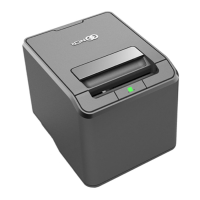
4. Remove the existing Receipt Printer. For more information, refer to Removing Receipt
Printer on page5.
5. Remove the existing Printer Shelf Assembly. For more information, refer to Removing
Printer Shelf Assembly on page6.
6. Remove the existing Coupon Chute and Proximity Sensor. For more information,
refer to Removing Coupon Chute and Proximity Sensor Assembly on page8.
7. Install the new Printer Shelf Assembly. For more information, refer to Installing
Printer Shelf Assembly on page10.
8. Install the new Receipt Printer. For more information, refer to Installing Receipt
Printer on page12.
9. Install the Coupon Chute and Proximity Sensor. For more information, refer to
Installing Coupon Chute and Proximity Sensor Assembly on page13.
10. Attach the Printer Upgrade Label above the existing PIDlabel, as shown in the image
below.