Do you have a question about the Necta KORO PRIME ES and is the answer not in the manual?
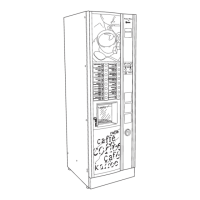
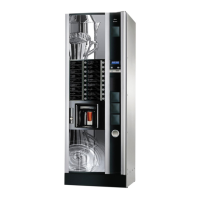
Load products into the machine after checking their preservation and sell-by dates.
Remove, empty, sanitize, and refill the water tank to the maximum level.
Empty the liquid waste tray when the float emerges or at regular intervals.
Lift and pull the solid waste tray to empty and wash it with a detergent solution.
Rinse the mixer daily and after loading products by holding a key and entering a password.
Detach the tube, turn the port upwards, turn the lever counterclockwise, and pull the mixer unit.
Detach product funnel, powder drawer, and water funnel, then disassemble the mixer impeller.
Hold the disk, unscrew the mixer impeller, wash, rinse, and re-assemble.
Re-assemble mixer components, secure with lever, turn product port downwards, and reconnect tube.
Detach tubes, release nozzle support, detach nozzles, and wash all parts carefully.
Insert nozzle support until it clicks, re-insert nozzles, and reconnect tubes.
Open door, lift panel, push and lift canister, remove, dust, and re-seat it.
Unscrew ring nut and pin, remove coffee conveyor if present, and remove the brew unit.
Clean inside the machine with a slightly wet cloth and neutral detergent solution.
Rinse the brew unit beneath a water jet weekly or after loading, then re-assemble.
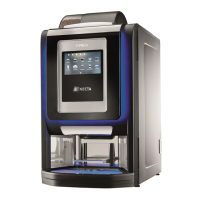
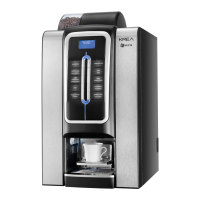
| Power | 1950 W |
|---|---|
| Number of Selections | 8 |
| Coffee Grinder | Yes |
| Programmable Buttons | Yes |
| Power Supply | Electric |
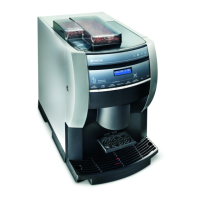
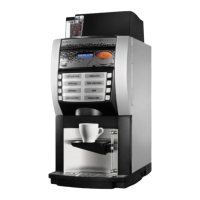
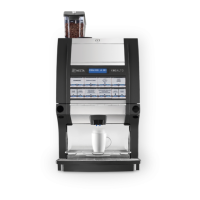
| Coffee Type | Beans |
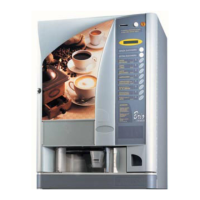
| Beverages | Espresso, Coffee, Cappuccino, Latte Macchiato, Hot Water |
| Frequency | 50-60 Hz |
| Voltage | 230 V |
| Product Type | Espresso Machine |