14
5.3 Mounting procedure
The PowerRouter is shipped with a wall-mounting bracket that is suitable for use on
most walls. The bracket has 2 holes. Make sure that the wall you choose to mount the
PowerRouter on is sturdy enough to support its weight (15.5 kg) over a long period
of time and that the wall is plumb. The bracket may be mounted on stone, brick or
solid walls. Ensure the use of the appropriate type of mounting hardware for the wall
material.
Ensure that there are studs in the wall at the points where you intend to
drill the mounting holes. DO NOT use toggle bolts to mount the
PowerRouter to sheet rock or panelling.
Tip for installing
The diameter of the holes you drill must match the hardware you are using
to mount the PowerRouter.
For example, if you are mounting the PowerRouter to a concrete wall, the
drill hole diameter should be approximately the same as the outside
diameter of the concrete anchors you intend to use. If you are mounting
the PowerRouter on a wall that has wooden studs inside it, the hole
diameter should be the correct size for the lag screws you intend to use
to mount the bracket. It is recommended that the lag screws be made of
stainless steel, and the diameter of the screws closely match the diameter
of the holes in the wall-mounting bracket. Make sure that the screws are
long enough to penetrate the wall to a depth of 40 mm.
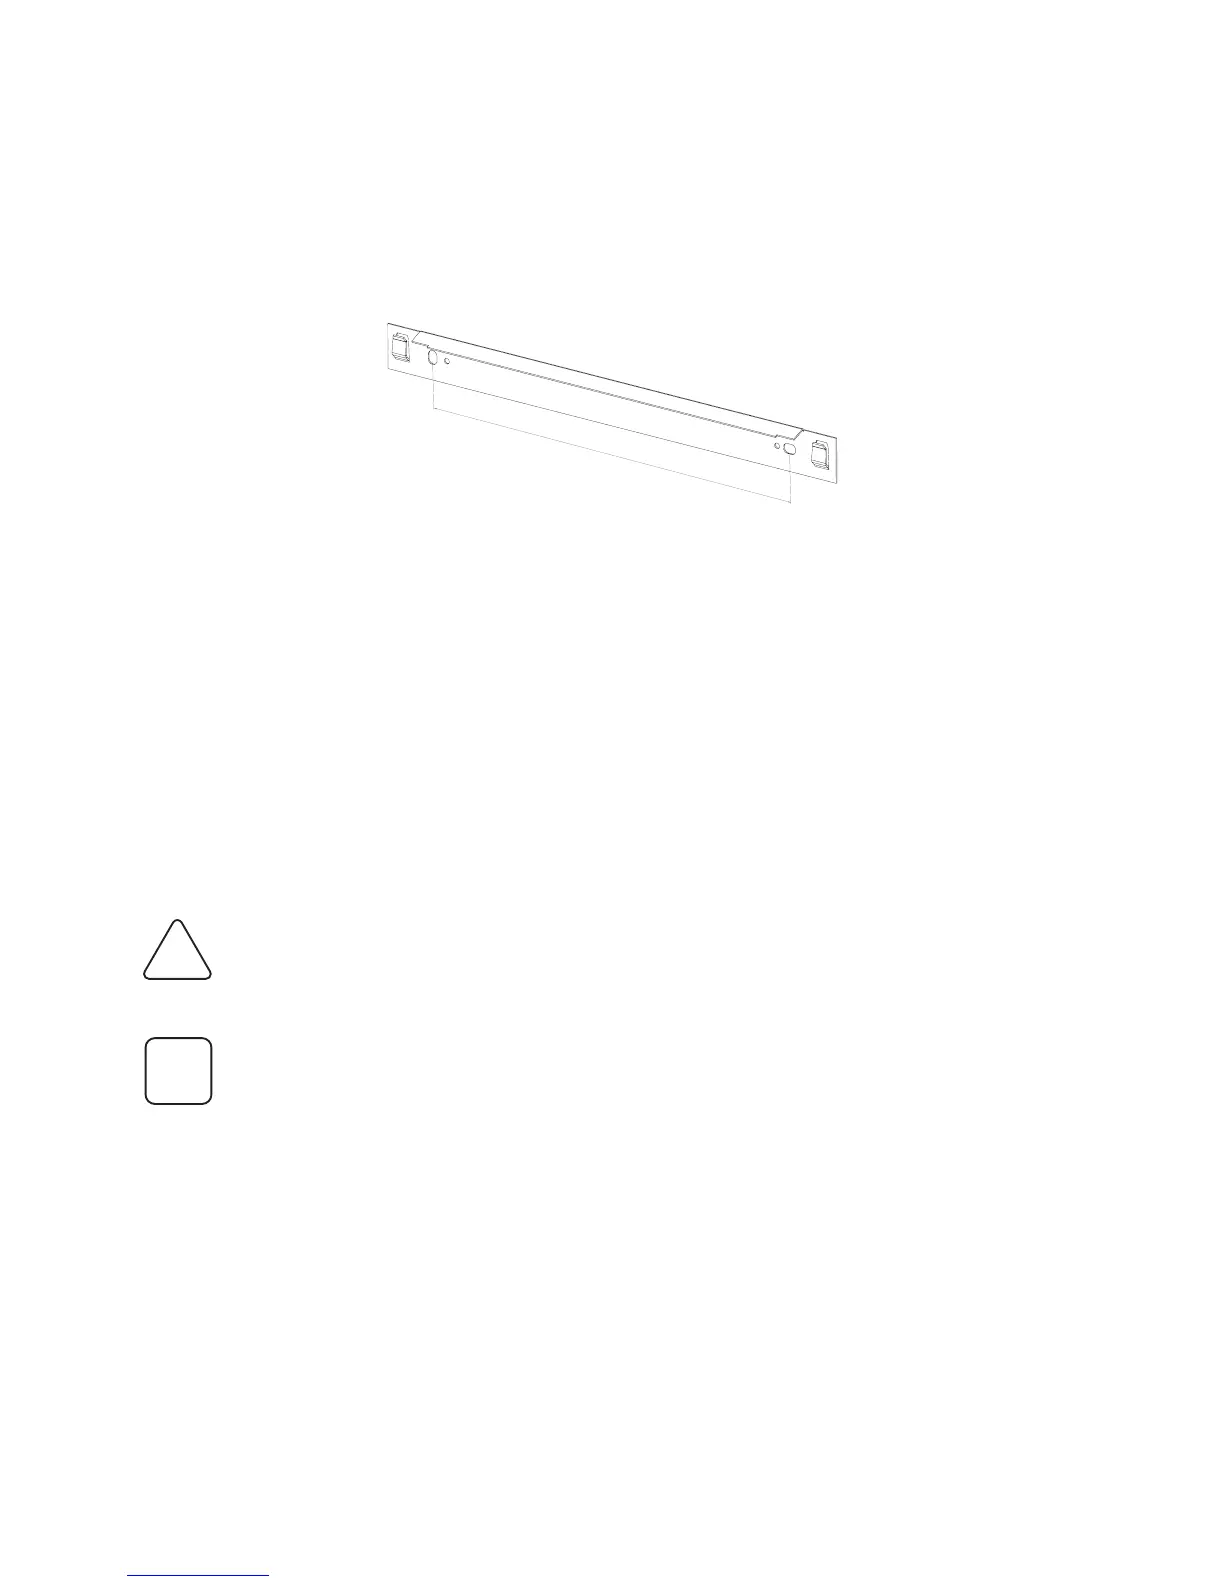
Figure 7 Mounting Bracket (dimensions in mm.)
Mounting procedure
1. Choose an adequate location and clearance
2. Drill holes for the mounting bracket in the wall (when required)
3. Drill holes for the xation in the wall (when required)
4. Mount the mounting bracket
5. Install the PowerRouter on the mounting bracket
6. Position the PowerRouter. See gure 5 (Mounting holes)
i
!
caution
400
 Loading...