Nedap SmartFlow / Installation manual
Version 00.001 / September 2020 / EN
23
Dairy Farming
4 Configuration
4.1 Configure the Velos software
Before the SmartFlows are configured, make sure that the VP8002 VPU and VP4102 UHF reader(s) are
configured correctly.
Install the Behavior Component
Since some components of the SmartFlow system are also used in other systems (for example the VP4102 UHF
reader that is also used in Heat detection and Cow Locating systems), all components must function as part of
the SmartFlow system. Therefore the Behavior Component 'Smartflow receiver' must be installed. The Behavior
Component determines the correct function of the components. Install one Behavior Component per milking
parlor.
1. In Velos, go to Settings > System > Behavior components.
2. Click on Add behavior component.
3. In the field Type:
a. Select Smartflow receiver.
b. Fill in a name for the Behavior Component (BC).
c. Click on Next.
4. Fill in the number of milk points and the number of the first milk point.
5. Select the correct V-pack for the BC. Maximum 4 V-packs can be coupled to one BC.
6. Click on Submit to install the BC.
Couple the Floats to the milk points
After the first time installation and when Floats are replaced, the Floats must be coupled In Velos to the milk
points.
1. In Velos, go to Settings > Milking > Smartflow numbers.
2. In the column Address, select the correct Float numbers that correspond with the milk points you wrote
down during installing the Floats.
3. Click on Submit.
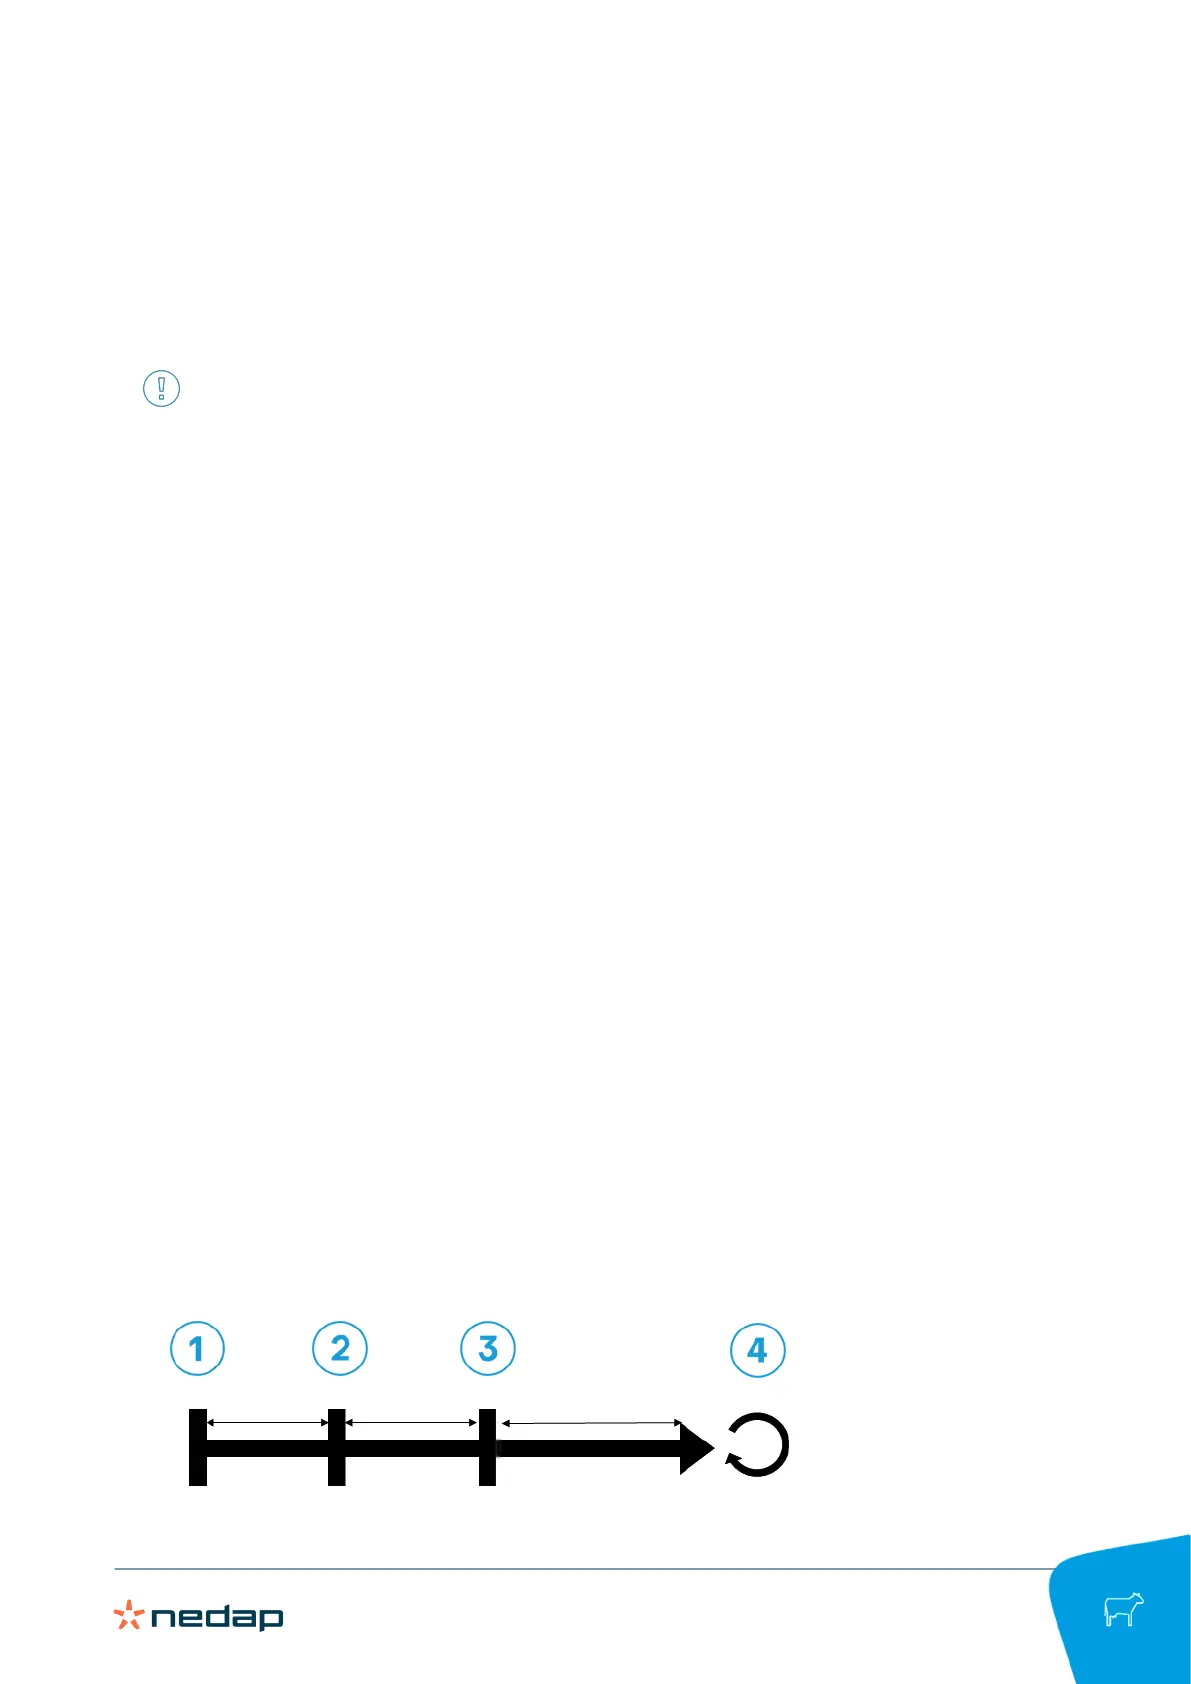
4.2 Calibrate and validate the SmartFlow
After installation of all SmartFlows, they must be calibrated to compensate the installation differences, and
validated to check the functioning of the SmartFlows.
The overview of the SmartFlow calibration and validation moments is shown below: