English Deutsch Français Español Italiano
日本語
18
For custom fittings, NEILPRYDE offer a selection of high-quality carbon fiber frames which can be built up into a
complete bike with the addition of add-on components.
The person who decides on what add-on parts are needed is responsible for making sure that all of the components
are thoroughly compatible and mounted properly. The sheer number of different add-on parts means that it is impossible
for NEILPRYDE to discuss every set up combination in this user manual. Also please note that NEILPRYDE do not
accept any responsibility for the functioning and compatibility of any add-ons or components that you choose to
use. You must read carefully the instruction manual for each component or add-on that you decide to mount on
your NEILPRYDE bike. You should also go online for any updated instructions from the component manufacturers.
You can also check with a skilled bicycle mechanic in relation to any component parts.
ASSEMBLING THE FRAME SET
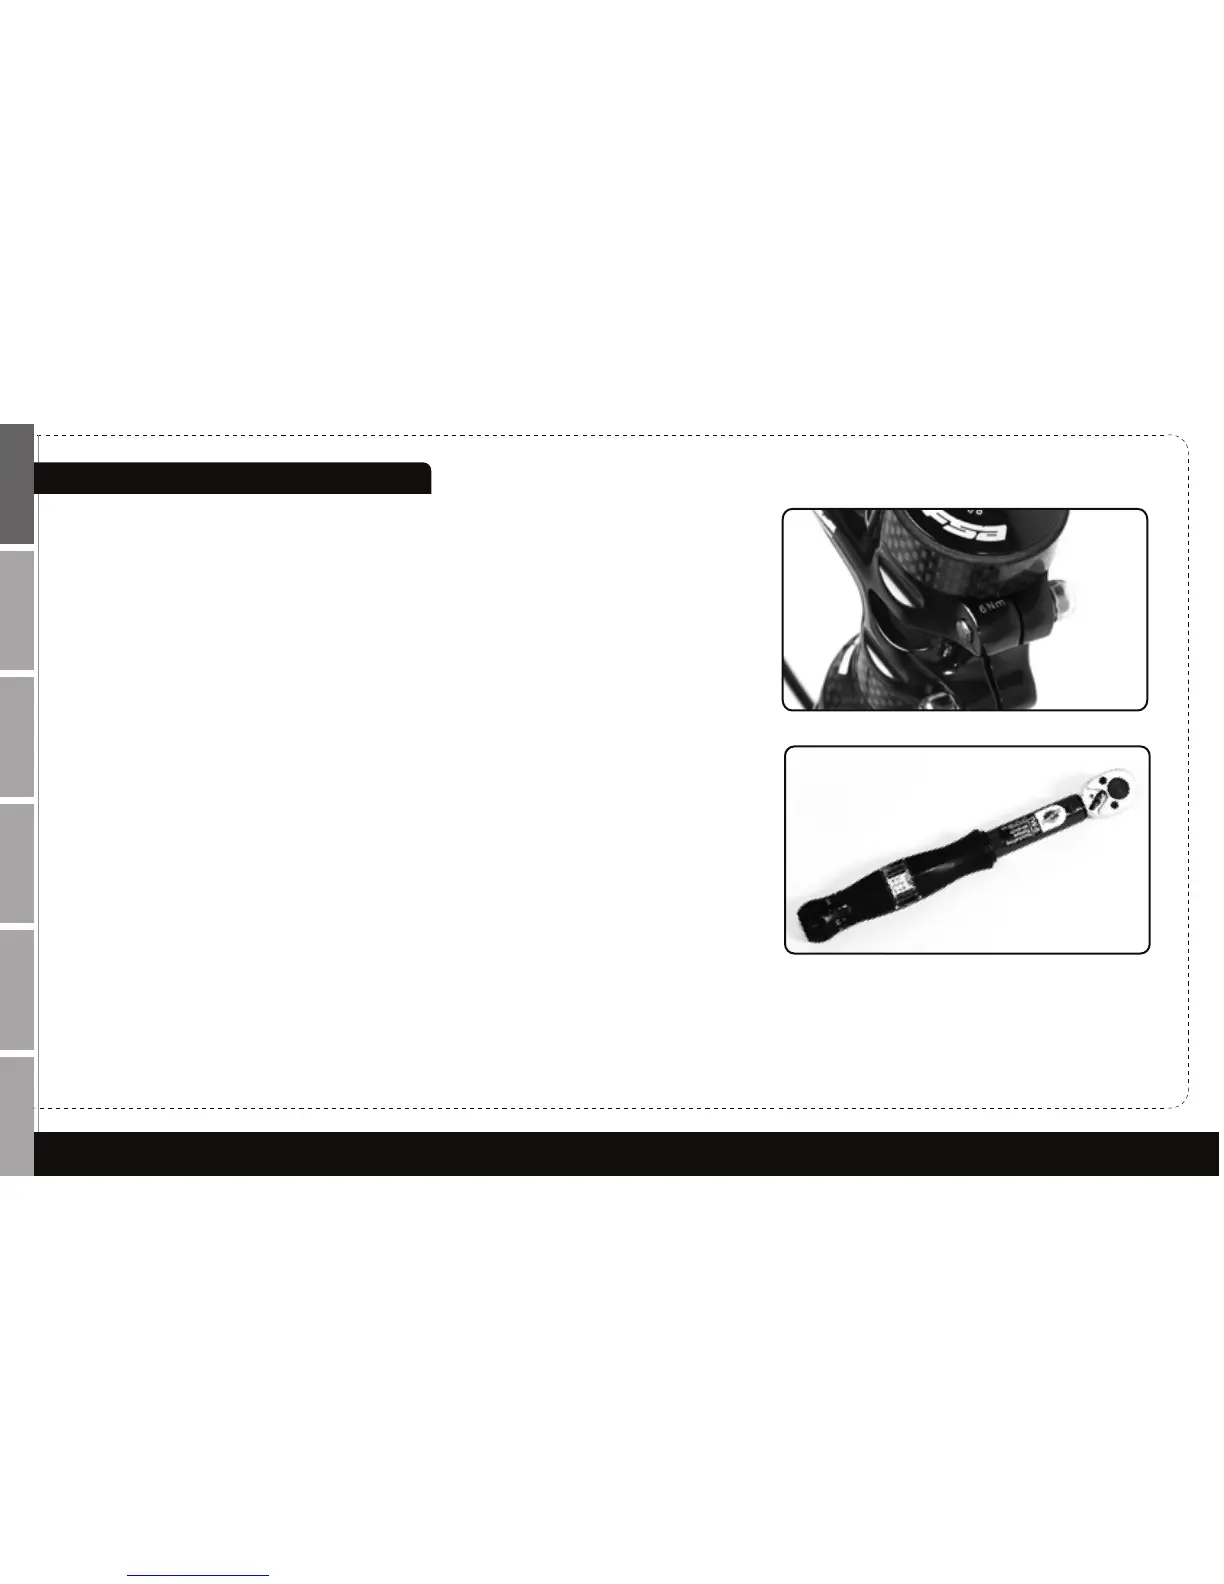
Always follow the torque specifications indicated
If you are inexperienced, then any component parts that you select or install on your NEILPRYDE bike yourself could
be dangerous. Therefore, our advice is to have a skilled bicycle mechanic assemble your bike for you.
All frames come ready for immediate assembly. The frame does not need to be machined or cut in any way. Do not
attempt to alter the frame or its attachments in any way.
While assembling the frame, you should carefully tighten the bolts by gradually turning them little by little as you
approach the maximum torque that is permissible. Check to see that the component is firmly and securely fixed, as
described in the previous chapters. Regarding parts where no torque range is provided, tighten the bolts gradually as
before, up to the maximum torque, all the while checking the component to see that it is securely fixed in place.
Always use a torque wrench