COM 2COM 1COM 4COM 3
N2. Unpack your replacement
LAN Cable
Power Cable
Ink Cartridge Meter
Removal Installation
Disconnect the LAN Cable (f) by pressing and holding down the clip
and Power Cable (g) from either side of the machine
The machine must be disconnected from the
power supply before continuing to the next step!
5
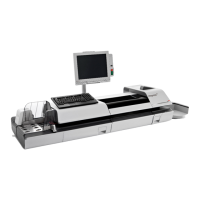
Disconnect the Weighing Platform (e) by twisting
the thumbscrews and pulling from the machine
Make a note of which COM PORT (2 or 3)
you removed the weighing platform from!
6
Please do not connect your replacement
machine to the power until step N6
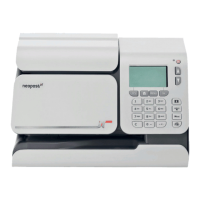
Remove the Meter (i) by sliding towards you and lifting out
7
N1. Remove the components from your original machine
Remove Weighing Platform (e)
and Shelf (If applicable) (d)
2
Lift the top cover to reveal the
Ink Cartridge (h)
3
Press down below the word ‘TOP’ until you hear a ‘click’
then remove the Ink Cartridge (h)
4
Remove the Feed Table (b) by lifting the machine slightly and sliding down to detach and the
Catch Tray (c) by lifting it upwards and away from the machine
1
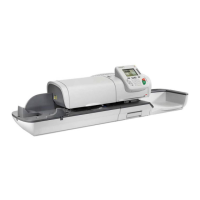
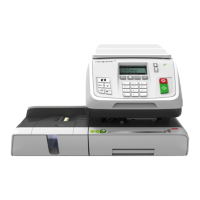
Remove your replacement machine (a) from the box and place
your original machine back into this box ready for collection
Caution: Product weighs 10.1kg,
please seek assistance before lifting
1
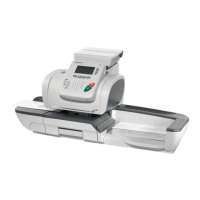
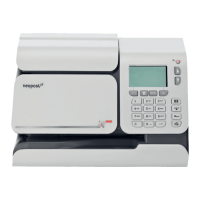
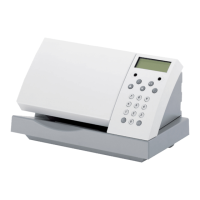
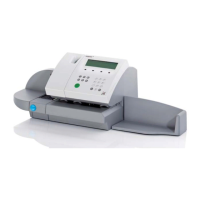
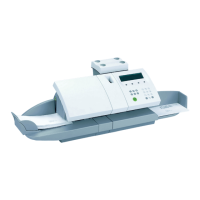
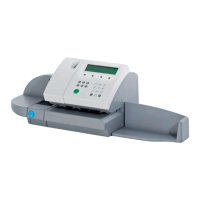
Machine components:
IS-400 Series Base
Product Replacement Guide
Average Time Required: 20 minutes
Machine Base
Feed Table
Catch Tray
Shelf
Weighing Platform
COM 2COM 1COM 4COM 3