Automatic Date Advance
The Automatic Date Advance function automatically changes the date printed on mail
pieces at a preset time to the next 'working day' date.
Example : You can set the system to change dates at 17:00 hours and set Saturdays and
Sundays to be non-working days. From Friday 17:00 hours to Sunday 23:59, the system
will print Monday's date on the envelopes, after a confirmation message to the user.
How to Set the Automatic Date Advance Time
To set the auto date advance time and days:
1. As supervisor (see How to Log in as Supervisor on page 194 ):
Press and type 3.3.4 or select the path:
Default user settings Default imprint parameters Automatic date
advance
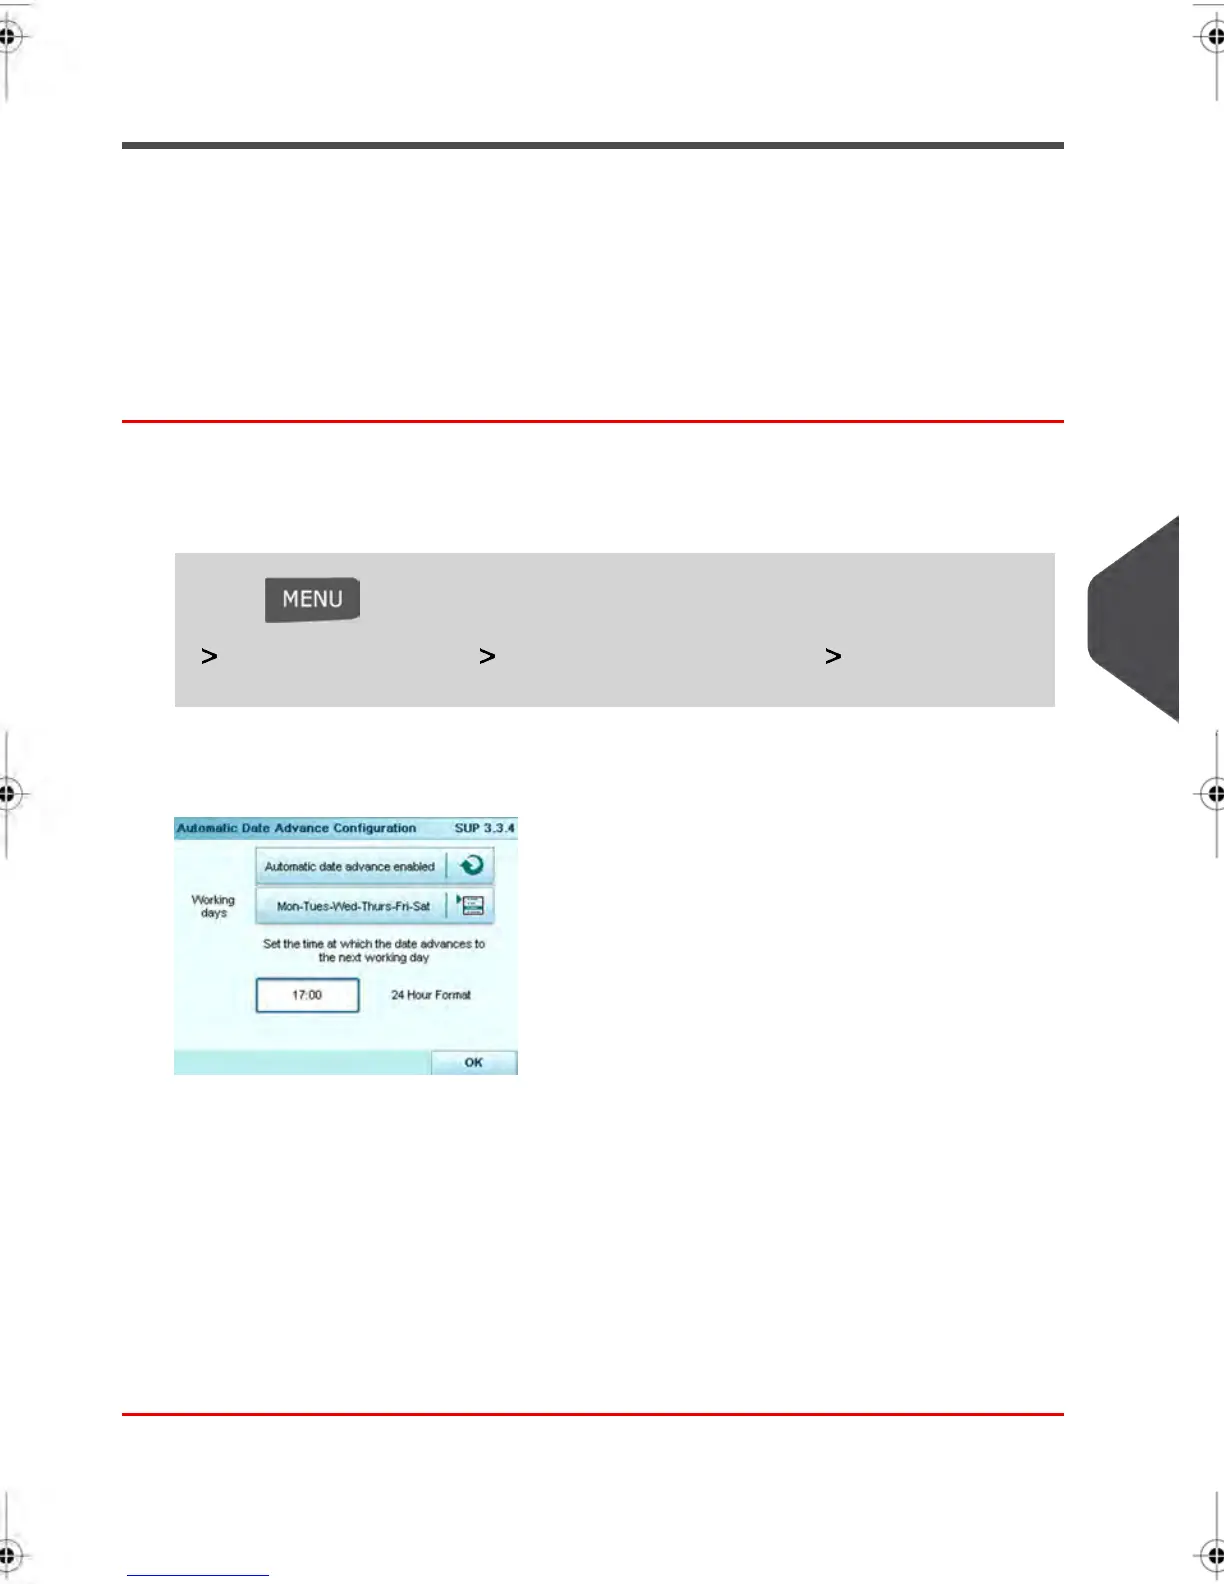
The Automatic date advance screen is displayed.
2. Press the Auto Date Advance button to Enabled status.
3. On the first screen, type 2, enter the Automatic Date Advance time (00:00 hours is
not allowed) and press [OK.]
4. Select Working Day to gain access to working days selection screen.
5. Tap the day or select the day and press Select/Deselect to select or deselect each
day.
6. Press [OK] to exit.
8
Configuring your Mailing System
219
| Page 219 | feb-14-2014 12:14 |
 Loading...