COMPANY PROFILE 01
1. INTRODUCTION 02
1.1 Greeng 02
1.2 System Compability 02
1.3 How to Use This Manual 02
1.4 Label 02
2. SAFETY INSTRUCTION 03
3. FCC COMPLIANCE 03
4. DESIGN 04
5. PARTS NEEDED 04
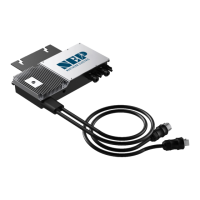
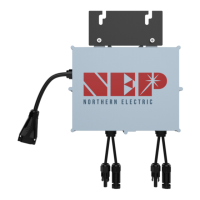
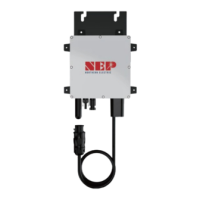
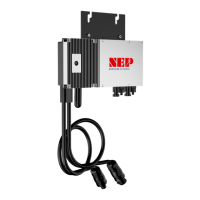
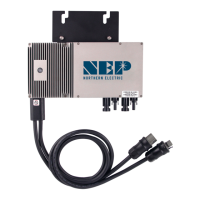
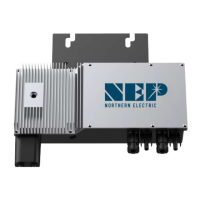
5.1 NEP Parts 04
5.2 Addional Parts and Tools Requires 05
5.3 Lightning and Surge Suppression 05
5.4 Shipping Informaon 05
6. INSTALLATION 05
6.1 Pre-installaon 05
6.2 Installaon S
teps 06
Step 1 - System Layout 06
Step 2 - Connect the Wiring Harnesses 07
Step 3 - Install the AC Branch Circuit Juncon Box 08
Step 4- Ground the System 08
Step 5 - Complete the Connecon Map 09
Step 6 - Connect the PV Modules 09
Step 7 - Install the BDG 256 Monitoring Gateway 09
7. COMMISSIONING 10
8. OPERATING INSTRUCTIONS 10
9. TROUBLESHOOTING MAINTENANCE 11
10. SPECIFICATIONS 14
11. WARRANTY AND PRODUCT INFORMATION 16
CONTENTS