KE NESPACE KA Rectifier Control Unit Operation Manual English R 2016_07 V1_1
13 /21
1) Check that all circuit breakers and/or power switches have been turned off, and check
polarity and cable connection status using DVM.
2) Use a DVM tp ensure that the AC input power is correctly connected to the Shelf.
3) Check that the DC Output cables have been correctly connected, and check polarity.
4) Turn on the AC main Circuit Breaker.
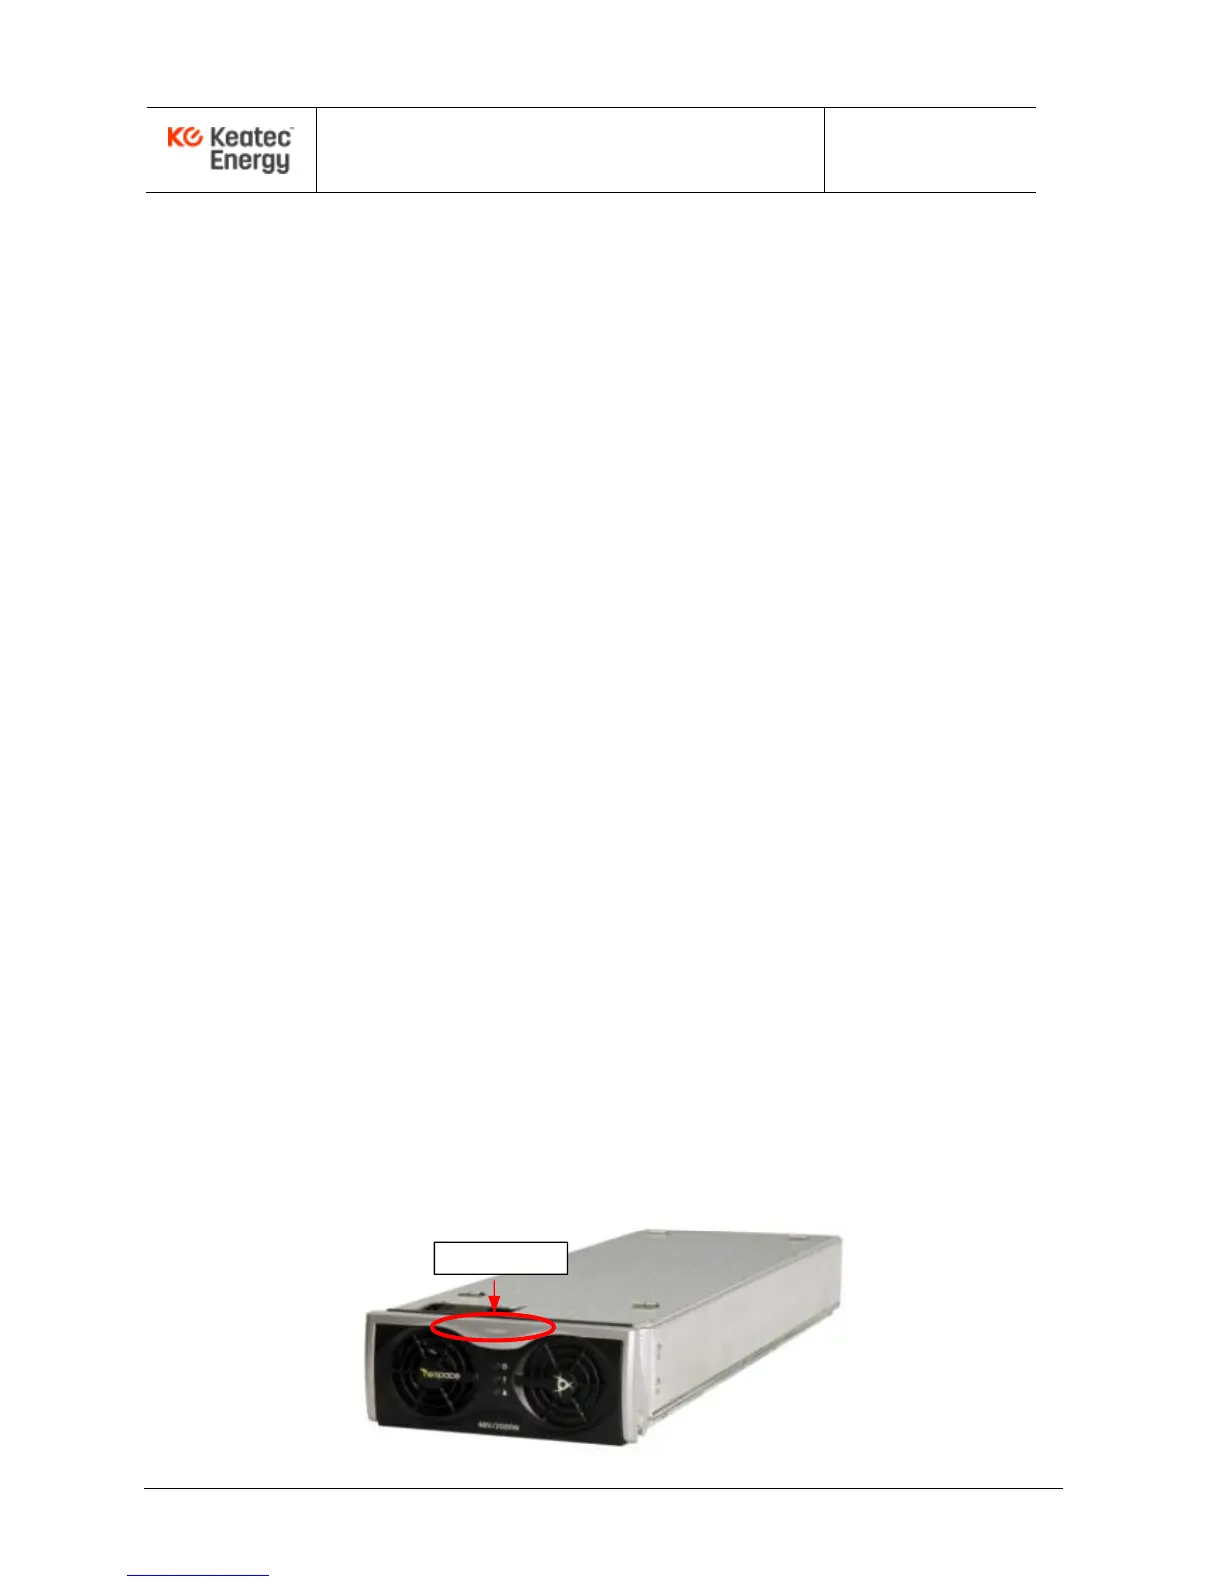
5) Check that each installed NESPACE48/3K Rectifier Module front panel LED is green,
and verify that the DC output voltage is correct.
3.1 Installation Check List
To check installation of the Rectifier shelf, use the following procedure:
1) Check that the equipmment rack has been properly and firmly mounted to the floor.
2) Check that the dry contact alarms cable (optional) of the Control Unit is connected.
3) Ensure that the AC Input Circuit Breaker has been installed in the distribution
frame of the system.
4) Verify that the rack Frame Ground has been connected to the main ground busbar.
5) Check if the I/O cable has been correctly connected.
6) Verify that all installed NESPACE Rectifier Modules have been fully inserted.
3.2 Rectifier Module Insertion & Removal
3.2.1 Rectifier Module Installation
Each NESPACE48/3K Rectifier Module is hot-swappable so may be inserted with or
without the power applied to the shelf. The rectifier module should be inserted into the
shelf from the front. Insert each module until it reaches the mating connector then push
in the ejector to fully seat the connectors. The ejector will easily lock into place when
inserted and properly seated.