EN
HR
16
Assembly / Disassembly of the milk frother /
Sastavljanje / Rastavljanje miksera za mlijeko
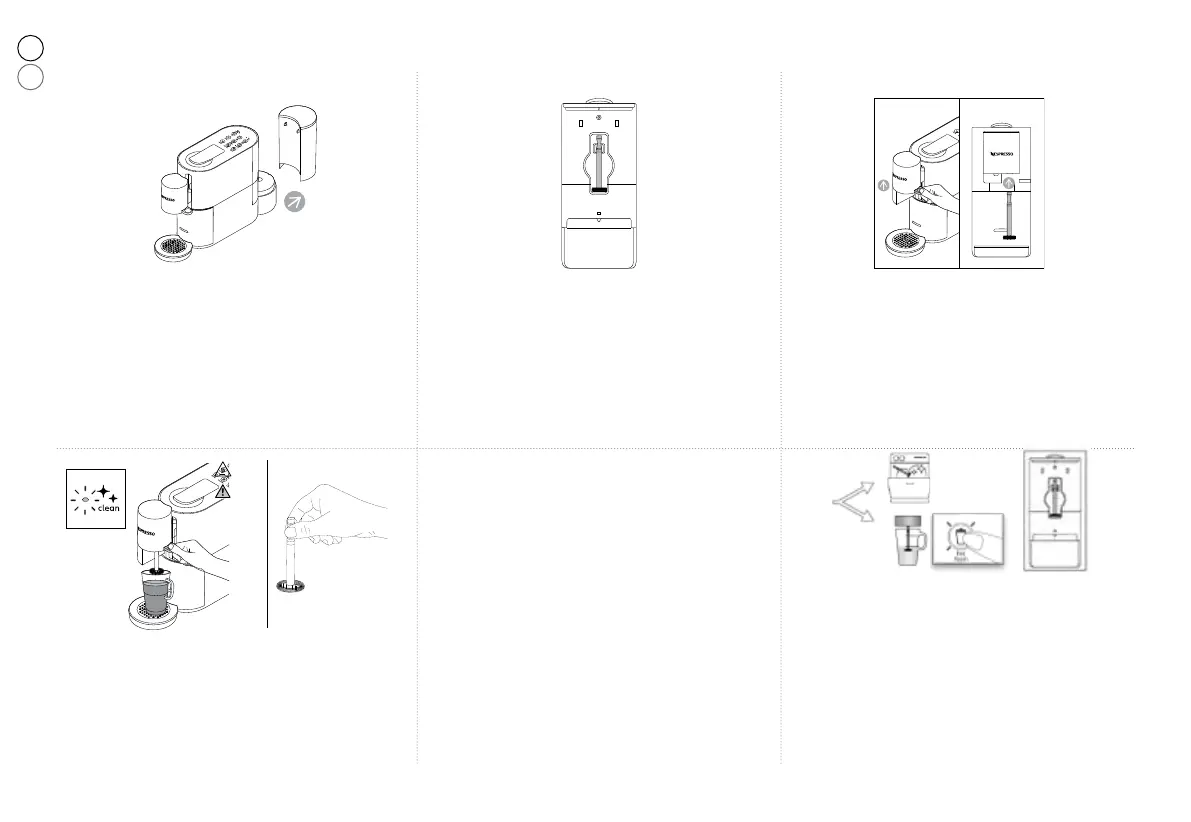
❹ Once the preparation is completed, the “Clean”
alert lights uporange. Lift up the head, remove
the milk frother by means of its grip area, the
‘‘Clean’’ indicator light turns off
Nakon pripreme napitka, gumb ”Čišćenje” će
zasvijetliti narančasto. Podignite glavu, uklonite
mikser za mlijeko, lampica ”Čišćenje” će se ugasiti.
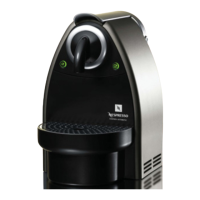
❶ Remove the water tank.
Uklonite spremnik za vodu
❷ Remove the milk frother from its housing behind
the machine.
Pomaknite mikser za mlijeko sa njegovog ležišta
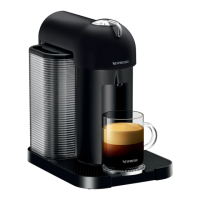
❸ Lift up the head. Insert the milk frother in the
connection and push it in all the way. The milk-
based recipes keys will light up when the milk
frother is detected.
Podignite glavu uređaja. Ubacite mikser za
mlijeko i povežite sa uređajem. Gumbi za
napitke s mlijekom će zasvijetliti kada uređaj
prepozna mikser za mlijeko.
❺ To clean the milk frother, place the Nespresso View
mug filled with 100ml of fresh drinking water
under the head of the machine, insert the milk
frother, lower the head and press the “hot foam”
key. You can also simply clean the milk frother by
dishwashing. Put the milk frother back in its housing
Da biste očistili mikser za mlijeko, stavite šalicu
Nespresso View napunjenu sa 100 ml svježe vode za
piće ispod glave aparata, ubacite mikser za mlijeko,
spustite glavu i pritisnite gumb ”Topla pjena”.
Mikser za mlijeko također možete jednostavno
oprati u stroju za pranje suđa. Vratite mikser za
mlijeko nazad u njegovo kućište.
Be sure to wait for the end of the preparation and the “Clean”
indicator light to light up before handling the milk frother. It
is important to take the milk frother by its grip area intended
for this purpose because the milk frother may be hot after
preparation.
Prije rukovanja dodatka za mlijeko provjerite je li priprema
završena i da gumb ”Čišćenje” svijetli. Važno je da mikser za
mlijeko držite na naznačenom dijelu, jer može biti topao nakon
pripreme.