1. Remove the cover over the PCIe risers by unscrewing the blue thumbscrew on the cover, slide the cover
toward you, rotate the cover upward, lift it off the controller module, and then set it aside.
2. Remove the empty risers from the replacement controller module.
a. Place your forefinger into the hole on the left side of the riser module and grasp the riser with your
thumb.
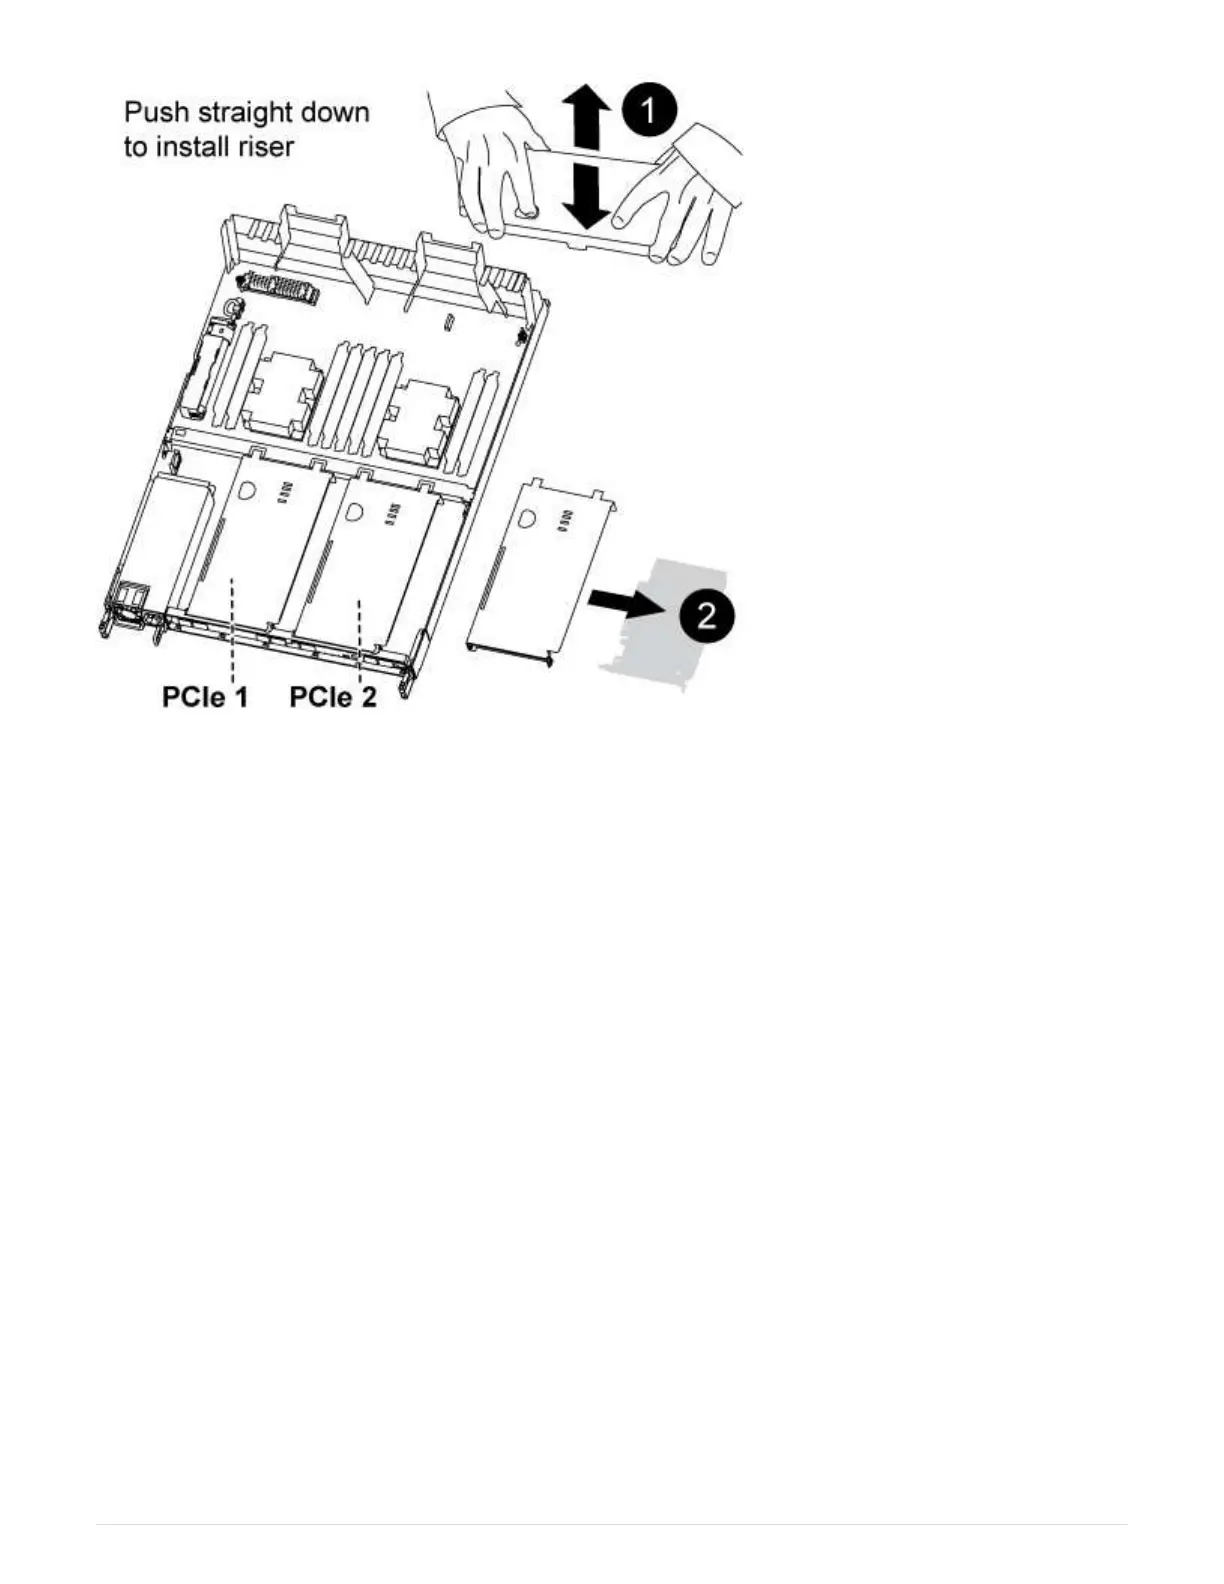
b. Lift the riser straight up and out of the bay, and then set it aside.
c. Repeat these substeps for the second riser.
3. Move the PCIe risers from the impaired controller module to the same riser bays on the replacement
controller module:
a. Remove a riser from the impaired controller module and move it to the replacement controller module.
b. Lower the riser straight into the bay, so that it is square with the bay and the pins of the riser slide into
the guide holes at the rear of the bay.
c. Seat the riser into the motherboard socket straight down into the socket by applying even downward
pressure along the edges of the riser until it seats.
The riser should seat smoothly with little resistence. Reseat the riser in the bay if you encounter
significant resistance seating the riser into the socket.
d. Repeat these substeps for the second riser.
e. Reinstall the cover over the PCIe risers.
Step 7: Install the controller module
After all of the components have been moved from the impaired controller module to the
436
 Loading...


