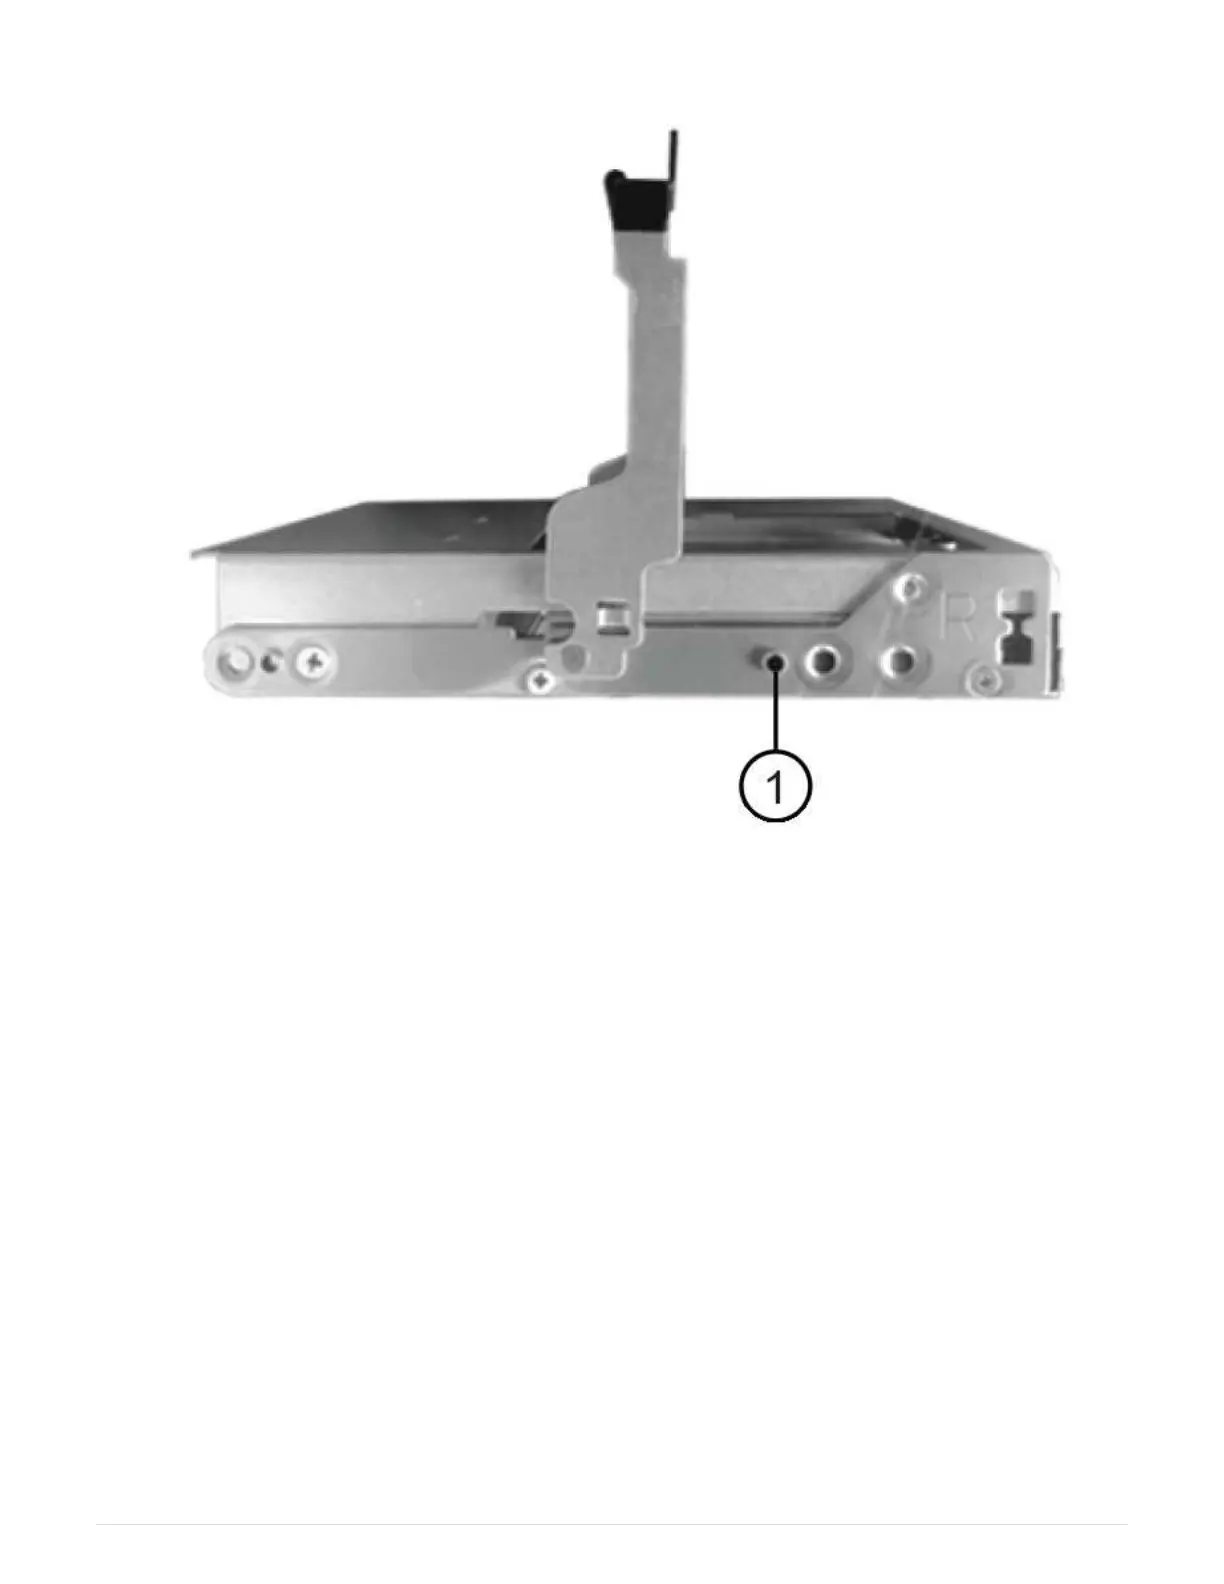
(1) Raised button on the right side of the drive carrier
3. Lower the drive straight down, and then rotate the cam handle down until the drive snaps into place under
the orange release latch.
4. Carefully push the drive drawer back into the enclosure. Push the drawer in slowly to avoid jarring the
drawer and causing damage to the storage array.
5. Close the drive drawer by pushing both levers towards the center.
The green Activity LED for the replaced drive on the front of the drive drawer comes on when the drive is
inserted correctly.
Depending on your configuration, the controller might automatically reconstruct data to the new drive. If the
shelf uses hot spare drives, the controller might need to perform a complete reconstruction on the hot
spare before it can copy the data to the replaced drive. This reconstruction process increases the time that
is required to complete this procedure.
Step 4: Complete drive replacement (60-drive)
Confirm that the new drive is working correctly.
Steps
48
 Loading...


