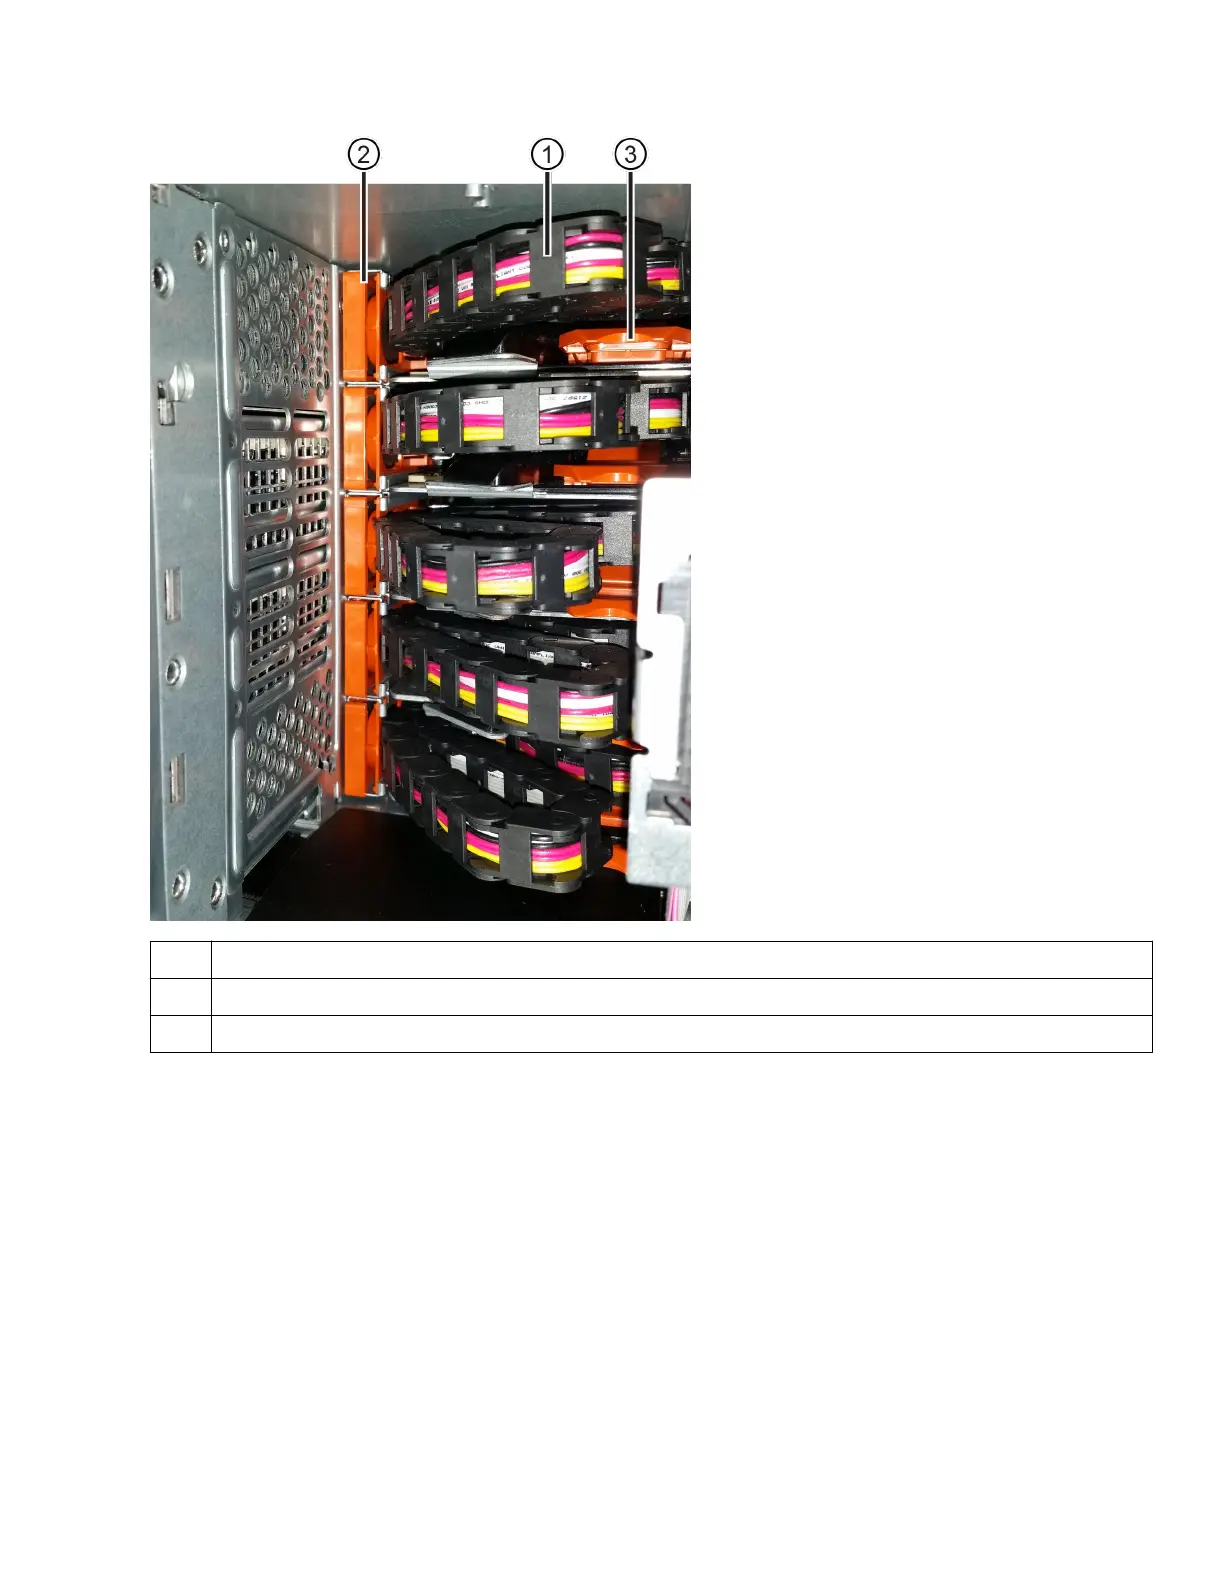
1 Cable chain
2 Vertical connector (connected to the midplane)
3 Horizontal connector (connected to the drive drawer)
The top cable chain is attached to drive drawer 1. The bottom cable chain is attached to drive drawer 5.
4. For easy access, use your finger to move the cable chain on the right side to the left.
5. Disconnect any of the right cable chains from its corresponding vertical guide rail.
Attention: Possible hardware damage — If the drive tray is powered on, the cable chain is energized until both ends are
unplugged. To avoid shorting out the equipment, do not allow the unplugged cable chain connector to touch the metal
chassis if the other end of the cable chain is still plugged in.
a. Using a flashlight, locate the orange ring on the end of the cable chain that is connected to the vertical guide rail in the
enclosure.
Removing the cable chains
7
 Loading...


