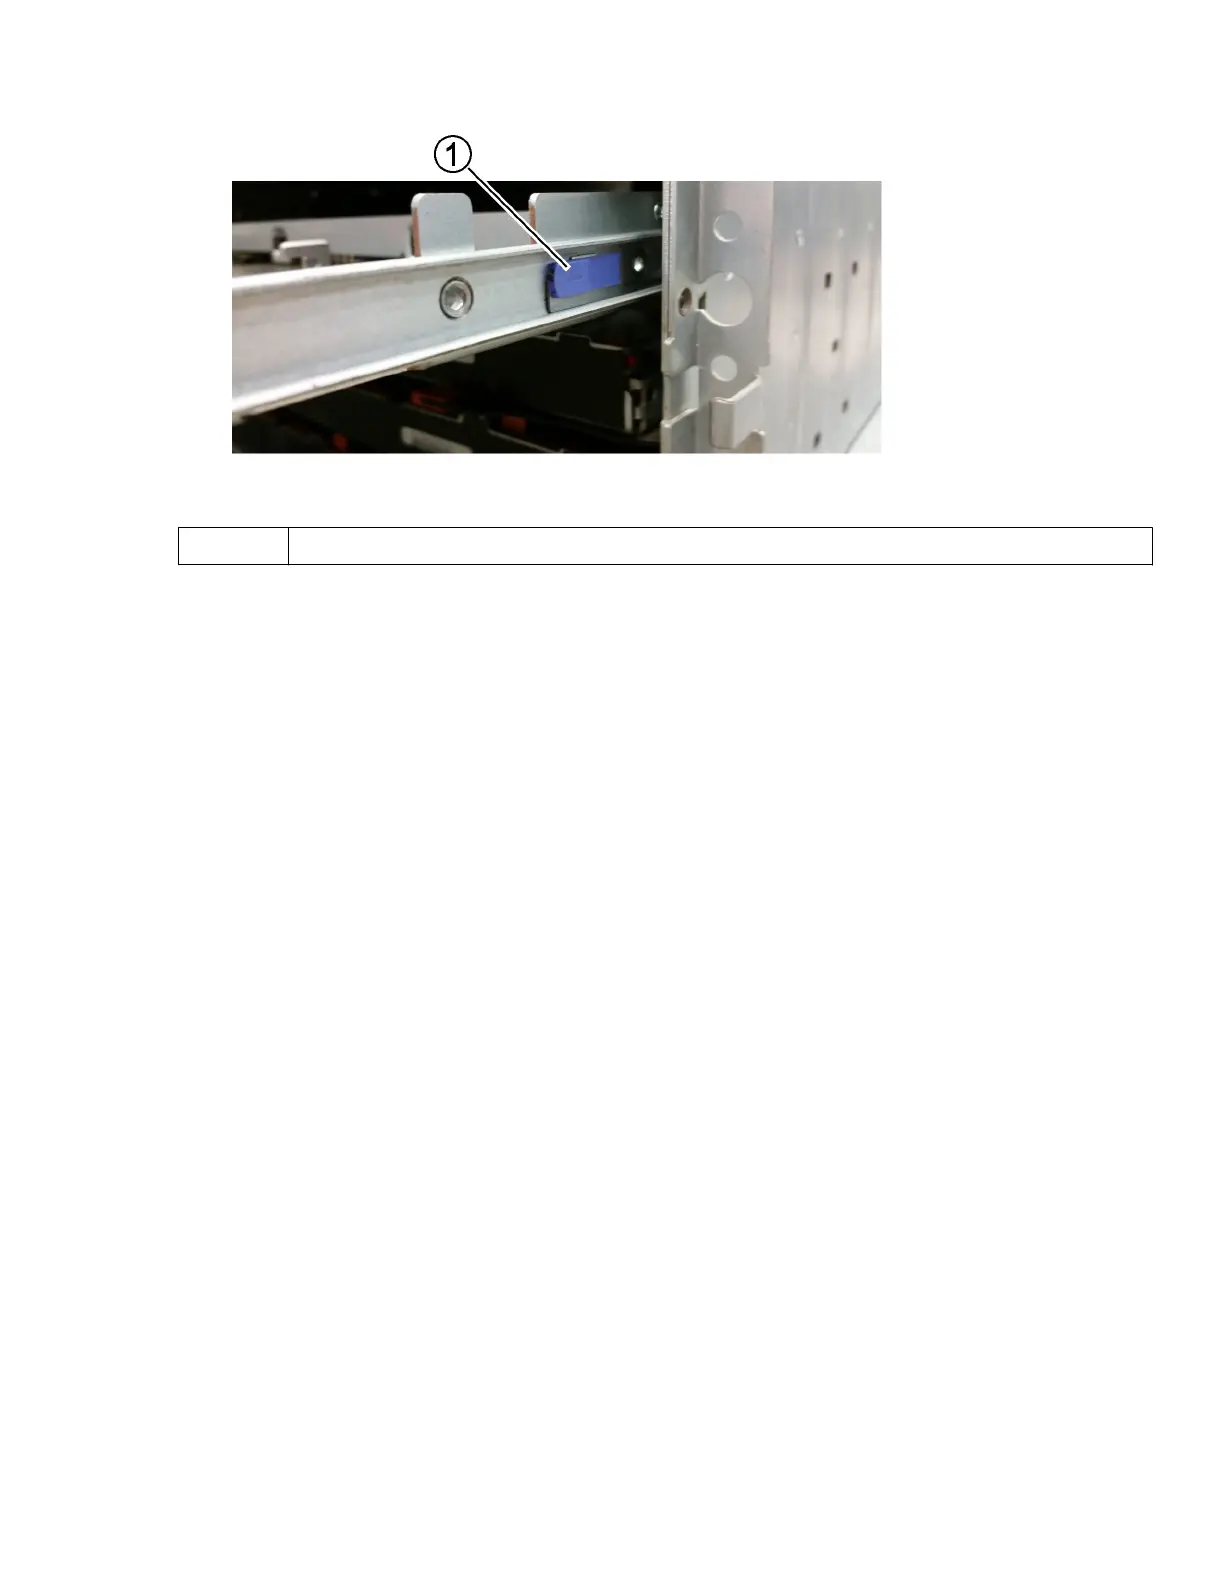
1 Drive drawer release lever
b. Disengage both release levers by pulling the latches toward you.
c. While holding both release levers, pull the drive drawer toward you.
d. Remove the drive drawer from the drive shelf.
Installing a drive drawer
Installing a drive drawer into a drive tray entails sliding the drawer into the empty slot, installing the drives, and replacing the
front bezel.
Before you begin
• You know where to install each drive.
• You have obtained the following items:
◦ Replacement drive drawer
◦ Flashlight
Steps
1. From the front of the drive shelf, shine a flashlight into the empty drawer slot, and locate the lock-out tumbler for that slot.
The lock-out tumbler assembly is a safety feature that prevents you from being able to open more than one drive drawer at
one time.
Installing a drive drawer
13
 Loading...


