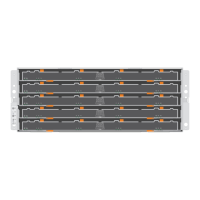
2 Replacing a Drive Drawer in a 60-Drive Tray
ATTENTION Possible hardware damage – To prevent electrostatic discharge damage to the drive
tray, use proper antistatic protection when handling drive tray components.
Preparing the Drive Drawer for Removal
1 Stop the I/O activity to the drive tray.
2 Do you have power applied?
■
No – Go to “Removing the Drive Drawer.”
Ye s – Go to step 3.
3 Type this command on the command line, and press Enter:
SMcli <ctlr_IP1> -c ”set tray [trayID] drawer [drawerID]
serviceAllowedIndicator=on;”
In this command:
- <ctlr_IP1> is the identifier of the controller to which the drive tray is assigned.
- [trayID] is the identifier of the drive tray that contains the drive drawer that you want to
replace. Drive tray ID values are 0 to 99. You must enclose the value for the trayID in square
brackets.
- [drawerID] is the identifier of the drive drawer that you want to replace. Drawer ID values are
1 (top drawer) to 5 (bottom drawer). You must enclose the value for the drawerID in square
brackets.
This command turns on the blue Service Action Allowed LED that is located on the drive drawer
and prevents the controller from accessing the drive tray.
ATTENTION Possible damage to drives – Wait 30 seconds after the blue Service Action Allowed
LED comes on before you open the drive drawer. Waiting 30 seconds allows the drives
to spin down, which prevents possible damage to the hardware.

 Loading...