5
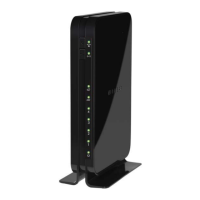
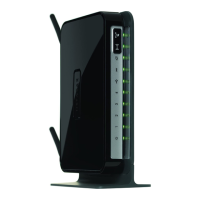
Step 2 - Connect Splitter (ADSL connections only)
Connect the supplied splitter directly to the telephone wall socket.
Step 3 - Connect Router
Connect the supplied grey telephone cable from the splitter’s ADSL
port to the grey ADSL port on the router.
Step 4 - Connect Your Home Telephone (if you have one)
Connect your telephone to the phone port on the splitter.
Step 5 - Connect PC
Connect the supplied yellow Ethernet cable from the router’s yellow
LAN port to your computer’s Ethernet port.
Step 6 - Connect Power
Connect the power adapter to the router then plug it into an electrical
outlet. Press the black power button at the back of the router.
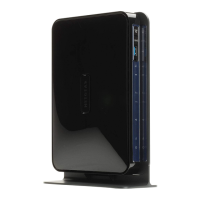
Step 7 - Check Installation
1. If the power is connected correctly, the POWER LED will light up.
2. If the grey telephone cable and the splitter are connected
correctly, the ADSL LED will ash and after a few seconds turn
solid green.
3. Since the router is pre-congured the INTERNET LED will turn
green after a few seconds.
4. If the yellow Ethernet cable is connected correctly, the
corresponding ETHERNET (LAN) LED will light up.
5. Once you have conrmed the above, open your web browser
(e.g. Internet Explorer, Google Chrome, Firefox or Safari) and go to
your favourite website.
Congratulations, you are now connected to the Internet.
 Loading...